Powering a Cambridge Z88 with a MT3068 module

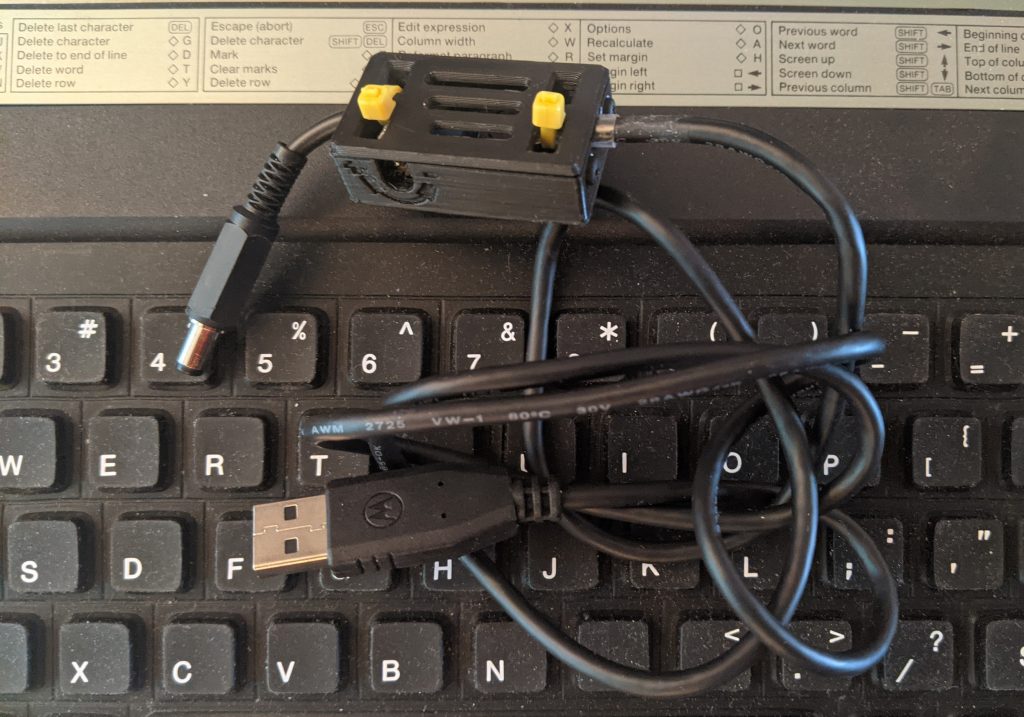
keyboard of a small computer with a USB cabled gadget on top of it
my Z88 – USB power cable, with slightly stoory Z88 underneath

I got a Cambridge Computer Z88 again, after perhaps 30 years of not having one. They are very nice little portable computers, remarkable for packing a multi-tasking OS into an 8-bit machine that runs for weeks on 4x AA batteries.

But the Z88 is a Clive Sinclair joint, so there’s going to be at least one deeply weird and/or ill-advised detail about it. For me, it’s the power adapter. The original had a 6 V centre-positive barrel connector, but in true Sinclair fashion, that wasn’t quite ideal.

The DC power comes through a diode, which drops it down to ~5.2 V. The batteries supply up to 6 V and there’s no protection circuit, so the DC adapter won’t do anything until the internal batteries discharge down to that level. This is far from ideal.

The clever way of dealing with this was Rakewell’s Z88 PSU. This was a variable voltage PSU set to deliver 7 V, so that even when dropped through the power diode, it wouldn’t deplete the batteries.

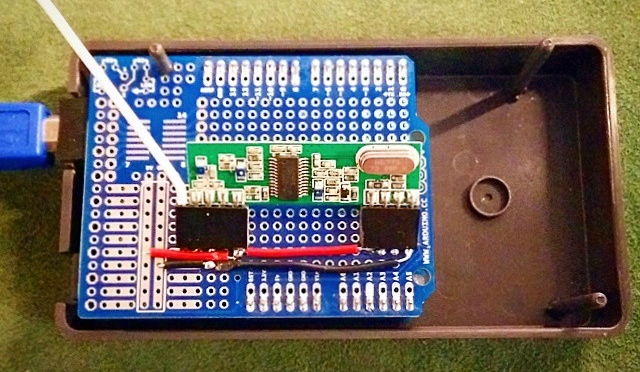
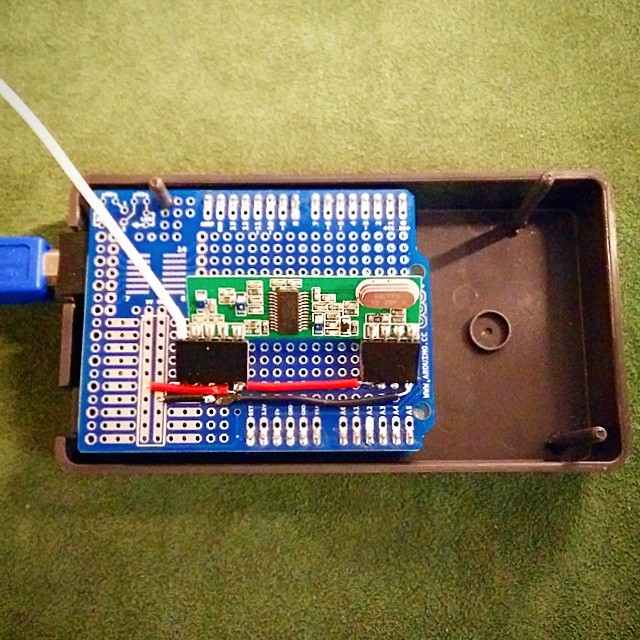
Unfortunately, Rakewell stopped selling these a while ago. But I remembered I had a some MT3608 (datasheet) boards bought at a hamfest some years back. MT3608s are boost DC-DC converters, so they’ll convert from a lower DC voltage to a higher one, typically at least +2 V higher than the input. With a hacked-up USB cable, a small length of DC cable with a connector and a 3d printed case, I built one that works quite well, at least in the short time I’ve tested it.

  • I used the MT3608 step up DC boost box design from Thingiverse
  • Newer MT3608 boards sometimes feature a micro-USB connector, which is much more convenient than hacking up a USB cable
  • It’s really important to know how to adjust a MT3608 DC-DC Booster before connecting the final voltage, as it’s very easy to burn the board out
  • You can’t use a computer USB port to power an MT3608, as the cable’s not smart enough to negotiate a decent amount of current. A good phone charger should be enough.
  • I set the voltage output to be 7.05 V, with no load

Combined Restart / Shutdown Button for Raspberry Pi

Hey! This is obsolete. There are better solutions out there now. You should use the system-supplied and supported gpio-shutdown option instead.

A very simple systemd service for Raspberry Pi that provides a software-controlled restart / shutdown button. Code: scruss/shutdown_button

Use

Default behaviour is:

  • your Raspberry Pi will reset if the button is held for more than two seconds but fewer than five seconds;
  • your Raspberry Pi will shut down if the button is held for more than five seconds.

By default, the software assumes the switch is connected to pin BCM 27. Both the pin and the timing can be changed in the Python source file.

Requirements

Hardware

  • A Raspberry Pi (tested on a model 2B, 3B and Zero, and on a model B after minor software modification)
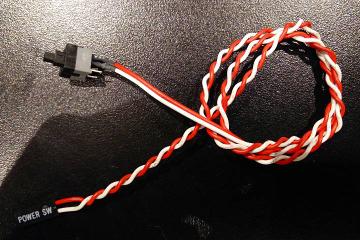
  • A normally open, momentary contact button. I use surplus ATX power buttons (as used on desktop PCs), as they’re cheap and come with a handy set of wires and header connectors. Virtually any button will do the job, though. Just make sure it’s normally open (push to close).
Software

  • A Debian-based operating system that uses systemd (tested on Raspbian Jessie and Stretch)
  • the python3-gpiozero package to provide GPIO Zero (tested on version 1.4.0)

Installation

Hardware

40-pin GPIO connector (B+, 2B, 3B, Zero)

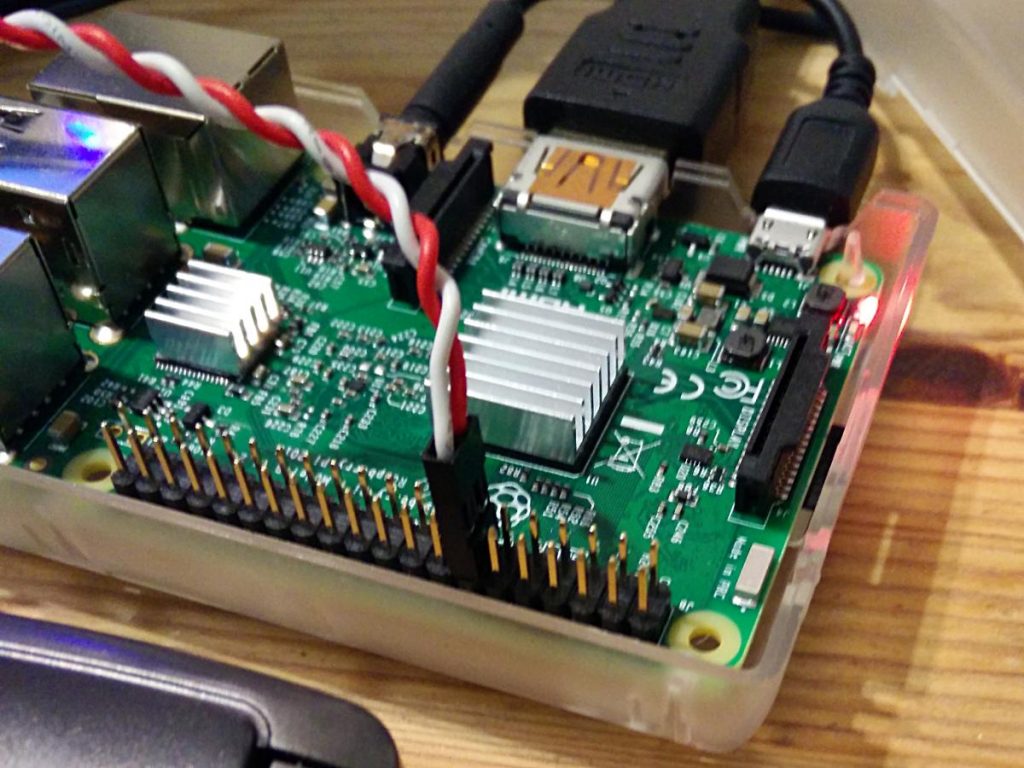
Connect the button between GPIO 27 and GND. If you use an ATX power button and a Raspberry Pi with a 40-pin GPIO header, connect it across the seventh column from the left:

            -
· · · · · ·|·|· · · · · · · · · · · · · 
· · · · · ·|·|· · · · · · · · · · · · · 
            -

This shorts GPIO 27 (physical pin 13) to ground (physical pin 14) when the button is pressed.

26-pin GPIO connector (models B and A only)

GPIO 27 is not exposed on the original Raspberry Pi header, so GPIO 17 is a reasonable option. If you use an ATX power button and a Raspberry Pi with a 26-pin GPIO header, connect it across the fifth and sixth columns of the second row:

 . . . . ._. . . . . . . .
 . . . .|. .|. . . . . . .
          -

You will also need to change line 7 of shutdown_button.py to read:

use_button=17

Software

Download the software first. I prefer to use

git clone https://github.com/scruss/shutdown_button.git

but you can download the zip file. If you do that, though, make sure to

unzip shutdown_button-master
cd shutdown_button-master

The software is installed with the following commands:

sudo apt install python3-gpiozero
sudo mkdir -p /usr/local/bin
chmod +x shutdown_button.py
sudo cp shutdown_button.py /usr/local/bin
sudo cp shutdown_button.service /etc/systemd/system
sudo systemctl enable shutdown_button.service
sudo systemctl start shutdown_button.service

Troubleshooting

Enabling the service should produce output very similar to:

Created symlink /etc/systemd/system/multi-user.target.wants/shutdown_button.service → /etc/systemd/system/shutdown_button.service.

You can check the status of the program at any time with the command:

systemctl status shutdown_button.service

This should produce output similar to:

● shutdown_button.service - GPIO shutdown button
   Loaded: loaded (/etc/systemd/system/shutdown_button.service; enabled; vendor 
   Active: active (running) since Sat 2017-10-21 11:20:56 EDT; 27s ago
 Main PID: 3157 (python3)
   CGroup: /system.slice/shutdown_button.service
           └─3157 /usr/bin/python3 /usr/local/bin/shutdown_button.py

Oct 21 11:20:56 naan systemd[1]: Started GPIO shutdown button.

If you’re seeing anything other than Active: active (running), it’s not working. Does the Python script have the right permissions? Is it in the right place? If you modified the script, did you check it for syntax errors?

The output from dmesg will show you any error messages generated by the service.

Modifications

If you use a HAT/pHAT/Bonnet/etc. with your Raspberry Pi, check pinout.xyz to see if it uses BCM 27. If you do need to change the pin, best to pick one that doesn’t have a useful system service like serial I/O or SPI. If you’re using an ATX button with a two pin connector, make sure you choose a pin physically adjacent to a ground pin.

If you modify the timing, please ensure that you keep the shutdown button press duration longer than the reboot one. Otherwise you’ll only be able to shut down.

Notes

You should not need to reboot to enable the service. One machine of mine — a Raspberry Pi Zero running Raspbian Stretch — did need a reboot before the button worked.

The reboot code is based on the Shutdown button example from the GPIO Zero documentation.

This is not the only combined shutdown/reset button project to use GPIO Zero. gilyes/pi-shutdown also does so, but pre-dates the implementation of the various hold time functions in GPIO Zero.

GPIO 27 was used, as it’s broken out onto a physical button on the Adafruit PiTFT+ display I own.

This is my first systemd service, and I’m still at the “amazed it works at all” stage. The service file may not contain the ideal configuration.

Connector Pinouts

From GPIO Zero’s pinout command

40 pin

   3V3  (1) (2)  5V    
 GPIO2  (3) (4)  5V    
 GPIO3  (5) (6)  GND   
 GPIO4  (7) (8)  GPIO14
   GND  (9) (10) GPIO15
GPIO17 (11) (12) GPIO18
GPIO27 (13) (14) GND   
GPIO22 (15) (16) GPIO23
   3V3 (17) (18) GPIO24
GPIO10 (19) (20) GND   
 GPIO9 (21) (22) GPIO25
GPIO11 (23) (24) GPIO8 
   GND (25) (26) GPIO7 
 GPIO0 (27) (28) GPIO1 
 GPIO5 (29) (30) GND   
 GPIO6 (31) (32) GPIO12
GPIO13 (33) (34) GND   
GPIO19 (35) (36) GPIO16
GPIO26 (37) (38) GPIO20
   GND (39) (40) GPIO21

26 pin

   3V3  (1) (2)  5V    
 GPIO0  (3) (4)  5V    
 GPIO1  (5) (6)  GND   
 GPIO4  (7) (8)  GPIO14
   GND  (9) (10) GPIO15
GPIO17 (11) (12) GPIO18
GPIO21 (13) (14) GND   
GPIO22 (15) (16) GPIO23
   3V3 (17) (18) GPIO24
GPIO10 (19) (20) GND   
 GPIO9 (21) (22) GPIO25
GPIO11 (23) (24) GPIO8 
   GND (25) (26) GPIO7 

Installing the Pimoroni OnOff Shim the hard way

Hey! This process permanently modifies your Raspberry Pi and may prevent it from working with many HATs and add-ons … It also has some really fiddly soldering. If in doubt, don’t.

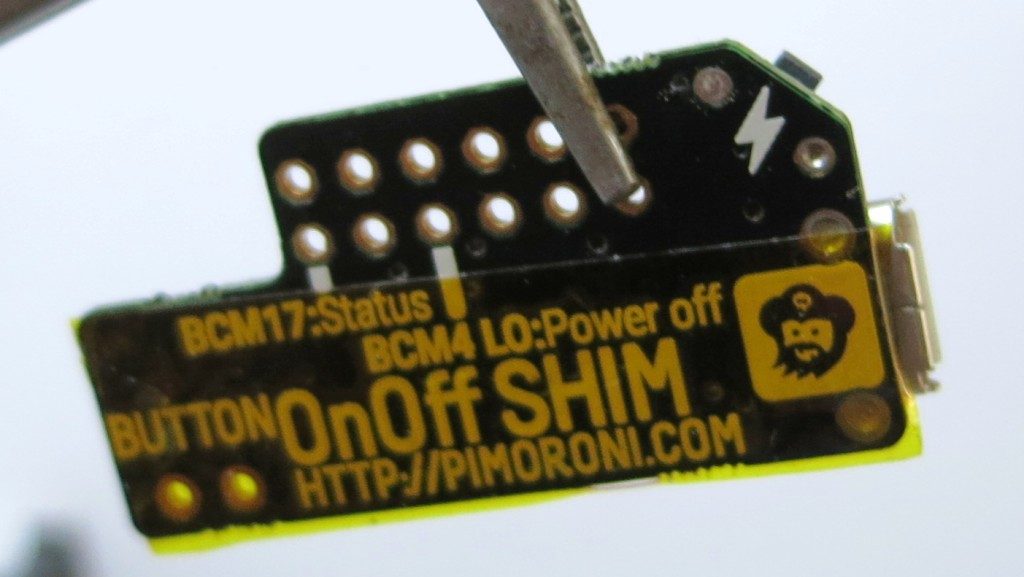
Pimoroni’s OnOff SHIM adds what the Raspberry Pi should have had all along: a power button. While there are lots of soft power switches out there, the OnOff Shim adds circuitry to cut power to the Raspberry Pi after shutdown.

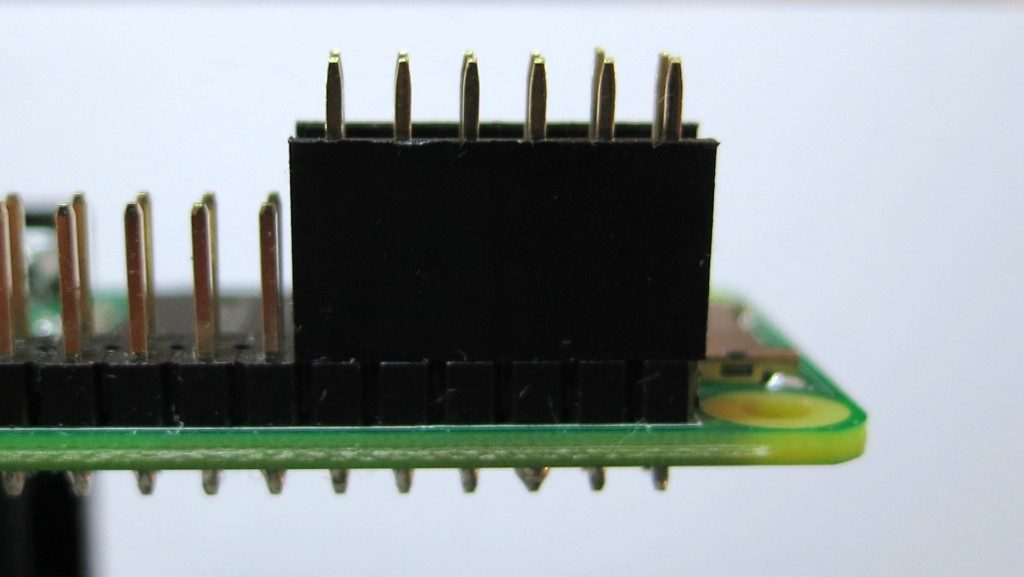
While the shim comes with a 12-socket header, that prevents you from using any other device that uses the leftmost GPIO pins. I wanted access to all the pins, and not have the shim create an unsightly bump on the pins. So this is what I did …

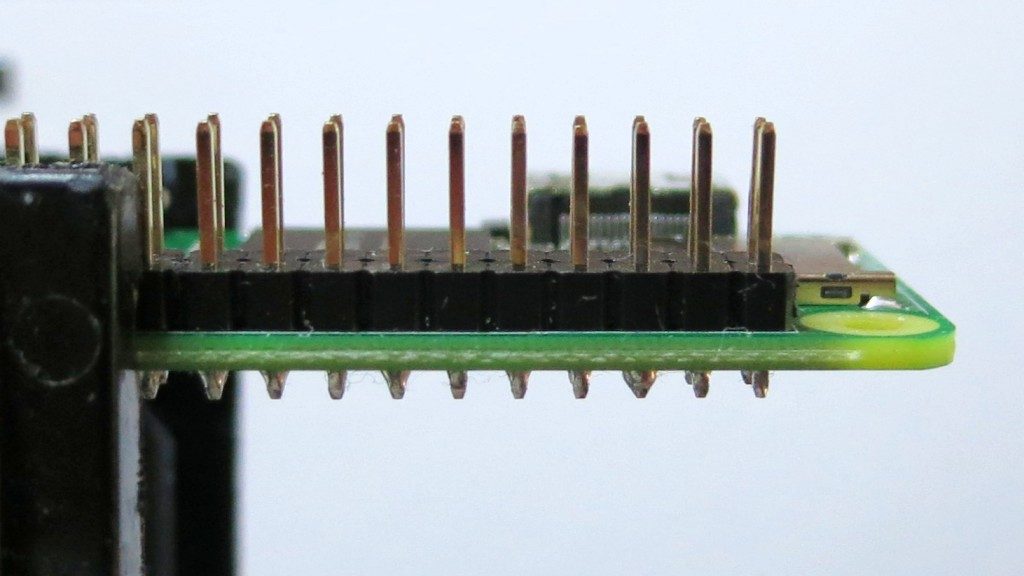
Regular GPIO header in place on a Raspberry Pi Zero W

Test-fit the socket header to mark where you’re going to cut the pin support block

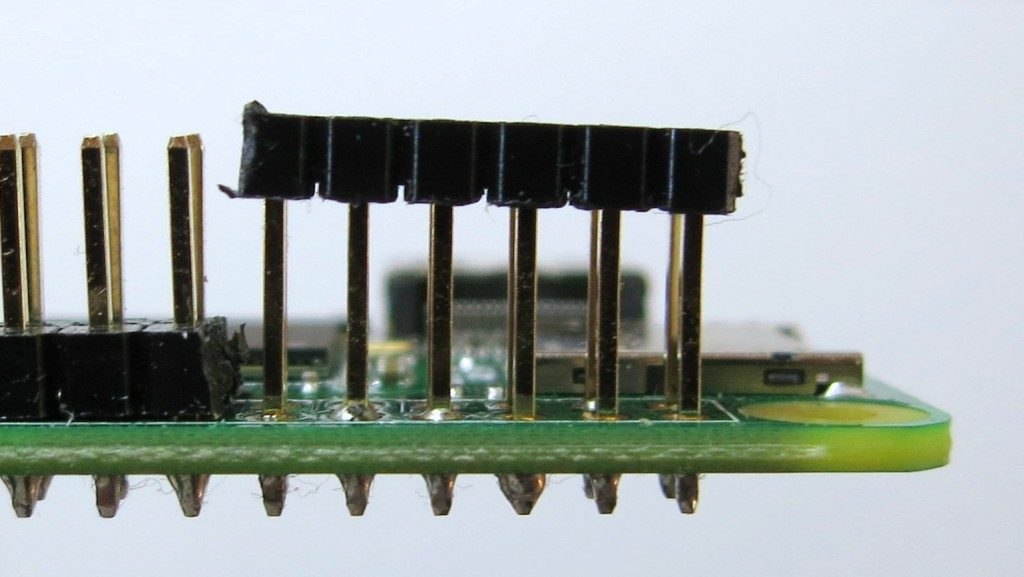
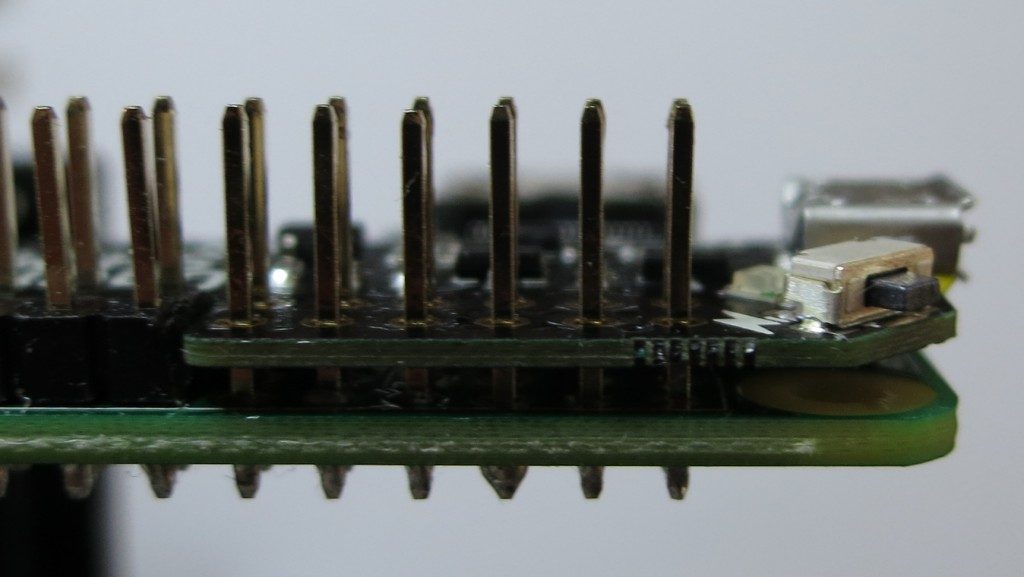
Very carefully, cut the pin support block between (physical) pins 11-13 and 12-14. I used a mix of a sharp craft knife and nibbling with fine diagonal cutters. Try not to bend the GPIO pins either as you cut the block or lever the block out of the way

Apply non-conductive tape to the back of the OnOff Shim. I used Kapton, but electrical/insulating tape will do. Just make sure you don’t block any of the GPIO holes

Test-fit the shim. You may have to pare away at the support block a bit to get it to fit level with the rest of the pins

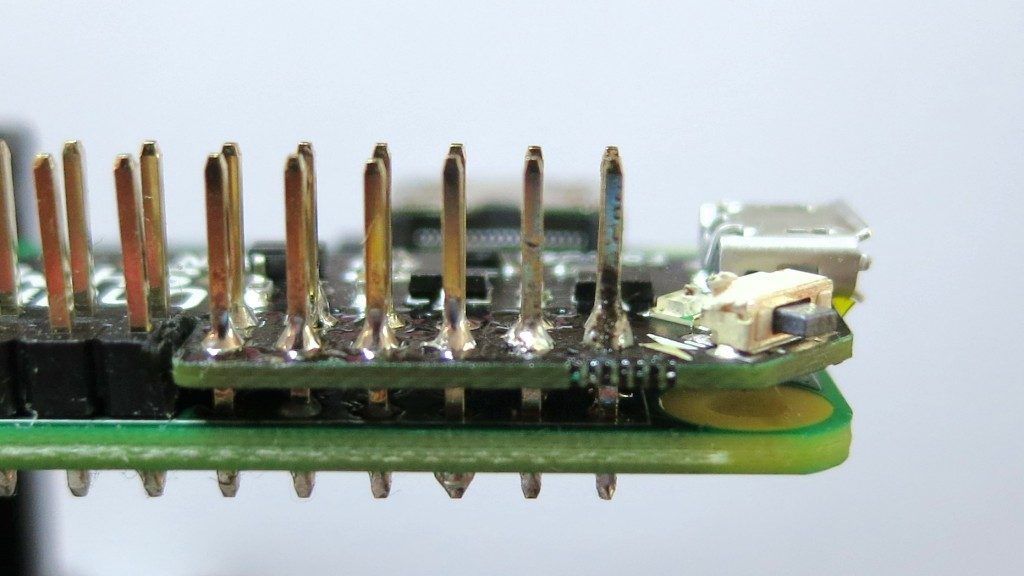
Now solder the shim in place. You want the solder joints as small as possible. I used extra liquid flux and very fine silver solder to just fill the pin holes. Too much solder left on the pins will stop HATs and socket headers fitting, so you may have to desolder as I had to do on the rightmost pin

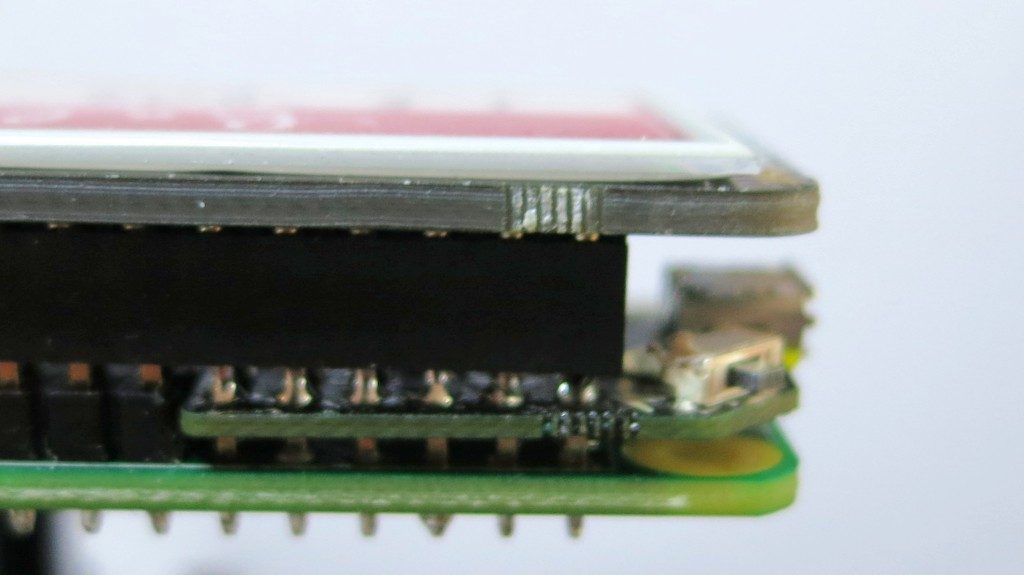
Example HAT fitted with OnOff shim underneath. Note that his particular HAT — the Pimoroni Inky pHAT — will not work with this shim.

The OnOff SHIM uses GPIO pin BCM 17 (physical pin 11) as the power button sensor and BCM 4 as the power off signal. Any device that also uses BCM 17 (and possibly BCM 4) will likely cause the reset process to be triggered. This means that I can’t use the shim with my Inky pHAT EPD. You would have thought that Pimoroni might’ve considered that, since they made both. Consulting pinout.xyz suggests that 41 boards that likely may not work with the OnOff shim: Cirrus Logic Audio Card, Display-o-Tron 3000, DOTs, Enviro pHAT, ESP IoT pHAT, Explorer HAT, Explorer HAT Pro, Flex, GertVGA 666, High-Precision AD/DA Board, Hyperpixel, Inky pHAT, IoT pHAT, LEDBorg, MotoZero, Navio2 Autopilot, PaPiRus HAT, PaPiRus Zero, Piano HAT, Pibrella, Picade HAT, Pi Cap, PiGRRL Gamepad, Pi-LITE-r, Pi-mote, Pi PoE Switch HAT, PiStep2 Dual, PiStep2 Quad, Pi Stop, Propeller HAT, RoboHat, RTK Motor Controller, Servo PWM Pi Zero, Skywriter HAT, Ultimate GPS HAT, Voice HAT, Witty Pi, Witty Pi 2, Zero2Go, Zero LiPo and ZeroSeg.

While I like the OnOff SHIM, check carefully that it will work with your application.

All the printers I’ve ever owned …

bird you can see: hp print test

  • An ancient (even in 1985) Centronics serial dot-matrix printer that we never got working with the CPC464. The print head was driven along a rack, and when it hit the right margin, an idler gear was wedged in place, forcing the carriage to return. Crude, noisy but effective.
  • Amstrad DMP-2000. Plasticky but remarkably good 9-pin printer. Had an open-loop ribbon that we used to re-ink with thick oily endorsing ink until the ribbons wore through.
  • NEC Pinwriter P20. A potentially lovely 24-pin printer ruined by a design flaw. Print head pins would get caught in the ribbon, and snap off. It didn’t help that the dealer that sold it to me wouldn’t refund my money, and required gentle persuasion from a lawyer to do so.
  • Kodak-Diconix 300 inkjet printer. I got this to review for Amiga Computing, and the dealer never wanted it back. It used HP ThinkJet print gear which used tiny cartridges that sucked ink like no tomorrow; you could hear the droplets hit the page.
  • HP DeskJet 500. I got this for my MSc thesis. Approximately the shape of Torness nuclear power station (and only slightly smaller), last I heard it was still running.
  • Canon BJ 200. A little mono inkjet printer that ran to 360dpi, or 720 if you had all the time in the world and an unlimited ink budget.
  • Epson Stylus Colour. My first colour printer. It definitely couldn’t print photos very well.
  • HP LaserJet II. Big, heavy, slow, and crackling with ozone, this was retired from Glasgow University. Made the lights dim when it started to print. Came with a clone PostScript cartridge that turned it into the world’s second-slowest PS printer. We did all our Canadian visa paperwork on it.
  • Epson Stylus C80. This one could print photos tolerably well, but the cartridges dried out quickly, runing the quality and making it expensive to run.
  • Okidata OL-410e PS. The world’s slowest PostScript printer. Sold by someone on tortech who should’ve known better (and bought by someone who also should’ve known better), this printer jams on every sheet fed into it due to a damaged paper path. Unusually, it uses an LED imaging system instead of laser xerography, and has a weird open-hopper toner system that makes transporting a part-used print cartridge a hazard.
  • HP LaserJet 4M Plus. With its duplexer and extra paper tray it’s huge and heavy, but it still produces crisp pages after nearly 1,000,000 page impressions. I actually have two of these; one was bought for $99 refurbished, and the other (which doesn’t print nearly so well) was got on eBay for $45, including duplexer and 500-sheet tray. Combining the two (and judiciously adding a bunch of RAM) has given me a monster network printer which lets you know it’s running by dimming the lights from here to Etobicoke.
  • IBM Wheelwriter typewriter/ daisywheel printer. I’ve only ever produced a couple of pages on this, but this is the ultimate letter-quality printer. It also sounds like someone slowly machine-gunning the neighbourhood, so mostly lives under wraps.
  • HP PhotoSmart C5180. It’s a network photo printer/scanner that I bought yesterday. Really does print indistinguishably from photos, and prints direct from memory cards. When first installed, makes an amusing array of howls, boinks, squeals, beeps and sproings as it primes the print heads.

in the running

Almost ‘Best of The Year’ time. In the running are:

A Hawk and a Hacksaw – The Way the Wind Blows
A.C. Newman – Souvenir of Canada – EP
Beck – The Information
Calexico – Garden Ruin
Casper & the Cookies – The Optimist’s Club
Colin Meloy – Colin Meloy Sings Shirley Collins
Eels with Strings – Live At Town Hall
Elf Power – Back To The Web
Erynn Marshall – Calico
Faun Fables – The Transit Rider
Grandaddy – Just Like The Fambly Cat
Grant-Lee Phillips – nineteeneighties
Hidden Cameras – Awoo
Joanna Newsom – Ys
Jolie Holland – Springtime Can Kill You
King Biscuit Time – Black Gold
Mayor McCa – Cue Are Es Tea You
Peter Stampfel – The Jig Is Up
Robyn Hitchcock & The Venus 3 РOl̩! Tarantula
Sufjan Stevens – Songs For Christmas – Volume V: Peace
Sufjan Stevens – The Avalanche – Outtakes And Extras From The Illinois Album
The Be Good Tanyas – Hello Love
The Decemberists – The Crane Wife
The Essex Green – Cannibal Sea
The Flaming Lips – At War With The Mystics
The Handsome Family – Last Days of Wonder
The Instruments – Cast A Half Shadow
The Sadies – In Concert Vol. 1
The Wailin’ Jennys – Firecracker
Thom Yorke – The Eraser
Thomas Dolby – The Sole Inhabitant
Wendy Arrowsmith – Crying Out
Yo La Tengo – I Am Not Afraid Of You And I Will Beat Your Ass

Miraculously, all of them fit on my iPod Nano, so they’ll be in heavy rotation over the next week or so while I decide.

a joy forever

a thing of beauty

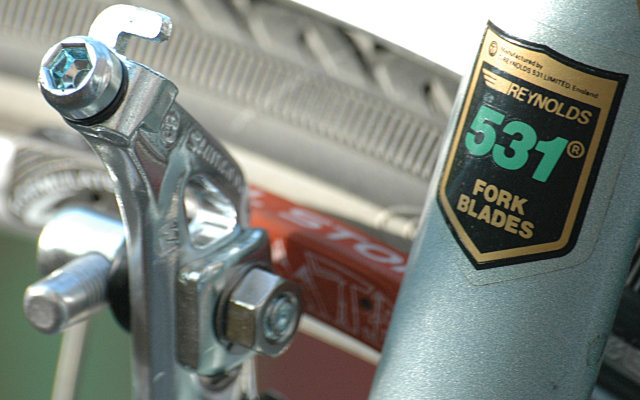
I finished fixing up the brakes on the Super Galaxy, and put new handlebar tape on the bars. I still suck at fitting bar tape; should’ve stuck to my old standard Benotto tape, which, while almost useless for shock absorption, is cheap and easy to fit.

Once all was fitted, I took it for a spin. The new brakes are a delight; very positive and extremely powerful. I will enjoy riding again.

(And yes, you bike nerds, there is no straddle cable in that picture.)

Energy Saving Tips for Canadians, #1: a name thing

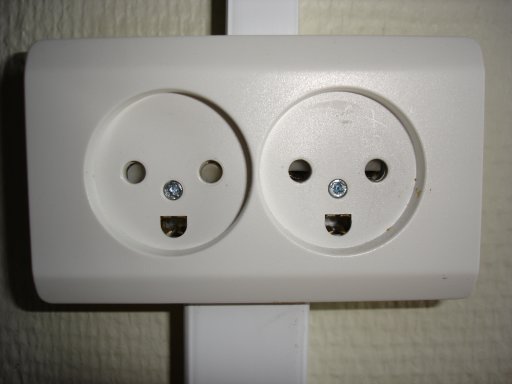
Canadians are remarkably profligate in their energy use, and I think I know why. It’s not to do with the oft-cited scale of the country, the size of our houses, our cold winters or our hot summers, it’s something simpler than that; it’s what we call our electricity.

Power here is generally known as hydro, and with it comes images of tree-lined rivers with bears happily fishing for salmon. Local electricity companies tend to have that watery thing in their name: Toronto Hydro, Hamilton Hydro, London Hydro (Crieff Hydro is something quite different, though). Some happy green images, eh?

I propose that we stop using the term hydro, and replace it with the snappier smog belching, nuke leaking, only fractionally hydro. It’d certainly make yer average Kathy or Doug drop their double-double (or donut, or dumaurier) when they got their smog belching, nuke leaking, only fractionally hydro bill in. Energy use would plummet, and at no cost to anyone!