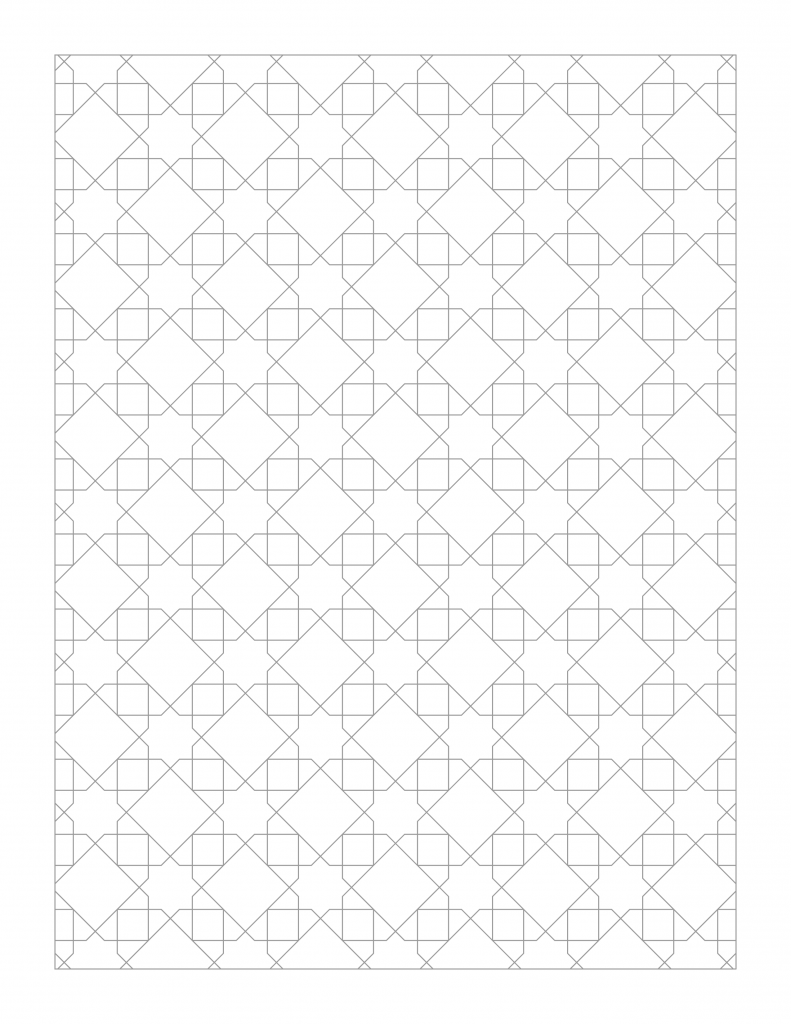
PDF, too, if you like such things: record_label_jali.pdf. Made with OpenSCAD.
PDF, too, if you like such things: record_label_jali.pdf. Made with OpenSCAD.
… only to realize I don’t really like circular key grids.

Way back, if you wanted more than one copy of something you’d written there was no print button. If you wanted copies, each one required a bit of work. Before copiers and printers there were duplicators where you could type or draw onto special membranes that either transferred ink to a printing sheet (Banda or Ditto brand machines) or made holes in a screen to allow ink through (Gestetner or Mimeograph brands). Risograph machines are modern digital ink duplicators still in use and active development today.
One of the predecessors of duplicators was the hectograph. In the 19th century they still knew their Greek and yet were totally okay with hype, the hectograph was named after the extremely, um, aspirational idea that you could pull a hundred (εκατό= hundred, in modern Greek) copies from one master. Once you’ve made a few hectograph copies, you’ll be more wondering what the heck they were thinking: you might get a few tens of legible copies if you’re extremely careful.

A hectograph copier is basically a sheet of jelly that soaks up certain kinds of ink from a master copy, then oozes the copies back onto paper pressed onto its surface. The ink slowly diffuses down through the thickness of the jelly, allowing different copies to be made with the same plate a day or so later.
Getting the right ink is a little tricky these days. Tattoo artists use hectograph ink to make stencils, so I got a small bottle of ink ($15) from Studio One (940 Queen St. East, Toronto). You can also use hecto/indelible pencils, but the National Tattoo brand one I got from Studio One barely transfers at all.
Making a copier in a kitchen is easy. There are several recipes online (University of Iowa Library and W0IS‘s being two: if you follow The New Standard Formulary historic ones, remember that white glue now is quite different from the hoof-and-hide renderings they used then). My recipe is a bit of a blend of all of these:
You’ll need a flat tray, larger that the paper you want to use. Dollar store baking trays are ideal. I used a slightly-too-small toaster oven tray, which seemed like a good idea at the time.

Now draw your master. Hectographic ink is loaded with dye, so a little goes a long way. It’s also not a modern non-blotting ink, so you need to be more sparing with it than I was.
Stick the master face down onto the jelly sheet and leave it there for about a minute. I used a brayer to press the ink onto the surface. When you lift the master off the surface, you’ll end up with a slightly ruined master —
— and a crisp, reversed image in the jelly plate. I hope yours will be less blot-ridden than mine:
Now lay your copy paper onto the jelly sheet for a few seconds. Again, I used a brayer.
The copies come out remarkably dry, but should still be allowed to dry off for a while: this is a wet copy process, after all. The copier is reusable indefinitely, and should be very lightly dampened before use.
This process is kind-of on the edge of practicality, but is not without its charms. It might be worth looking at:
(aside: I’d previously tried to make a copying pad from several layers of damp kitchen towel to transfer a drawing made with Stabilo All water-soluble pencils. As you can imagine, the ink quickly diffused along the cellulose fibres, making this process at best a very qualified success —

)
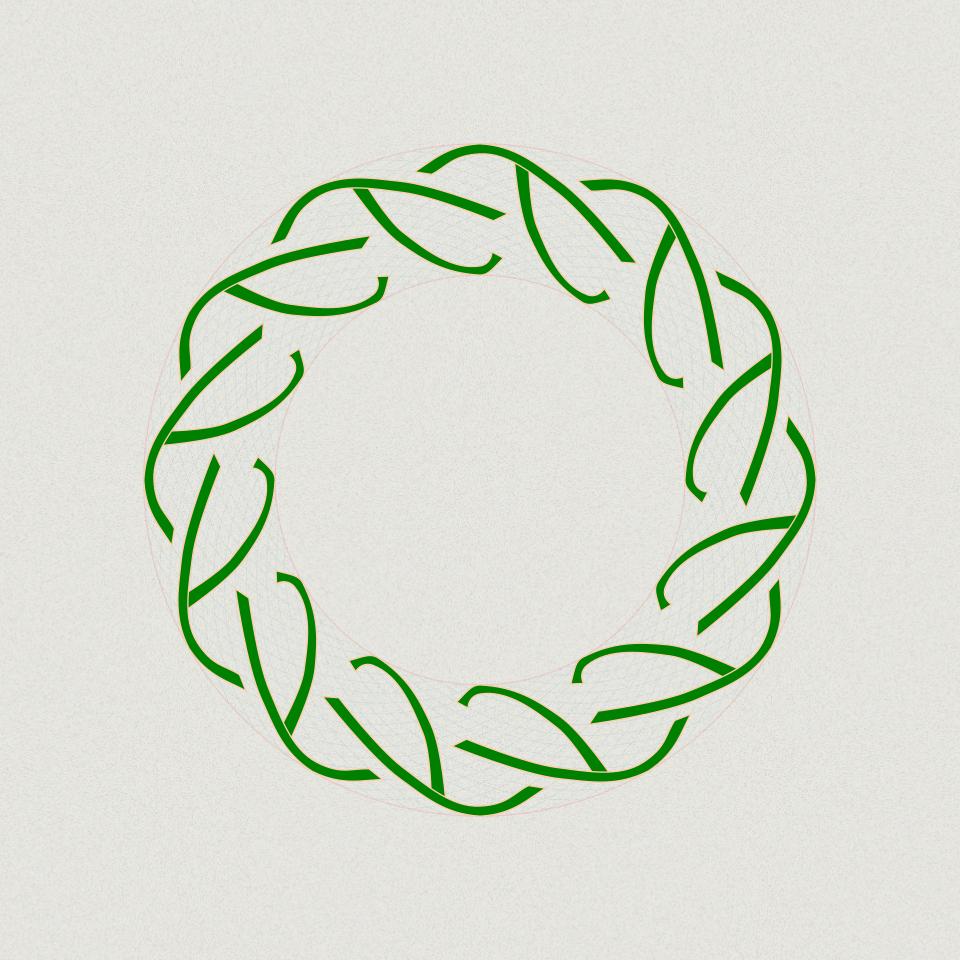
this, but with alternate lines from the plot file drawn with alternate pens. The original was slow because it had a point roughly every 0.1 mm, and this has been smoothed. Still took maybe 15-20 minutes to draw, though.
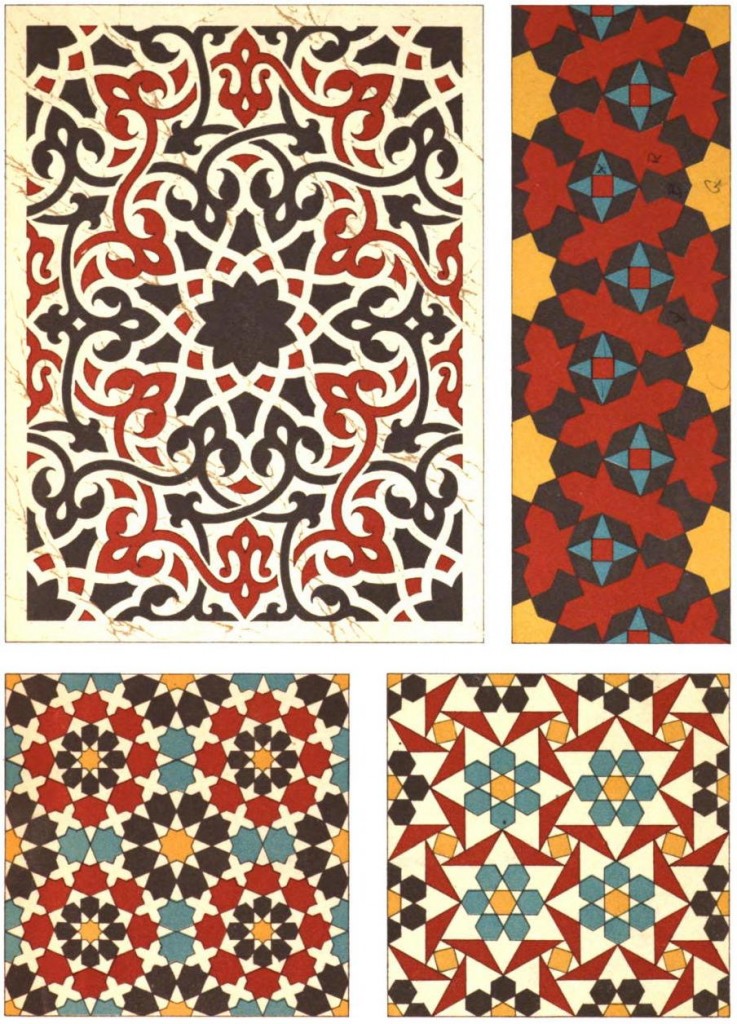 Just uploaded Les éléments de l’art arabe: Le trait des entrelacs by Jules Bourgoin (aka Arabic Geometrical Pattern & Design) to archive.org. This is much cleaned up from the Google Books scan, which had many duplicate pages and no metadata.
This is much better than the (now returned) Kindle edition …

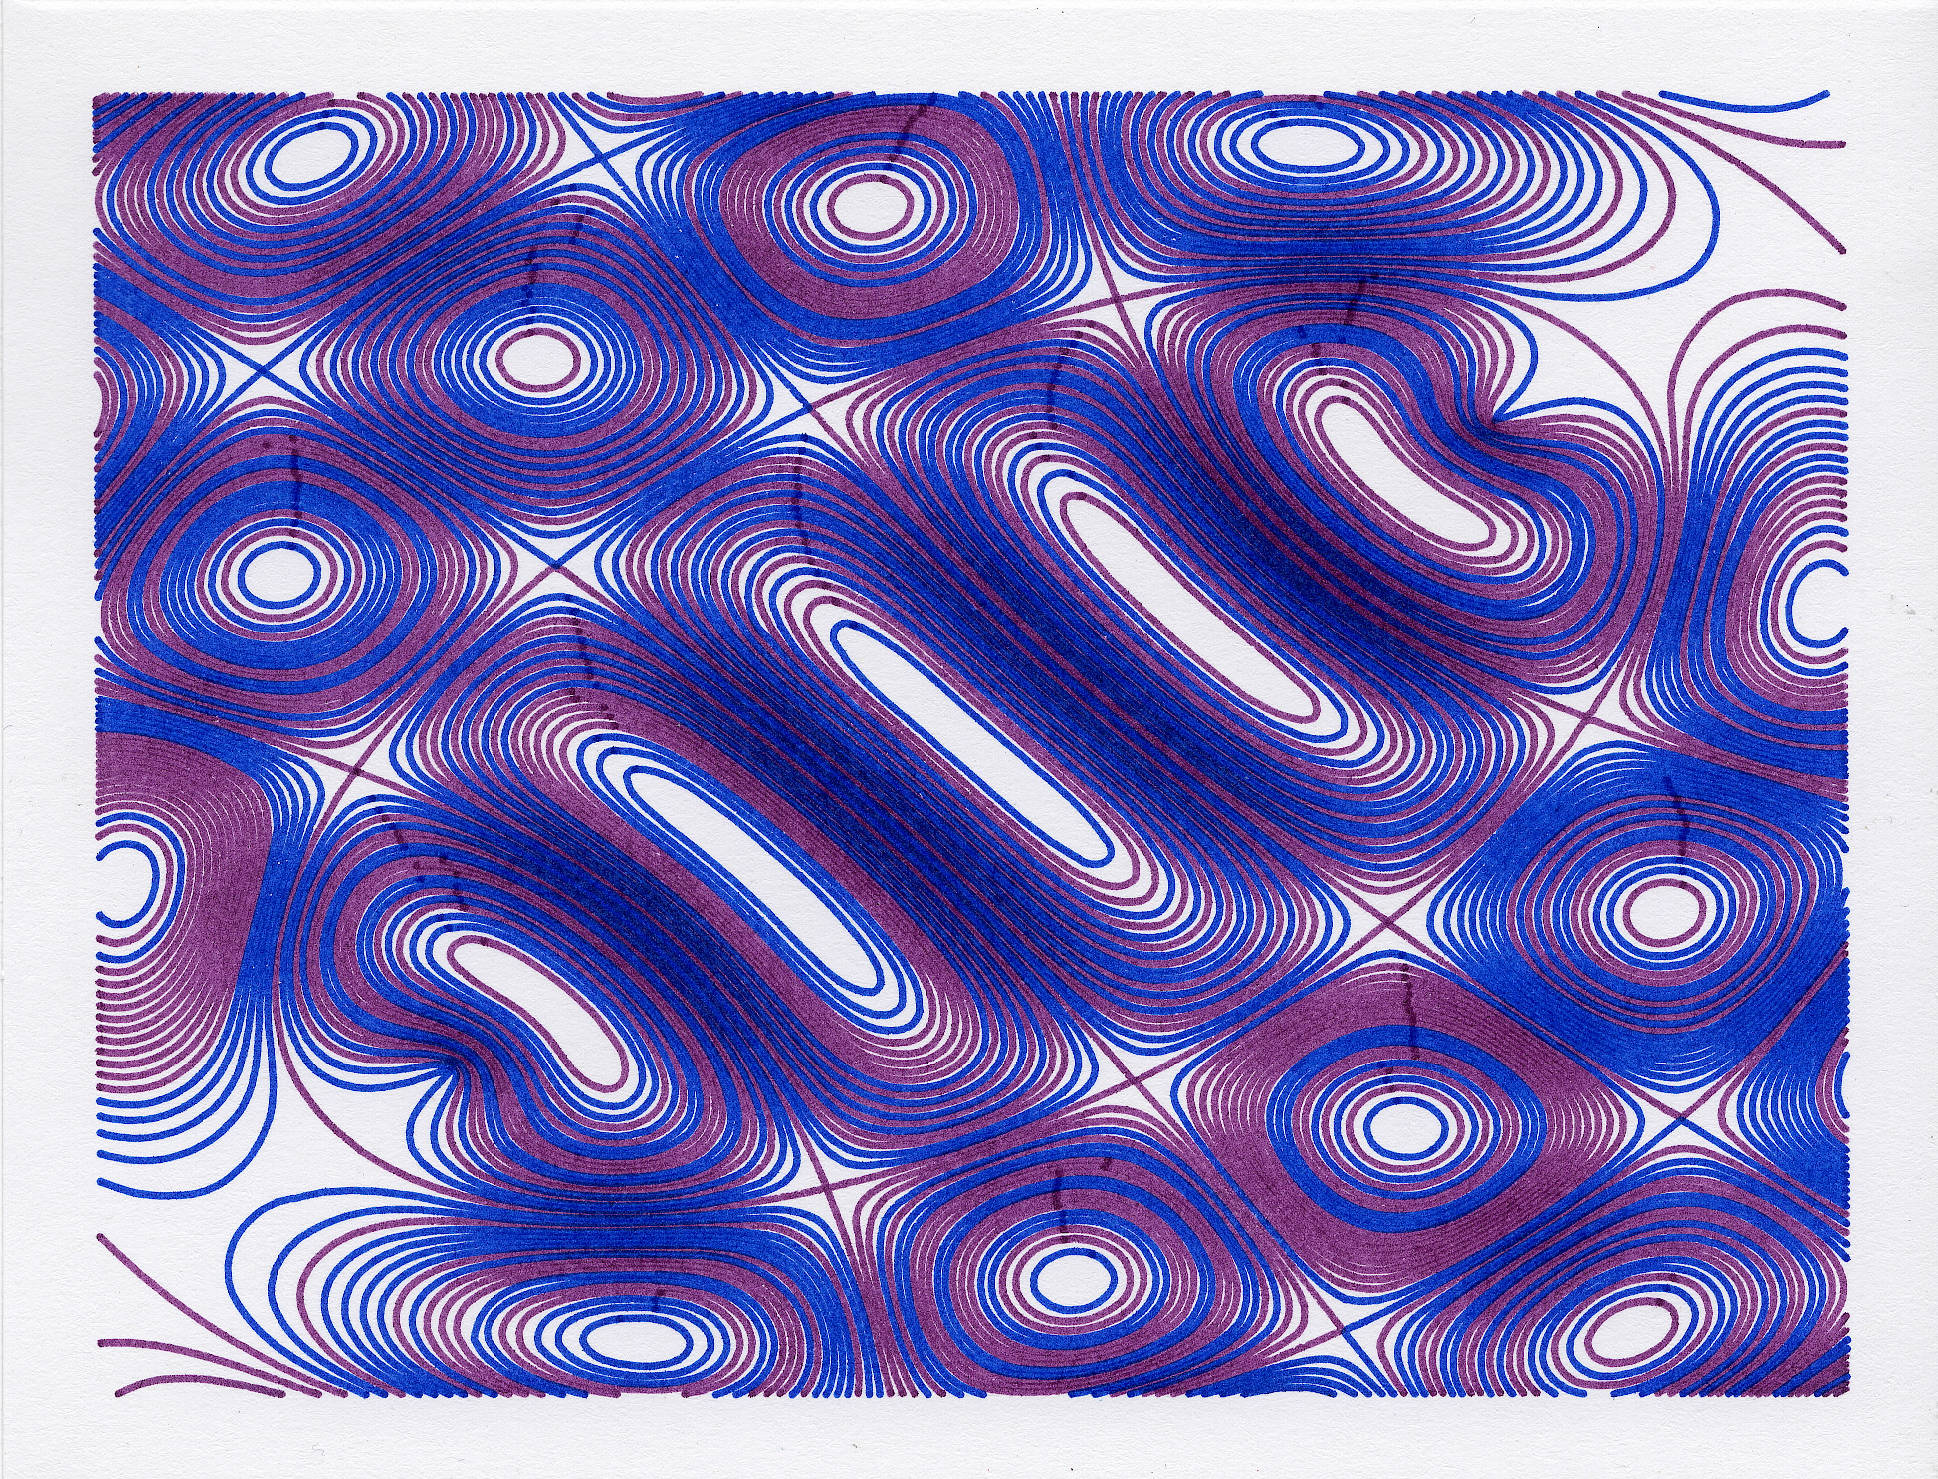
Inspired by Robert Howsare’s Drawing Apparatus, a time-step simulation of a similar apparatus was developed. Each trace was made of thousands of straight line segments, one for each rotation of the turntables’ drive motors, and enough to create a closed figure. Suitable gearing was modelled to simulate standard (North American) gramophone speeds of 16⅔, 33⅓, 45 and 78⅕ rpm for each of the turntables. Drive crank lengths were derived from standard record sizes. The initial starting angle of each turntable was also modelled.
Three simulation runs were chosen and superimposed. The result was plotted on “A” size vellum using 0.3 mm ceramic drafting pens. Total plot time at 90 mm/s: 22 minutes.
Code available on request.
(update, 2026: Code available on request if I can find it. I have implemented this project from scratch at least three different times because I forgot I’d done it before. You might say I’m forgetful, but I say I get 3× the joy of discovery this way …)


— Organic Canadian wheat on red cedar, beeswax encaustic; 72 × 182 mm.
In the Synthetic History of Canada, there was no symbol more evocative of hearth and home than the wheat board. Reconstructed here by the artist in the traditional materials of cedar [strength], wheat [abundance] and beeswax [cohesion], the wheat board is a forgotten part of Canadian lore. Its rediscovery as a domestic art form brings new hope of a progressive national identity.
Mark Dougherty says:
Cal Schenkel, who did so many great Zappa/Mothers album
covers, and some Beefheart as well, is giving away lots of
his artwork.  Just send him a dollar to cover the shipping
and he'll send you...who knows what?  Here is his link:

http://ralf.com/


David Barnes does all the artwork for Of Montreal. He’s recently opened an Etsy store under his thebeewithwheels moniker. I bought his print of the Aldhils Arboretum cover, and inside he included a little drawing. Keep running, finch-headed man!
Three consecutive tracks in today’s the automatic podcast from “& His” artists:
To become the world’s greatest join-the-dots artist. Observe the economy of my dots, the clarity of my numerals.
The PhotoSmart has an ability to print various ruled paper forms: lined, todo lists, and graph paper. But what they print for graph paper is merely squared paper:
Graph paper’s the stuff with 1mm squares. Personally, I was disappointed that it wouldn’t print log ruled and Smith charts, but that’s just me …
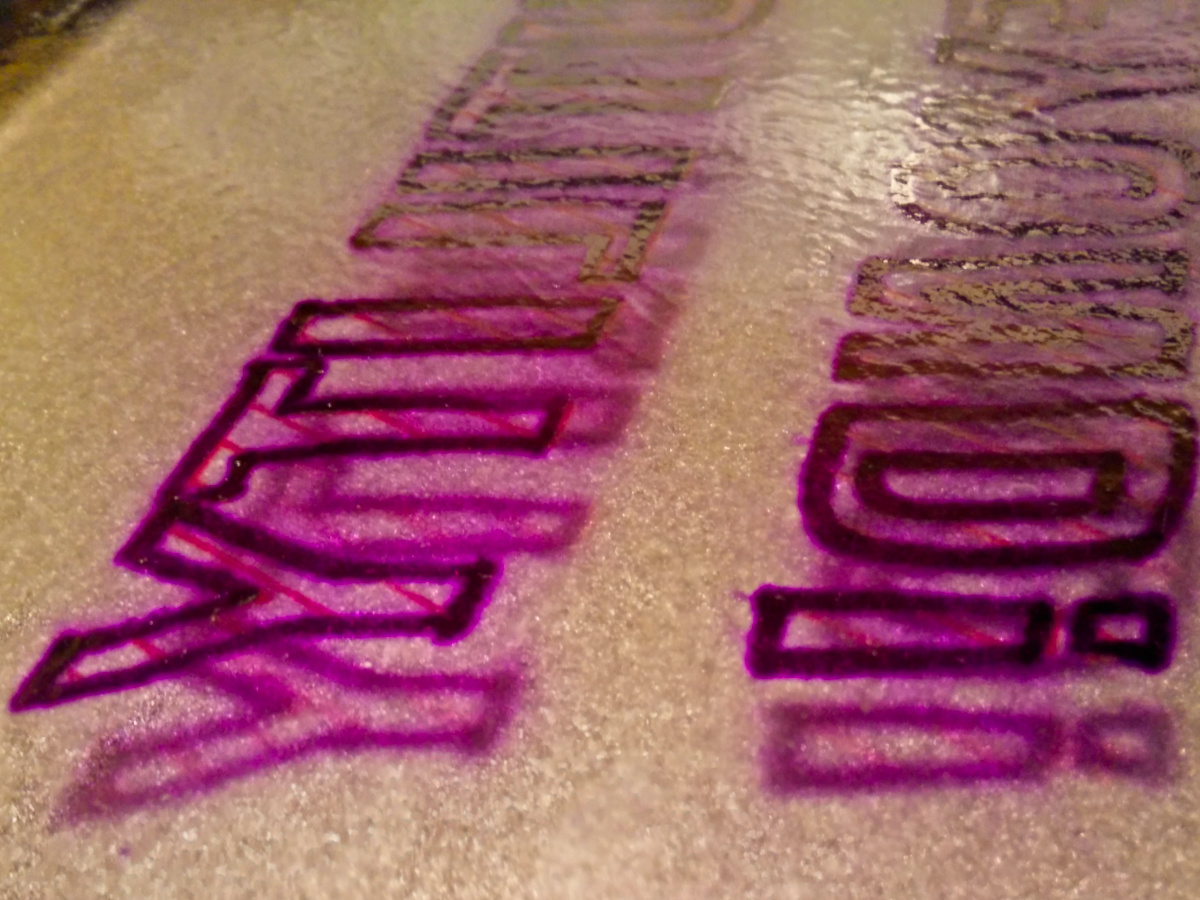
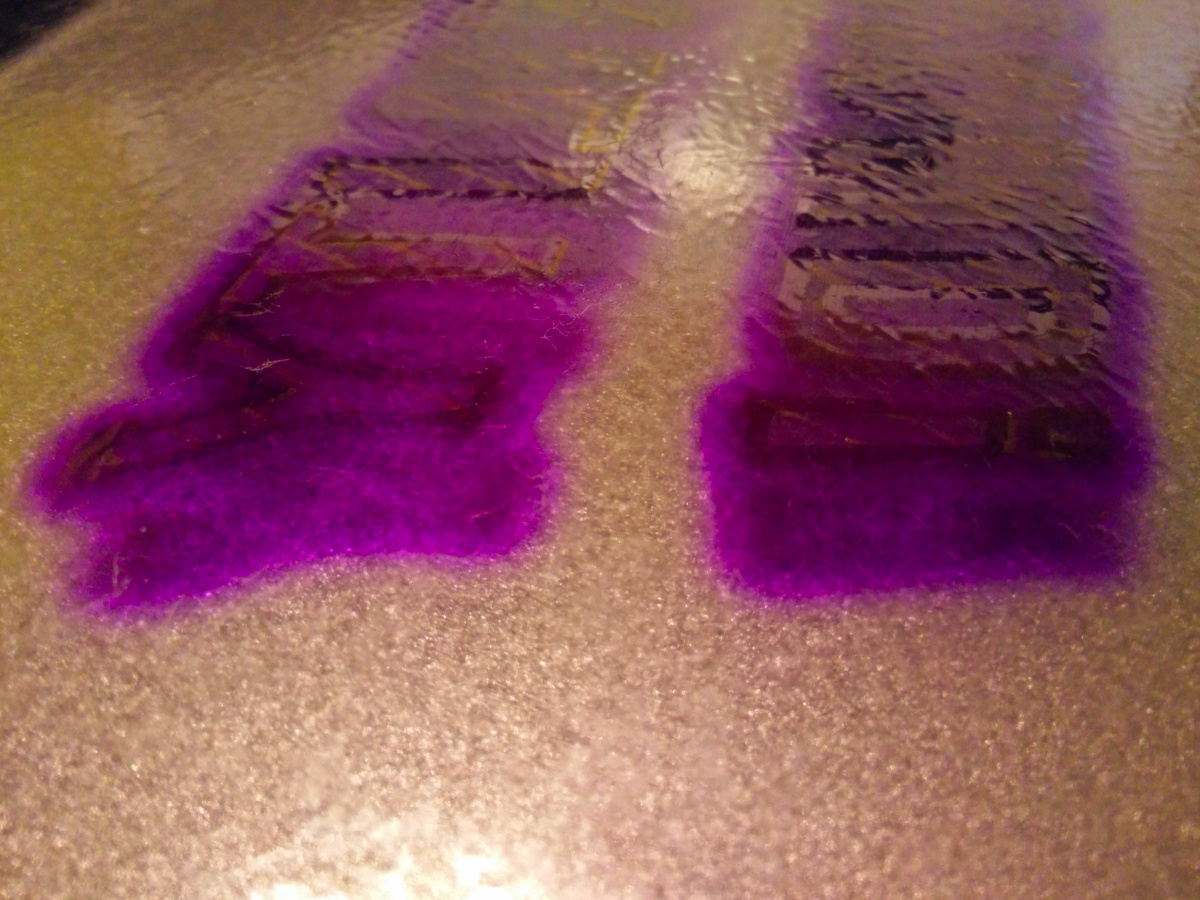
“if the sale of spray paint to minors was banned, I’d be dealing drugs and killing your kids. Now I’m an artist …”
I just can’t get the B-part of Sail Away Ladies down, so the ladies will have to stay on land for now.
Paul Hart has just launched Relovable: Share kids’ clothes & toys in your area. It’s rather clever.