
I saw this headline, and couldn’t help myself.
(Real article: Narwhals Are Helping NASA Understand Melting Ice and Rising Seas – Bloomberg, via mylesb.)
work as if you live in the early days of a better nation

I saw this headline, and couldn’t help myself.
(Real article: Narwhals Are Helping NASA Understand Melting Ice and Rising Seas – Bloomberg, via mylesb.)
Well, that was easy!
Since the Verbal Machines VM-CLAP1 sensor is an open collector type — that is, it sinks current when triggered — it behaves like a simple button to gpiozero, the Raspberry Pi Python GPIO library. If you attach a callback function to the sensor’s when_pressed event, your Python script will call that function every time it registers a clap.
The wiring is as simple as it could be:
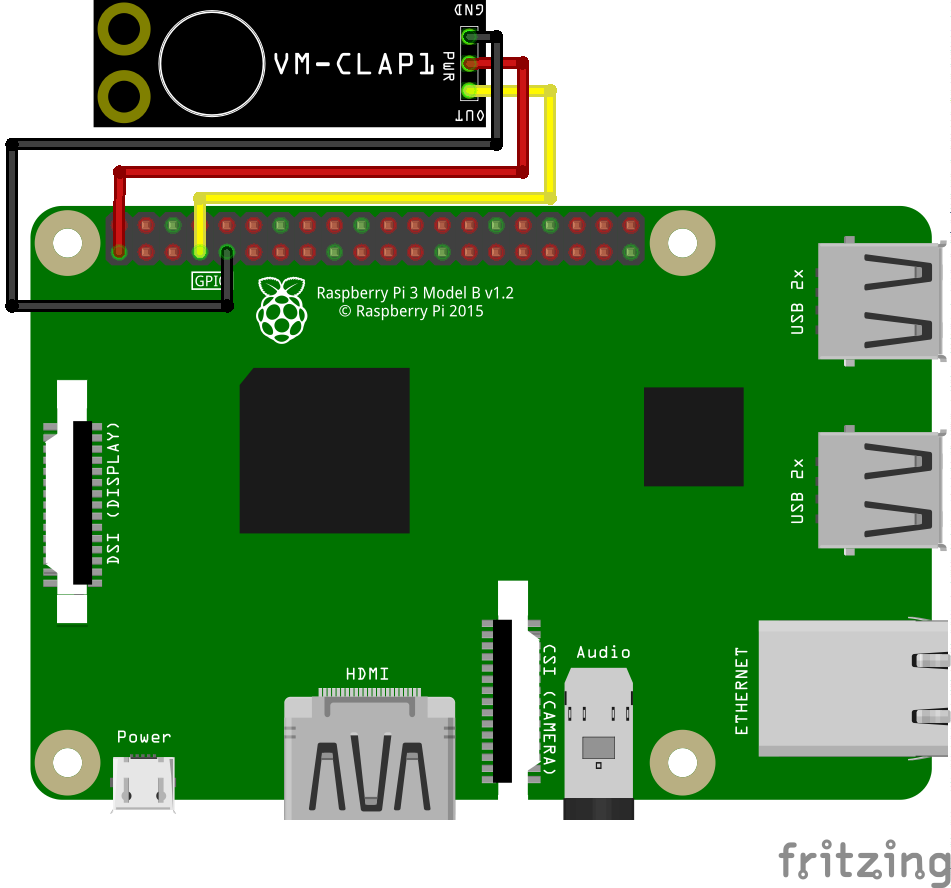
 VM-CLAP1: Raspberry Pi:
 ========= =============
      GND → GND
      PWR → 3V3
      OUT → GPIO 4
This example code just prints clap! when the board picks up a ðŸ‘:
#!/usr/bin/env python3
# -*- coding: utf-8 -*-

# Raspberry Pi gpiozero test for
# Verbal Machines VM-CLAP1 clap sensor
#   scruss - 2017-06
#
# Wiring:
#
#  VM-CLAP1:    Raspberry Pi:
#  =========    =============
#    GND     →   GND
#    PWR     →   3V3
#    OUT     →   GPIO 4

from gpiozero import Button
from signal import pause

def clapping():
        print("clap!")

clap = Button(4)
clap.when_pressed = clapping
pause()
This is a trivial example, but at least it shows that anything you can do with a button, you can also do with this hand-clap sensor.
(to explain this: Origin of a geometric tile design pattern?)
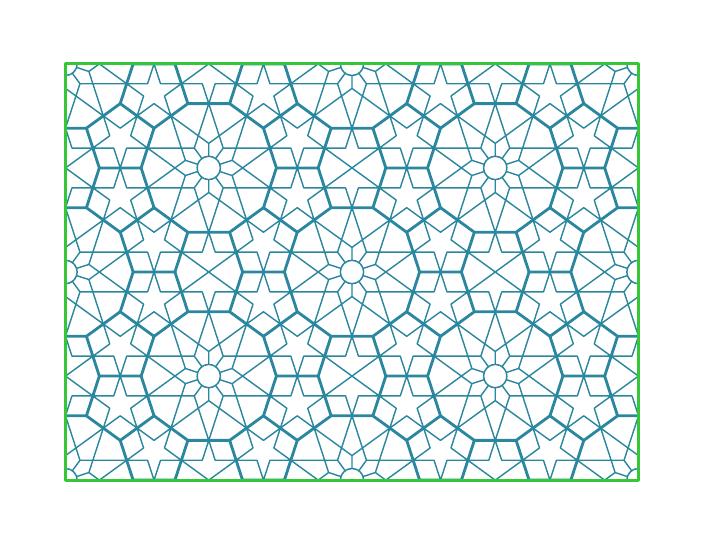
based on the main repeating pattern from a Pierced Window Screen at The Metropolitan Museum of Art — particularly this image.
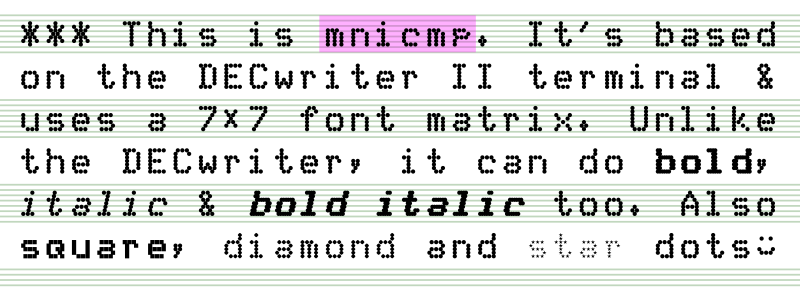 I just made and uploaded this to FontLibrary: mnicmp.
This is meant more as an exercise in learning FontForge‘s programming back-end, and definitely showed me that FontForge is incredibly powerful. After the learning comes silliness, so I ended up turning the dots into something like:
 I learned you really have to consider a dot-matrix font to be an array of points rather than a glyph, because otherwise you get the dots coming out the wrong sort of oval:

You don’t want to know what it did to the stars …
Local archive: mnicmp.zip
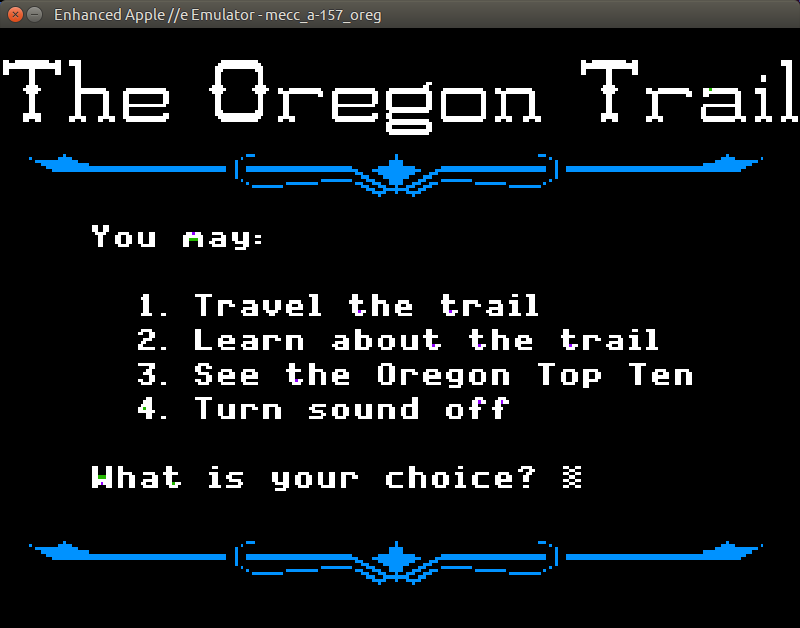
Update: You probably want to use https://github.com/linappleii/linapple instead of Linapple-Pie these days.
Building and installing the linapple-pie Apple IIe emulator is relatively easy on the Raspberry Pi:
sudo apt install libcurl4-openssl-dev libzip-dev zlib1g-dev libsdl1.2-dev libsdl-gfx1.2-dev libsdl-image1.2-dev libsdl-sound1.2-dev build-essential git
git clone https://github.com/dabonetn/linapple-pie.git
cd linapple-pie/src
make
sudo make install
This also works on an x86_64 Ubuntu machine. It does also install on a PocketCHIP (even if it takes a really long time) but I can’t get the display resolution to fit correctly.
I’ve found that OpenSCAD is really good for producing 2d designs in a very small amount of code. Here are three examples to play with:
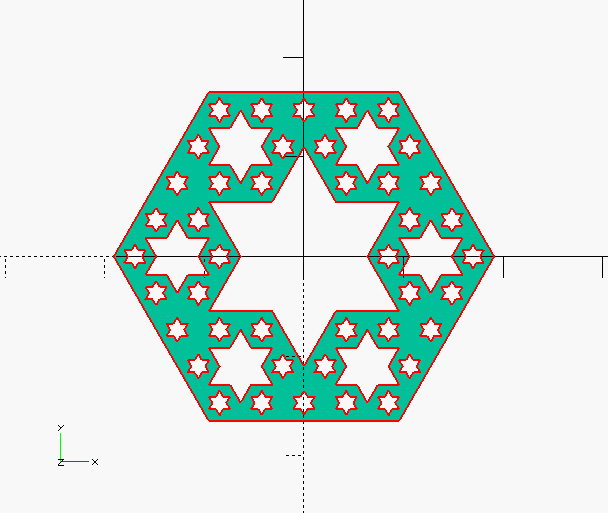 Diagonal Section through Menger sponge (SVG) (OpenSCAD source) — this may take a while to render, as it’s making a Menger sponge in 3D and then slicing through it to make the projection.
(If you take out the projection() clause, it looks like this in 3D:
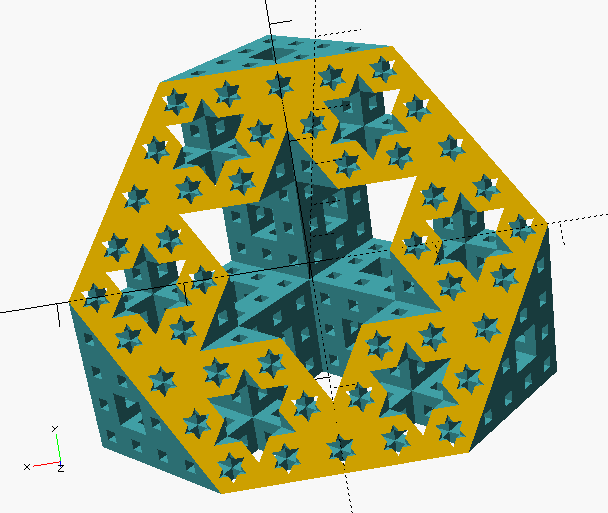 )
)
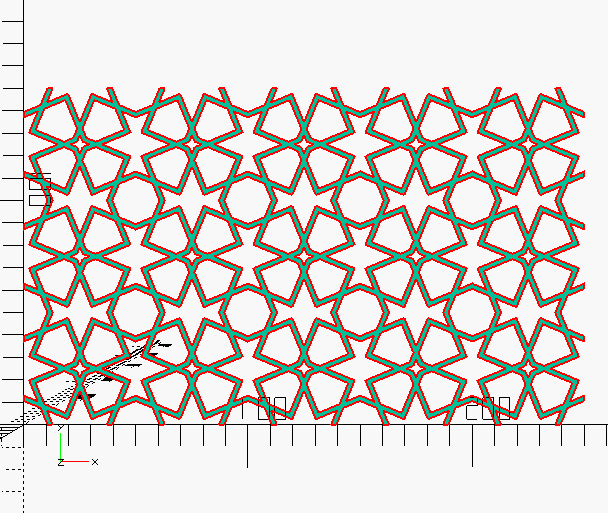 Pattern from Ak Medrese, Nigde, Turkey (SVG) (OpenSCAD source) — design after a construction by Eric Broug.
 Basis of a pattern from the Alhambra (SVG) (OpenSCAD source)
Yep, Marcus Gipps is at it again with a new Kickstarter campaign:
As part of my research into the JP Martin archives, I discovered both a biography of JPM himself, written by his daughter Stella Currey, and around 50 pages of unpublished Uncle stories which either didn’t make it into the finished books, or were heavily reworked. I’m now running a kickstarter to publish these two things in one volume of around 400 pages, which will be available in paperback, ebook or a limited hardback with the same specifications as THE COMPLETE UNCLE. The details are all here:
My latest kickstarter campaign, to publish a biography of JP Martin, creator of UNCLE, is now live!
If you’re able to back this new kickstarter, thank you very much – we’ve already hit our goal, but the more support I get now, the more copies I can print for the bookshops. And apologies if you’ve already backed, or have had this email more than once.
— Unpublished UNCLE tales & JP Martin – Father of Uncle
I am, of course, already on it like stink on Beaver Hateman.
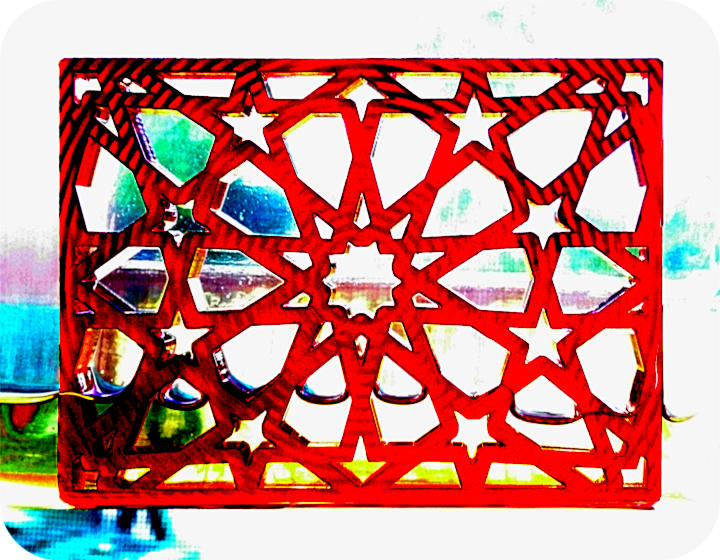
Getting the backing paper off laser cut acrylic is a pain. Some people recommend d-limonene, a citrus-derived solvent that is the main active ingredient of Goo Gone.
Pour a little Goo Gone into a tough freezer baggie, and place your acrylic part inside. Seal it up, and lay it flat for a few minutes. After that, flip it over and let the other side soak for a few. Open the bag and fish out your work. The backing paper should just slough off. Now rinse off the acrylic with washing-up liquid/dish detergent and warm water, taking care not to scrape the surface. You should now have a perfectly clean and shiny acrylic object. The d-limonene has the pleasant side-effect of de-stinkifying the cut plastic, too.
You should be able to re-use the Goo Gone baggie many times if you’re careful. You might not be able to rinse Goo Gone down the drain where you are; please check local regulations.
(The piece is the non-broken version of this.)
Some ideas are truly brilliant:
they resonate immediately with
all of humanity. Some ideas
are merely great: in time,
their value becomes clear
to all. Some ideas, however,
are like this one ...
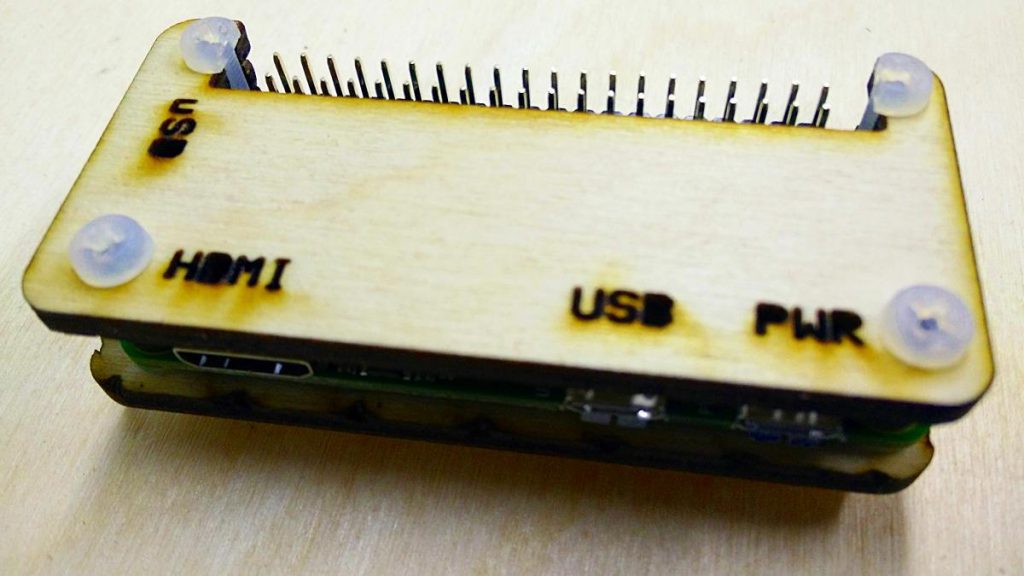
I’d tried making several Raspberry Pi Zero enclosures, but none of them quite worked. My needs are pretty simple, but I do need to be able to fit a full 40 pin strain-relieved (possibly keyed) header into the device while keeping questing fingers and dropped conductors off the circuit board.
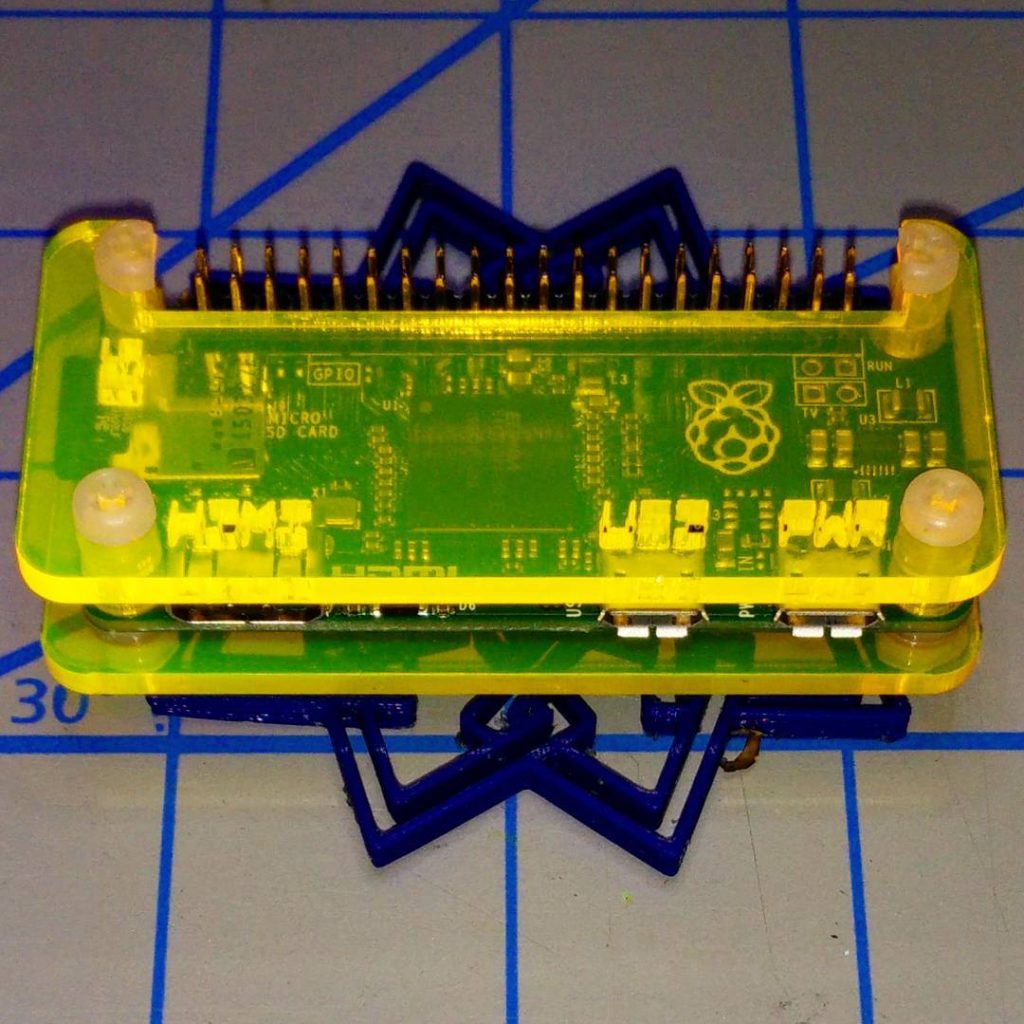
So working from a (scaled) version of the Raspberry Pi Zero Mechanical Drawing, I made a case that meets some very basic requirements:
To the extent possible under law, Stewart C. Russell has waived all copyright and related or neighbouring rights to the “Coo~Coo†Raspberry Pi Zero Case. This work is published from: Canada.
Why the odd “Coo~Coo†name? Well, look at the pattern of spacer washers and half-spacer washers:
To save material, I arranged these washers inside the GPIO cutout. I realised that I could spell COO~COO. It’s even clearer on the cutting document:

Update: here’s a revised path that cut well with acrylic and probably will work slightly better on plywood, too: coo-coo-rpi_zero-acryl.zip
(If you do use acrylic, let me introduce you to one of the marvels of backing-paper removal: d-limonene. This fruity solvent — present in products like Goo Gone — causes backing paper to slough off with only a few minutes’ soaking. It washes off to a clean shine with water and dish soap/washing up liquid. I have just saved you fingernails from certain damage!)
The cutting path in the PDF could use a little clean up if you want to try this design in acrylic. The base of the design has been flipped so that any laser flare will be hidden inside the case.
You’ll need four M2.5 or M3 nylon screws of 20 mm length, plus 8 washers and 4 nuts. M3 screws of this length are easier to get, but the mounting holes in the Raspberry Pi Zero are only 2¾ mm in diameter. You can thin the M3 screws down slightly by lightly twisting them inside a piece of folded fine sandpaper. You’ll still have to push them through the Raspberry Pi Zero circuit board with a little force, though.
Cutting & Assembly Instructions
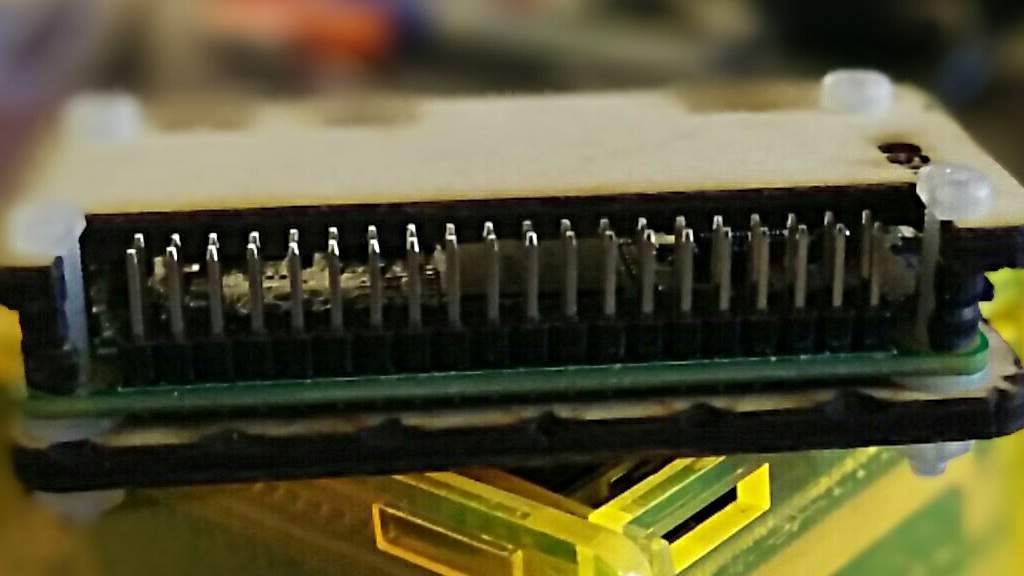
The new Raspberry Pi Zero with camera connector should also fit, but I don’t have one to test it.
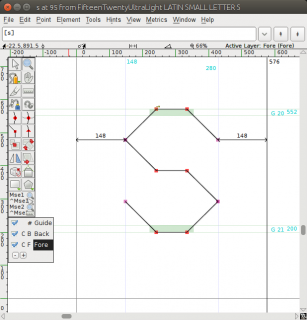 Following on from FifteenTwenty, I made a hairline/single stroke version of the font especially for CNC use. This is a slight misuse of the OpenType format, but if you’re plotting/CNCing/laser cutting, the filled paths of standard fonts don’t work so well. Single-line (or stroke) fonts used to be possible in PostScript — the version of Courier shipped with early Apple LaserWriter printers was composed of strokes, rather than filled paths — but have fallen out of favour. If you have a device with a defined tool width, it’s better to let the tool make the width of the mark/cut. Here’s the hairline font plotted with a 0.7 mm pen to illustrate what I mean:
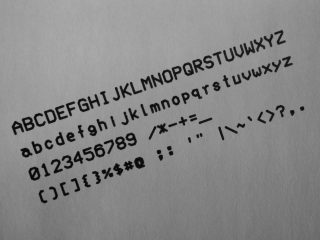 This font is almost invisible on screen or on a regular printer, so I don’t recommend installing it unless you have specific CNC/plotting needs. Please note that the font will cause your device to follow the tool path of each letter twice.
Download: FifteenTwenty-master.zip FifteenTwenty-UltraLight.zip (or more options …)
 Nope, no clue. Here’s the source if you want to play with it in a vector drawing program.
![[tÉ’k bÉ’ks]: case](http://scruss.com/wordpress/wp-content/uploads/2016/02/25220880945_e5dea2e10b_z-320x241.jpg)
![[tÉ’k bÉ’ks]: inside](http://scruss.com/wordpress/wp-content/uploads/2016/02/25193633666_517b25105c_z.jpg)
DEC is long gone, and the licensing of DECTalk has wandered off into mostly software. Much to the annoyance of those in earshot, I’ve always enjoyed dabbling in speech synthesis. DECTalk hardware remains expensive, partly because of demand from electronic music producers (its vocoder-like burr is on countless tracks), but also because there are still many people who rely on it for daily life. I couldn’t justify buying a real DECTalk, but I found this: the Parallax Emic 2 Text-to-Speech Module. For about $80, this stamp-sized board brings a hardware DECTalk implementation to embedded projects.
The Emic 2 is really marketed to microcontroller hobbyists: Make Your Arduino Speak! sorta thing. But I wanted to make a DECTalk-ish hardware box, with serial input, a speaker, and switchable headphone/line jack. [tÉ’k bÉ’ks] (a fair approximation of how I pronounce “Talk Boxâ€) is the result.
Emic 2             Serial
======             ======
 GND                GND
 5V                 Vcc
 SOUT               RXD
 SIN                TXD

Emic 2             Speaker
======             =======
 SP-                -
 SP+  (via switch)  +
You’ll need some kind of serial terminal connection. In a pinch, you can use the serial monitor that is in the Arduino development environment. Either way, identify your serial port (/dev/ttyUSBN, COMN:, or /dev/tty-usbserialNNNN) and find a way to send 9600 baud, 8N1 characters to it. Hit Return, and you should be greeted by the Emic 2’s : prompt (or a ?, followed by :). Whether you get the prompt or not depends on whether local echo is set or not. Either way, try sending this line:
SAll watched over by machines of loving grace.
You should hear a voice say the title of Richard Brautigan’s lovely poem All Watched Over by Machines of Loving Grace (caution: video link contains nekkid hippies). You should get the : prompt back once the the speech has stopped. And that’s all there is to it: send an S, followed by up to 1023 bytes of (basically ASCII) text, followed by a newline, and it will be spoken. There’s more detail, of course, in the Emic 2 documentation and the Emic 2 Epson/Fonix DECTalk 501 User’s Guide for changing voices, etc. Yes, you can make it sing. No, you probably shouldn’t, though.
Notes
To end, here’s the Emic 2’s “Dennis†voice reading all of Brautigan’s All Watched Over By Machines of Loving Grace:
(plain link: molg-dennis-140wpm-16khz.mp3)
(even plainer link if you can’t decode MP2 files: molg-dennis-140wpm.mp3)
(recorded and edited for length with Audacity. No hippies — nekkid, or otherwise — were harmed in the making of this recording.)
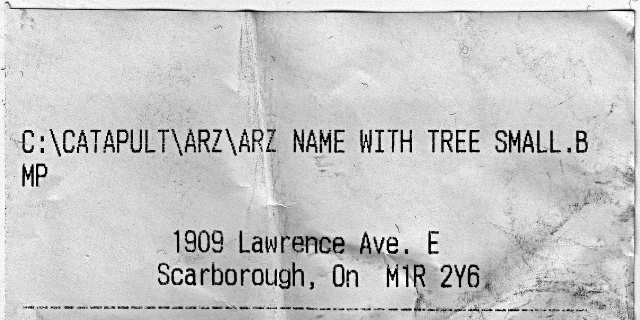
This is from Arz Fine Foods. Their logo is a tree. On this receipt, they’ve got a tree alright, but no-one expected an MS-DOS directory tree. I think, as we sort of say in Scotland, that someone made an arz of this …
(I’m not hating on Arz, btw. They have an epic selection of foods, including fresh Sukkari dates.)

I still have lots of work to do, but at least now I can make buffered outlines of the 1967-vintage Hershey character glyphs into Fontforge-friendly vectors.
My goal is to release these as OTF fonts, rendered as it they’d been drawn by a constant line width pen plotter or film recorder, as was used in Dr Hershey’s day. Frank at Kiosk Fonts has loftier goals, and may actually release pretty fonts one day …