cp2up.sh — fits the important part of Canada Post print labels two per sheet

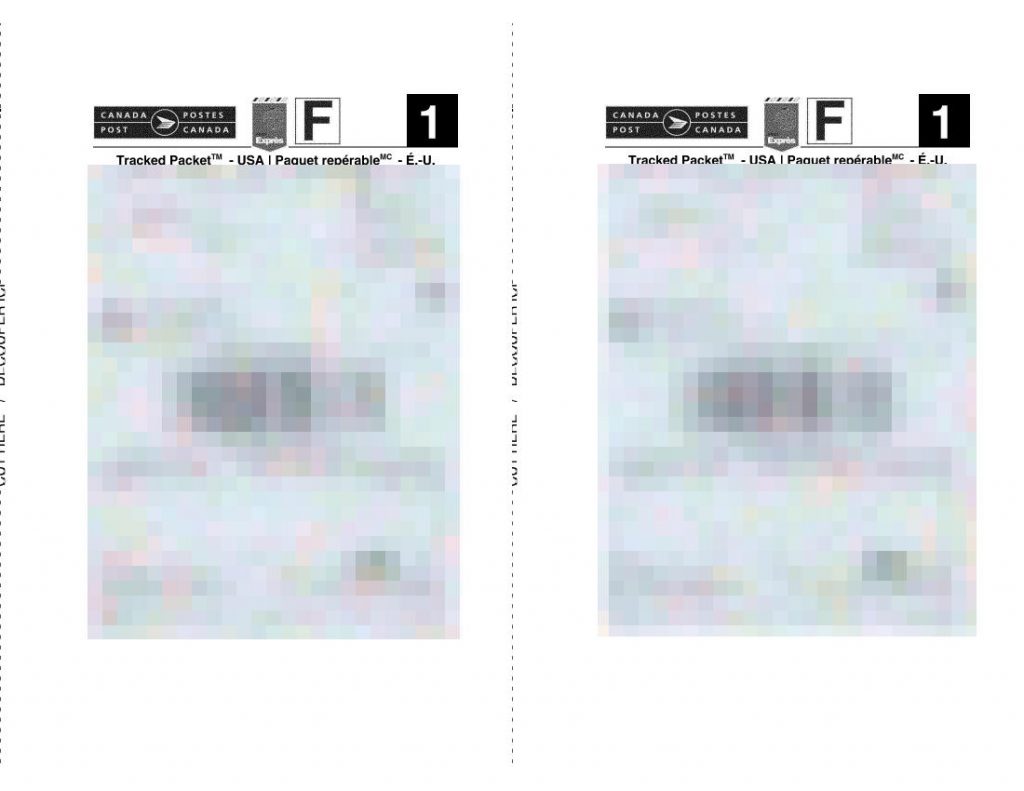
blurred (for privacy) 2-up landscape page of Canada Post Tracked Package (to USA) shipping labels made by this script
no you will not read my 2-up shipping labels

If you need to ship things, you’re probably not too keen on queuing at the post office right now. Canada Post’s Ship Online service is pretty handy if you have a printer. The PDFs it produces are okay to print on plain paper, but if you’re using full-sheet labels like Avery 5165 you’re going to waste half a sheet of expensive labels.

If you’ve got two parcels to mail, this shell script will extract the right side of each page and create a single 2-up PDF with both your labels on the same page. You will need:

On my Ubuntu system, you can get good-enough¹ versions by doing this:

sudo apt install poppler-utils netpbm img2pdf

The code:

#!/bin/bash
# cp2up.sh - fits the important part of Canada Post print labels 2 per sheet
# scruss, 2021-05 - CC-BY-SA
# hard-coded input name (document.pdf)
# hard-coded output name (labels-2up.pdf)
# accepts exactly two labels (sorry)

dpi=600
width_in=11
height_in=8.5
# png intermediate format uses pixels per metre
dpm=$(echo "scale=3; $dpi * 1000 / 25.4" | bc)
# calculated pixel sizes, truncated to integer
half_width_px=$(echo "$width_in * $dpi / 2" | bc | sed 's/\..*$//')
height_px=$(echo "$height_in * $dpi" | bc | sed 's/\..*$//')

pdftoppm -mono -r "$dpi" -x "$half_width_px" -y 0 \
	 -W  "$half_width_px" -H "$height_px" document.pdf labels
pnmcat -lr labels-1.pbm labels-2.pbm |\
    pnmtopng -compression 9 -phys "$dpm" "$dpm" 1 > labels.png \
    && rm labels-1.pbm labels-2.pbm
# fix PDF time stamps
now=$(date --utc --iso-8601=seconds)
img2pdf -o labels-2up.pdf --creationdate "$now" --moddate "$now" \
	--pagesize "Letter^T" labels.png \
    && rm labels.png 

# saved from:
# history | tail | awk '{$1=""; print}' |\ 
#           perl -pwle 'chomp;s/^\s+//;' > cp2up.sh

It’s got a few hard-coded assumptions:

  • input name (document.pdf);
  • output name (labels-2up.pdf);
  • accepts exactly two labels (sorry).

Clever people could write code to work around these. Really clever people could modify this to feed a dedicated label printer.

Yes, I could probably have done all this with one ImageMagick command. When ImageMagick’s command line syntax begins to make sense, however, it’s probably time to retire to that remote mountain cabin and write that million-word thesis on a manual typewriter. Also, ImageMagick’s PDF generation is best described as pish.

One of the issues that this script avoids is aliasing in the bar-codes. For reasons known only to the anonymous PDF rendering library used by Canada Post, their shipping bar-codes are stored as smallish (780 × 54 px) bitmaps that are scaled up to a 59 × 19 mm print size. Most PDF viewers (and Adobe Viewer is one of these) will anti-alias scaled images, making them slightly soft. If you’re really unlucky, your printer driver will output these as fuzzy lines that no bar-code scanner could ever read. Rendering them to high resolution mono images may still render the edges a little roughly, but they’ll be crisply rough, and scanners don’t seem to mind that.

split image of simulated printed barcode: top image is five indistinct black-grey bars merging into a white background, bottom image is the same vertical lines, rendered crisply but showing some slightly rough edges
fuzzy vs crisply rough: scaled image (top) vs direct-rendered (bottom), at simulated 600 dpi laser print resolution

¹: Debian/Ubuntu’s netpbm package is roughly 20 years out of date for reasons that only a very few nerds care about, and the much better package is blocked by Debian’s baroque and gatekeepery packaging protocol. I usually build it from source for those times I need the new features.
Possibly Painless Network Printing from your Raspberry Pi

Printing from computers goes through waves of being difficult to being easy, then back to difficult again. This is likely due to the cycles of technology, complexity and user demand flow in and out of sync. I think we’re at peak annoyance right now.

It’s even harder with Raspberry Pis, as when printer drivers support Linux, 90% of them are for x86 or x86_64 computers only (Canon: ಠ_ಠ). ARM doesn’t get a look in. But one technology does actually seem to help: network printers that support IPP — Internet Printing Protocol.

We had an old Brother laser printer that just got slower and crankier and less useful as a printer, so yesterday I got a new Brother DCP-L2550DW to replace it. It says it supports Linux in the spec, but I knew not to be too optimistic with my Raspberry Pis. And indeed, it was seen on the network but no driver was found. I had a sad.

What turned my frown upside down was finding out about Raspbian’s cups-ipp-utils package. For desktop use, install it this way:

sudo apt install cups cups-ipp-utils system-config-printer

(leave off system-config-printer if you’re running from the terminal.)

Update: while you’re here, you might also want to install the print-to-PDF driver too. This allows you to print without wasting paper. Install it (and the IPP driver) with:

sudo apt install cups cups-ipp-utils system-config-printer printer-driver-cups-pdf

In many cases, this might be all you need to do: the network printers should be automatically found and added as devices.

Adding the new printer

On the desktop, open up Preferences → Print Settings and add a new printer. Yes, it prompts for your user password which you may have forgotten. I’ll wait while you try to remember it …

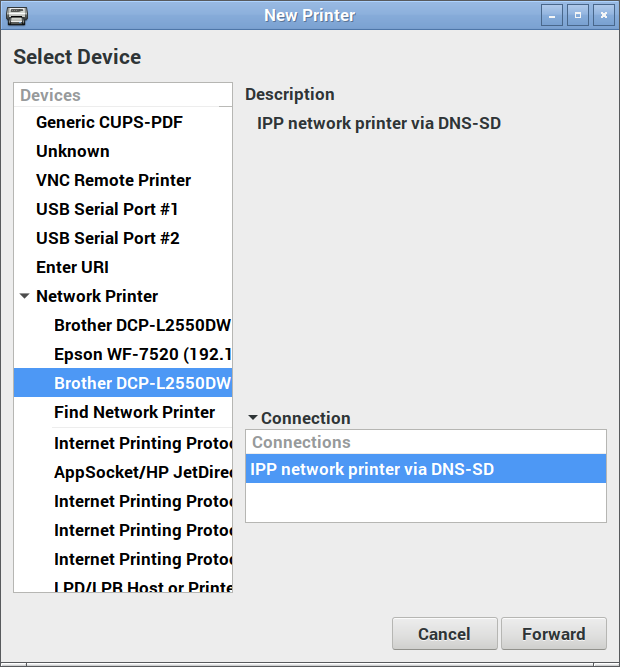
Now under Network Printers, you should see a device you recognize. Pick the one that says IPP network printer somewhere:

IPP network printer

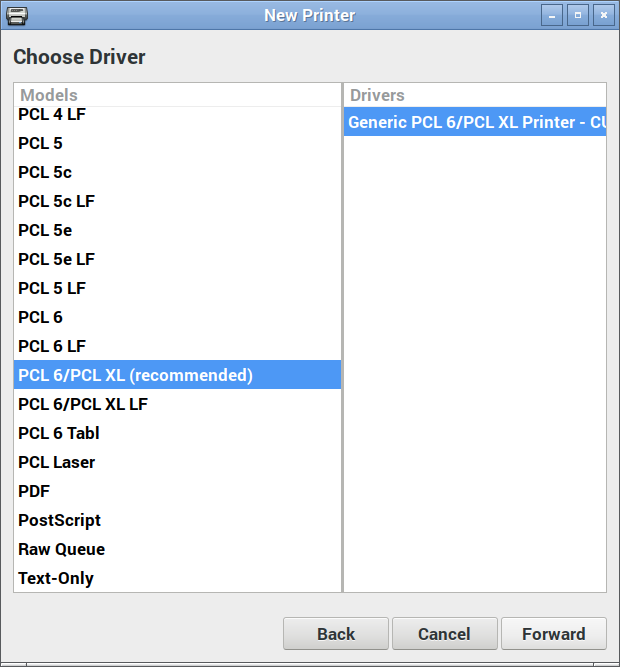
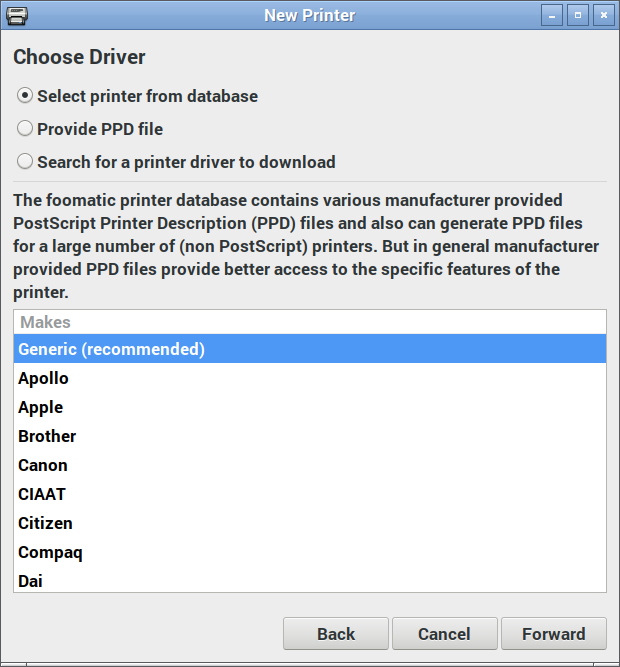
Here’s where the magic happens: you actually want to pick the generic driver for once:

Select Generic (recommended) manufacturer

And again, the IPP utilities package will have picked the right driver for you:

Just go with what the driver suggests

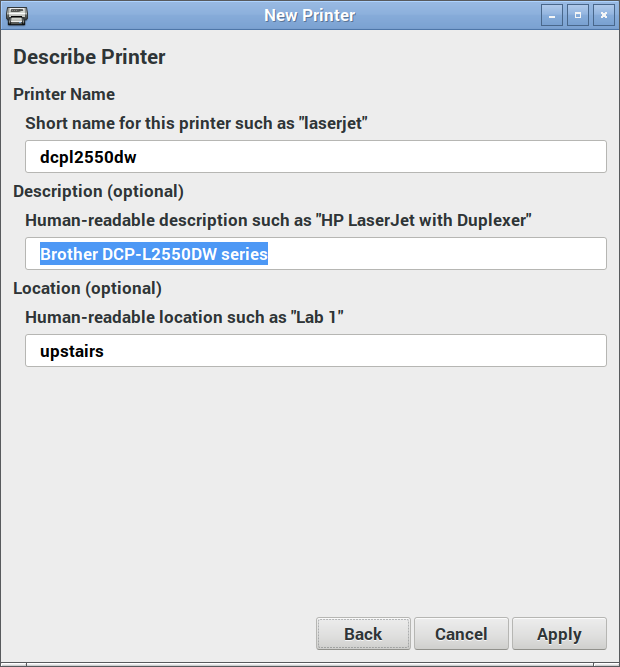
Changing the name and location is optional:

Your new printer’s almost ready to go!

Hit Apply, and you should be printing!

(Hey, printer manufacturers have been known to be evil and make good, working stuff suddenly not work. IPP is supposed to make everything sparkly again, but I can’t guarantee that something wicked won’t come this way.)

Update: After a few months of using the Brother DCP-L2550DW, I don’t recommend you buy it. It’s a perfectly capable printer, but it takes ‘chipped’ toner cartridges that:

  1. stop dead when you hit their page count limit, wasting toner and preventing you from finishing the print job;
  2. can’t easily be refilled by local technicians, so are wasteful of resources.

To get around (1), select Continue instead of Stop in the Toner Out configuration menu.

Update, January 2020: with sales and all needing a printer for work, the DCP-L2550DW will go with me to the office. I now have a MFC-L2750DW at home that scans to network, amongst other things. IPP proved it was magic yet again by the new printer being found and just worked with all my machines as soon as I added it to the network.

pretty-printing Arduino sketches

I don’t often need it, but the code printing facility in the Arduino IDE is very weak. It has some colour highlighting, but no page numbering, no line numbering, and no headers at all.

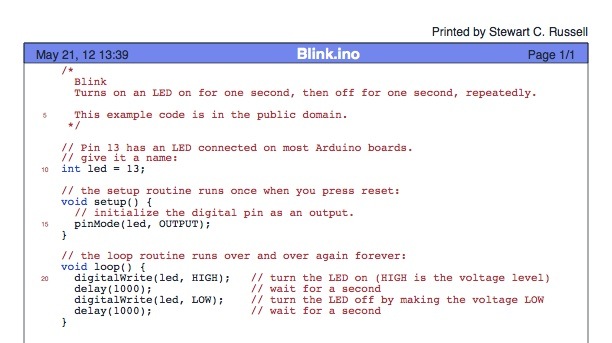
a2ps will sort you right out here. Years back, it was a simple text to PostScript filter, but now it has many wonderful filters for pretty-printing code. The Wiring/Arduino language is basically C++, and a2ps knows how to deal with that. So, to create a PostScript file with a nice version of the the most basic Blink sketch:

a2ps --pro=color -C -1 -M letter -g --pretty-print='c++' -o ~/Desktop/Blink.ps Blink.ino

If you’re somewhere that uses sensible paper sizes (in other words, not North America), you probably don’t want the -M letter option. a2ps is supposed to have a PDF print option (-P pdf), but it doesn’t work on my installation, so I just splat the output through ps2pdf. You can’t use the -P «printer» option combined with the -o «file» option, but cups-pdf is your friend if you need to print to a PDF. The results are linked below:

Not bad, eh?

(Update: think I must have written this post on a Mac with a case-insensitive filesystem. Using the --pretty-print='C++' option I had before failed on Linux.)

optar: paper-based archiving

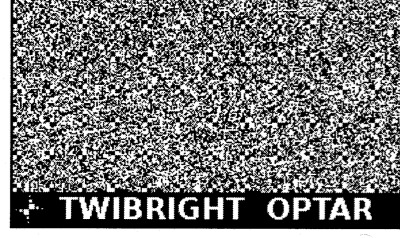
I’ve spent most of the day messing around with Twibright Optar, a way of creating printed archives of binary data that can be scanned back in and restored.  It looks like it was written as a proof-of-concept, as the only way to change options is to modify the code and recompile. Eppur si muove.

To compile the code on OS X, I found I had to change this line in the Makefile from:

LDFLAGS=-lm

to

LDFLAGS=-lm  `libpng-config --L_opts`

After trying to print some samples at the default resolution, I had no luck, so for reliability I halved the data density settings in the file optar.h:

#define XCROSSES 33 /* Number of crosses horizontally */
#define YCROSSES 43 /* Number of crosses vertically */

It’s quite important that your image prints and scans with a whole number of printer dots to image pixels. This used to be quite easy to do, before the advent of PDF’s “Scale to fit” misfeature, and also printer drivers that do a tonne of work in the background to “improve” the image. Add the mismatch between laser printer resolutions (300, 600, 1200 dpi …) and inkjets (360, 720, 1440 dpi …), and you’ve got lots of ways that this can go wrong.

Thankfully, there’s one common resolution that works across both types of printers. If you output the image at 120 dpi, that’s 5 laser printer dots at 600 dpi, or six inkjet dots at 720 dpi. And there was peace in the kingdom.

Here’s a demo, based on this:

So I took this track (which I used to have as a 7″, got at a jumble sale in the mid-70s) and converted it to a really low quality MPEG-2.5: MichelinJingle8kbit — that’s 175KB for just shy of three minutes of music (which, at this bitrate, sounds like it’s played through a layer of socks at the bottom of the Marianas Trench, but still).

Passing it through optar (which I wish wouldn’t produce PGM files; its output is mono) and bundling the pages into a PDF, I get this: optar_mj.pdf (760KB). Scanning that printout at 600dpi and running the pages through unoptar, I got this: optar1_mj.mp3. It’s the same as the input file, except padded with zeros at the end.

Sometimes, the scanning and conversion doesn’t do so well:

  • mjoptar300dpi.mp3 — this is what happens when you scan at too low a resolution.
  • mjx.mp3 — I have no idea what went wrong here, but: glitchtastic!

photo printers

I want to print some of my D70 pictures, so I asked the GTABloggers what they used:

I’m looking for a non-proprietary upload system, so Ofoto is out. I’d like to try photocentre.ca, but I know no-one who has tried them.

browser shrink-to-fit printing

I just printed one of my bank transactions. All the content fitted nicely on one page. But Mozilla, for no good reason, decided that it would print a second page with no content beyond its headers and footers.

I hate it when this happens. Mozilla shouldn’t print trailing whitespace. And if a printout uses only 10% (say) of the last page, the job should be re-run at a slightly smaller scale to make it fit.

It’s not hard to do, and it would save a lot of paper.