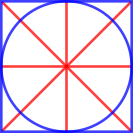
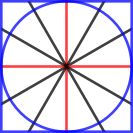
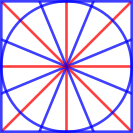
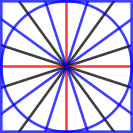
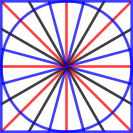
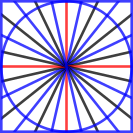
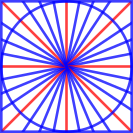
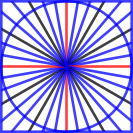
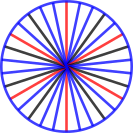
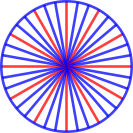
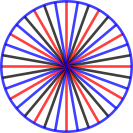
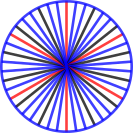
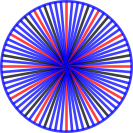
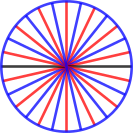
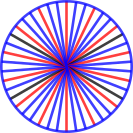
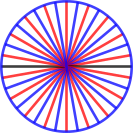
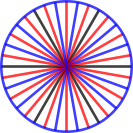
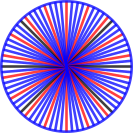
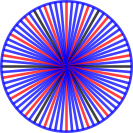
You might have noticed that I’ve become a bit obsessed with Arabic/Islamic geometric designs lately. Clues include posts like this, this, also this, and maybe even this. When I refer to Islamic Geometric Design, I’m more talking about the frameworks, repeat units or grids that are the starting point for the intricate and hypnotic abstract designs that have traditionally been used in Islamic architecture for over a thousand years. Here’s an example of the larger patterns in context:

“A close up of [The Tomb of Bibi Jawindi, Uch, Pakistan] by Usman Ghani” by Usman.pg – Licensed under CC BY-SA 3.0 via Wikimedia Commons.
I’ve been following Eric Broug‘s methods of construction that use a ruler and compass exclusively. Not being that great with manual dexterity, I’ve found these much slower to draw than I could on a computer. Consequently, I looked around for a good, free tool that people could use to start making these drawings. Most of the operations (including drawing from one intersection to another, rotating objects around a point, buffering lines into polygons) can be done by CAD packages, but these often have a steep learning curve. CAD packages also don’t tend to have many artistic functions.
Thankfully, the free drawing packing Inkscape has almost all of the features I need. Just one of the features I use quite often (creating a circle from a centre point and a point on the circumference; in other words, emulating a compass) isn’t built in, but can be done with a simple sequence of operations. In this article, I hope to show you some techniques you can build on for making your own patterns.
Installing Inkscape
This is covered well on the Inkscape website, so I won’t repeat it here. It’s important to get the most recent stable version of Inkscape. Some Linux distributions provide a really old version, so make sure you’re using at least version 0.91.
Inkscape runs on Linux, Mac and Windows. On Mac, it’s a little slow and uses some non-(Mac-)standard keyboard shortcuts. You may also have to install XQuartz on your Mac for it to run. It works fine on Windows (I tested 8.1).
Snapping is your friend
![]()
You’re going to have to get to know and love the Snapping Toolbar, shown at right. When you enable snapping, the items you draw or modify are locked to the node, intersection, object centre or grid point nearest to your cursor. When snapping is active, you get a little hovering info box showing you what Inkscape thinks you want to snap to:
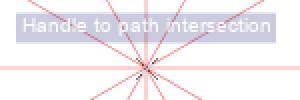
I’ve enlarged the screen grab so you can make the info box out more clearly.
Snapping allows you to place lines in geometrically precise locations if you work up a drawing from a template or construction lines. All of the templates I made have the most useful snapping modes enabled:
- Snap to Intersection — prefer where lines cross
- Snap to Cusp Node —prefer end points of lines, or local extrema of polygons
- Snap to Object Centre —prefer the centre of objects.
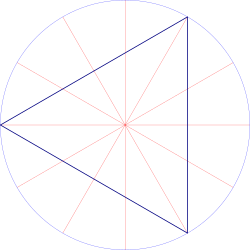
(source SVG is linked from image)
Here’s a simple example of a triangle drawn from construction lines. I couldn’t ever draw a perfect equilateral triangle freehand, but with snapping, it’s four clicks (three vertices, then a final click on the first vertex to close the figure), and it’s done perfectly.
Incidentally, most of the patterns I make use straight lines. In Inkscape, you’ll want to use the Pen tool (![]() ) with straight lines enabled (
) with straight lines enabled (![]() ).
).
Moving the Centre of Rotation
When you double-click an object in Inkscape in Select & Transform mode (![]() ), you get shown the rotation handles and the all-important Centre of Rotation. By default, the centre of rotation is in the centre of the bounding box of the object; that is, the centre of the smallest horizontal box that encloses the object. Here it’s marked by a small cross:
), you get shown the rotation handles and the all-important Centre of Rotation. By default, the centre of rotation is in the centre of the bounding box of the object; that is, the centre of the smallest horizontal box that encloses the object. Here it’s marked by a small cross:
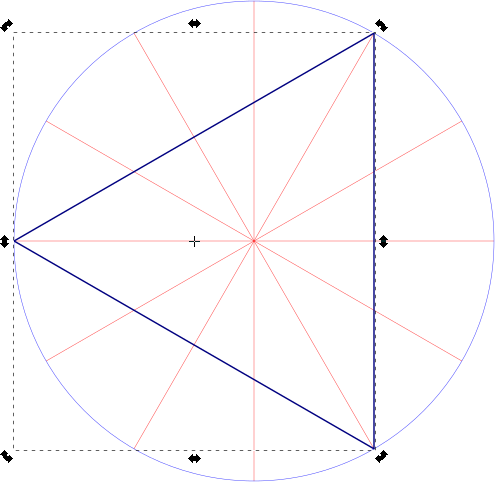
Let’s say we want to make a six-pointed star from this triangle. You might think that if you duplicated it (keyboard shortcut: Ctrl+D) and flipped it horizontally (keyboard shortcut: h), you’d get your star. Alas, no star for you:
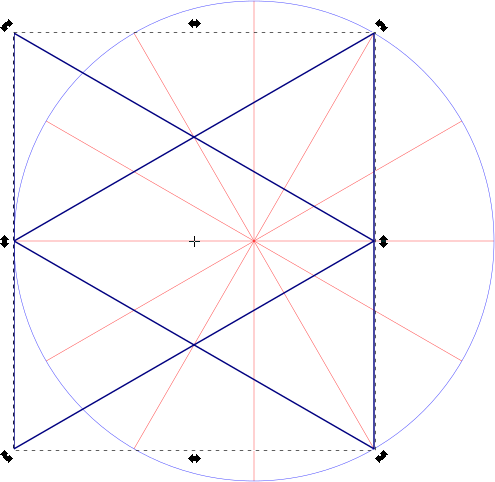
What we wanted to do was to flip the triangle around the centre of rotation of the radial construction lines, and to do that we need to drag the triangle’s centre of rotation over to the centre of the construction lines:
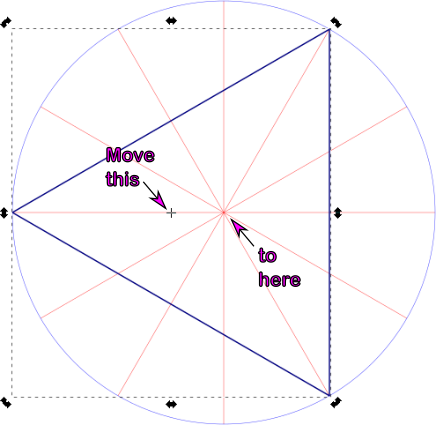
You’ll know when you’ve got it in the right place, as Inkscape’s snapping info box should tell you:

Let’s try that duplication and flipping thing again:
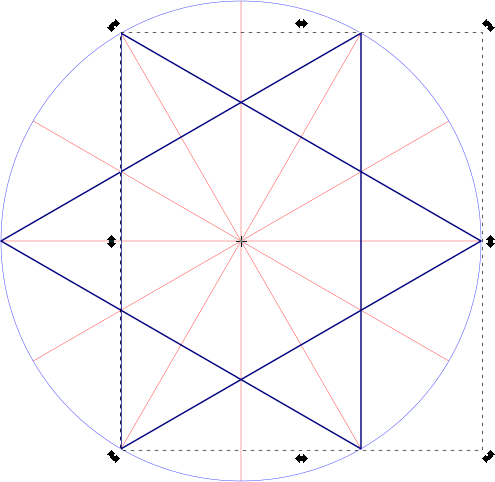
Moving the centre of rotation makes all the difference.
Rotation & Duplication
Now that we can move the centre of rotation, we can use that to build up compound objects:
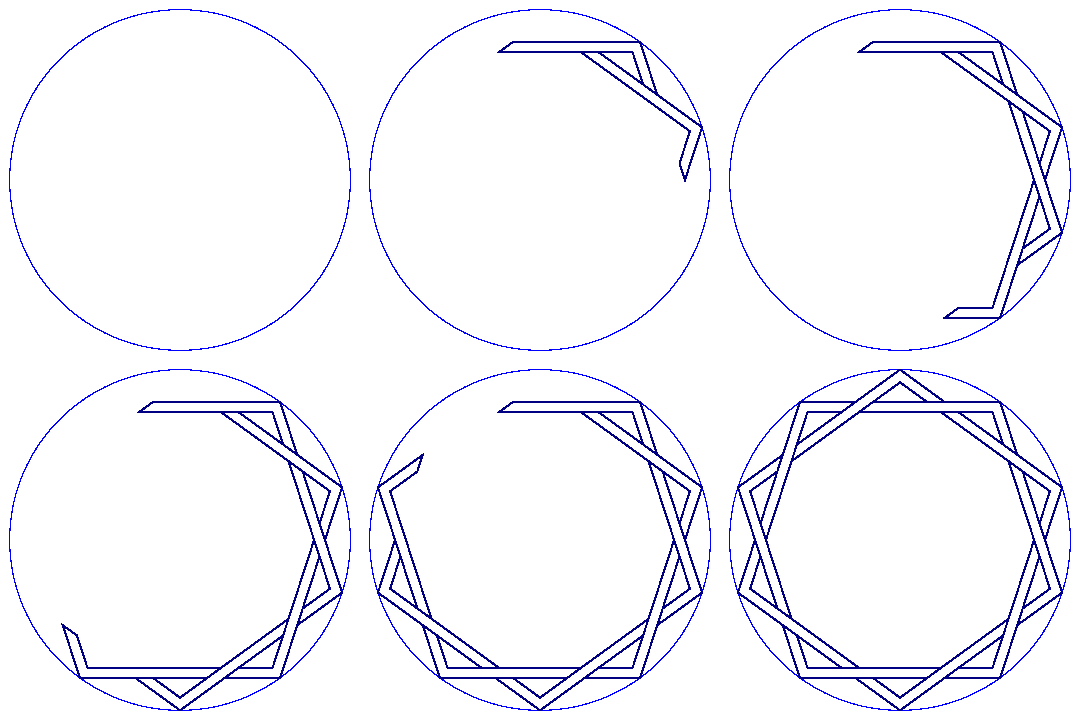
This interleaved set of strapwork pentagons is made from 10 segments:
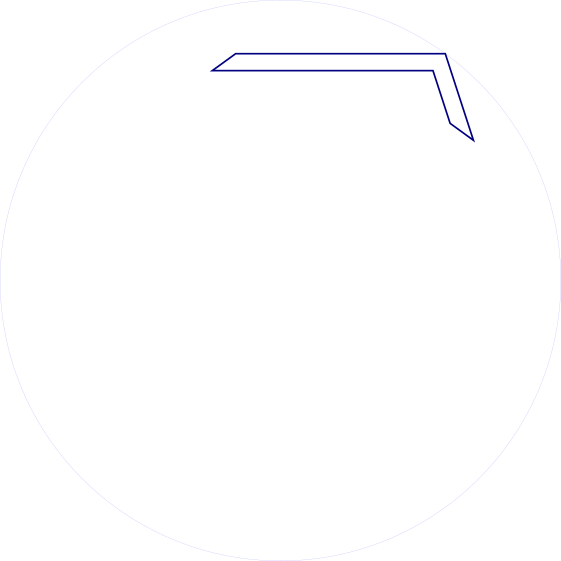
(source SVG is linked from image)
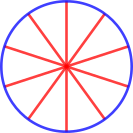
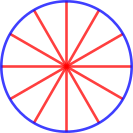
Since there are 10 segments, we have to rotate each segment 36° (= 360°/10) to fill up the whole circle. For this, we use the Transform tool’s Rotate tab:

If you’re wanting to avoid doing even division in your artwork, here’s a table for many common values:
| Number of Segments | Rotation / ° |
| 2 | 180 |
| 3 | 120 |
| 4 | 90 |
| 5 | 72 |
| 6 | 60 |
| 8 | 45 |
| 10 | 36 |
| 12 | 30 |
| 16 | 22.5 |
| 18 | 20 |
| 20 | 18 |
| 24 | 15 |
| 36 | 10 |
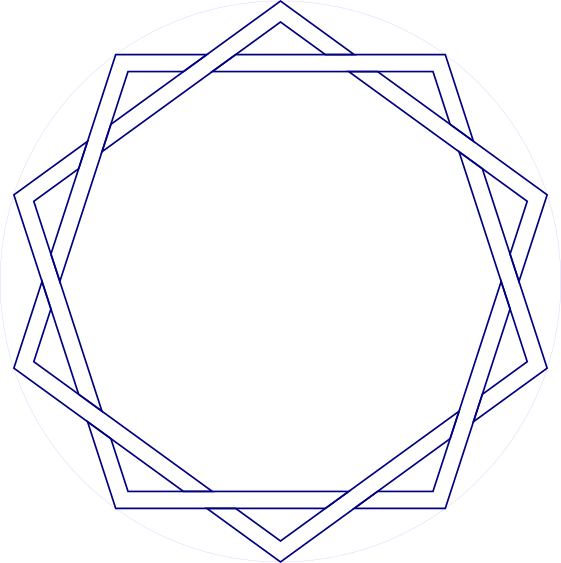
Applying nine duplicate-rotate steps, we get this result:
Stroke to Path
(work in progress …)
(SVG source linked from image)
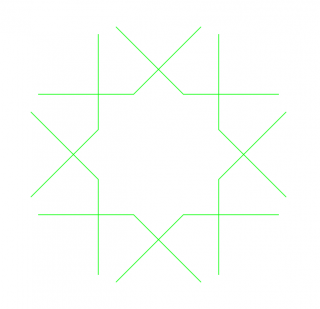
Most geometric figures have lines with some thickness to them. Guide lines alone are pretty boring.
You can use Object → Fill & Stroke and set Stroke Style on a path to make it wider, but sometimes you might want to work with the intersections of the edges of these paths. Fortunately, Inkscape makes this relatively easy.
First, give your path the width you want, say 3-5 mm. Then, with the path selected, use Path → Stroke to Path. At first, nothing appears to have happen, but change the Fill to none (the ‘×’ icon) and the Stroke Paint to solid. Suddenly, the path will appear to get really thick, but reduce the Stroke Style: Width down to a fine line, and you’ll end up with the outline of your original path.
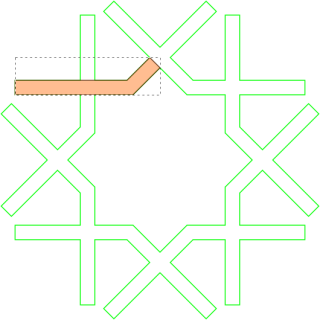
(SVG source linked from image)
I’ve jumped ahead a bit with the illustration, and started to fill in the strapwork. Inkscape will snap to the nodes on the edges of your figure, and you can decorate it any way you wish.
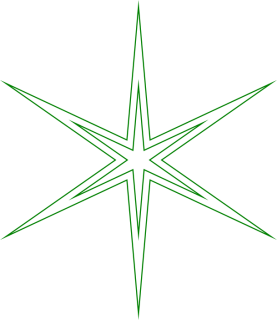
(The Stroke Style: Join and Stroke Style: Cap permanently affect the outline path. You’ll get quite good at using Undo until you get the effects you want. Really pointy shapes will need a custom Stroke Style: Mitre Limit, as graphics programs try to limit really acute intersections, as they can get awkwardly long and trail off the page.)
(SVG source linked from image)
Other useful techniques
- Separating construction lines from drawing objects by using Layers is very helpful. Once you hide the construction lines, your patterns look much more impressive, as you can’t easily see how it was put together.
- The Select Same command allows you to select objects with the same fill and/or stroke style. I find this useful for selecting objects for grouping, or moving to other layers.
- Clipping objects to basic tile shapes can help to make seamless repeat units for tiling.
- The Clone → Create Tiled Clones … command is immensely powerful for making patterns out of repeat units. It’s also rather hard to use. I hope to add some basic examples later, though it’s hard to get this exactly seamless. This tutorial helps for a limited number of cases.
