Hey! This post is completely ancient. It doesn’t even use Python 3. Advice given here might be well out of date.
… it complains that the oscilloscope is always making waves.
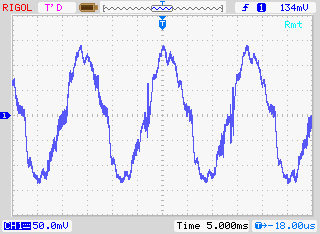
Ahem. Anyway. I have a Rigol DS1102E 100 MHz Digital Oscilloscope. For such a cheap device, it’s remarkable that you can control it using USB Test & Measurement Class commands. I’d been wanting to use a Raspberry Pi as a headless data acquisition box with the oscilloscope for a while, but Raspbian doesn’t ship with the usbtmc kernel module. I thought I was stuck.
Alex Forencich turned up in the forum with an all-Python solution: Python USBTMC (source: alexforencich / python-usbtmc). I got this working quite nicely today on both the Raspberry Pi and my Ubuntu laptop. Here’s how I installed it:
- Check your device’s USB code with lsusb:
$ lsusb
Bus 001 Device 002: ID 0424:9512 Standard Microsystems Corp.
….
Bus 001 Device 004: ID 1ab1:0588 Rigol Technologies DS1000 SERIES - Ensure that libusb-1.0 is installed:
sudo apt-get install libusb-1.0-0 - Create a new group, usbtmc:
sudo groupadd usbtmc - Add yourself to this group:
sudo usermod -a -G usbtmc pi - As root, create a file /etc/udev/rules.d/usbtmc.rules. You’ll need to put in your device’s ID values:
# USBTMC instruments
# Rigol DS1100 – ID 1ab1:0588 Rigol Technologies DS1000 SERIES
SUBSYSTEMS==”usb”, ACTION==”add”, ATTRS{idVendor}==”1ab1″, ATTRS{idProduct}==”0588″, GROUP=”usbtmc”, MODE=”0660″
(all of the SUBSYSTEMS to MODE= should be one one line) - Download and install the latest pyusb (Raspbian version is rather old):
git clone https://github.com/walac/pyusb.git
cd pyusb
python setup.py build
sudo python setup.py install - Now get python-usbtmc:
git clone https://github.com/alexforencich/python-usbtmc.git
cd python-usbtmc
python setup.py build
sudo python setup.py install - For this simple demo, you’ll need to convert the USB vendor IDs to decimal:
0x1ab1 = 6833
0x0588 = 1416 - Now, start python as root (sudo python) then type:
import usbtmc
instr =Â usbtmc.Instrument(6833, 1416)
print(instr.ask(“*IDN?”)) - This should return something like:
Rigol Technologies,DS1102E,DS1EB13490xxxx,00.02.06.00.01
If you get the status line, congratulations! You now have a fully working usbtmc link. I haven’t had much time to play with this, but I know I can make really nice screenshots to an attached USB drive using the command: instr.write(“:HARDcopy”). Many more commands can be found in the DS1000D/E Programming Guide, available on Rigol‘s site.
I had a couple of problems, though:
The library seems to need root privileges, despite the udev rule thing. After creating the udev rule, you will need to reboot. This is the simplest way of getting it to work without being root.Reading from the ‘scope’s memory chokes on non-UTF8 characters. If I do:
rawdata = instr.ask(“:WAV:DATA? CHAN1”)[10:]
I get a lengthy Python error which ends:
…
File “/usr/lib/python2.7/encodings/utf_8.py”, line 16, in decode
   return codecs.utf_8_decode(input, errors, True)
UnicodeDecodeError: ‘utf8’ codec can’t decode byte 0x99 in position 10: invalid start byte
I have no idea what that means, or how to fix it. Alex suggested using ask_raw instead of ask, and the data comes through with no complaints.
I’ve still got to work my way through the Rigol’s data format, but other people have done that before:
- Controlling a Rigol oscilloscope using Linux and Python | C i b o M a h t o . c o m
- Ken Shirriff’s blog: Four Rigol oscilloscope hacks with Python
I’ll post any updates here, along with the Raspberry Pi forum topic: USB Test & Measurement class (usbtmc) driver?
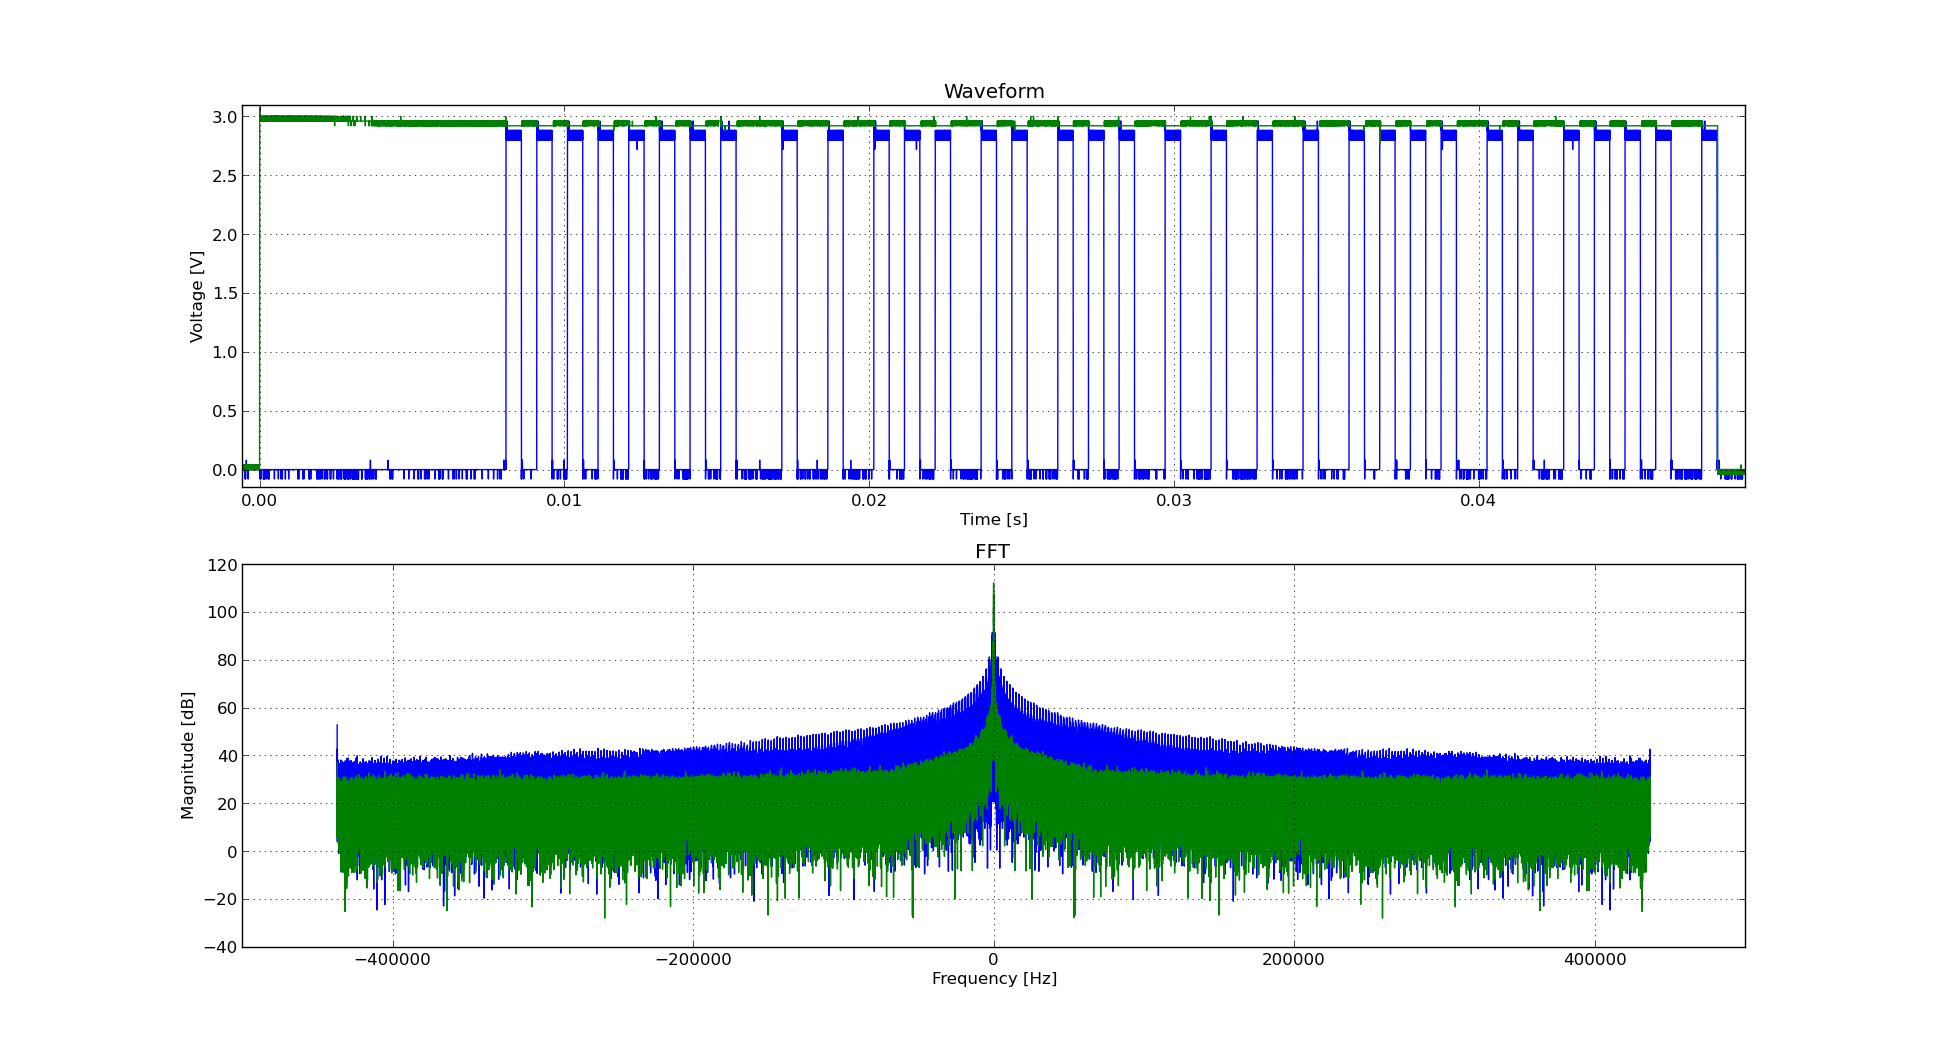
Incidentally, if you’re working with WFM data dumps from the Rigol ‘scopes (and you should, because they make storing data to USB drives quick), mabl/pyRigolWFM is basically magic. Not merely can it describe and decode those binary files, it can do pretty graphics with no thought required:
 Hat tip for the mention: MP3 Options & Oscilloscope Interfacing For Raspberry Pi @Raspberry_Pi #piday #raspberrypi « adafruit industries blog
Update, 2013-12-20: I’ve successfully managed to run most of Ken’s examples with Alex’s code. The major modification you have to do is use ask_raw instead of ask. Example code shown below:
#!/usr/bin/python
# -*- coding: utf-8 -*-

"""
Download data from a Rigol DS1102E oscilloscope and graph with matplotlib
         using  Alex Forencich's python-usbtmc pure python driver
                https://github.com/alexforencich/python-usbtmc
scruss - 2013-12-20

based on
Download data from a Rigol DS1052E oscilloscope and graph with matplotlib.
By Ken Shirriff, http://righto.com/rigol

which in turn was
Based on http://www.cibomahto.com/2010/04/controlling-a-rigol-oscilloscope-using-linux-and-python/
by Cibo Mahto.
"""

import usbtmc
import time
import numpy
import matplotlib.pyplot as plot

# initialise device
instr =  usbtmc.Instrument(0x1ab1, 0x0588) # Rigol DS1102E

# read data
instr.write(":STOP")
instr.write(":WAV:POIN:MODE RAW")
# first ten bytes are header, so skip
rawdata = instr.ask_raw(":WAV:DATA? CHAN1")[10:]
data_size = len(rawdata)

# get metadata
sample_rate = float(instr.ask_raw(':ACQ:SAMP?'))
timescale = float(instr.ask_raw(":TIM:SCAL?"))
timeoffset = float(instr.ask_raw(":TIM:OFFS?"))
voltscale = float(instr.ask_raw(':CHAN1:SCAL?'))
voltoffset = float(instr.ask_raw(":CHAN1:OFFS?"))

# show metadata
print "Data size:      ", data_size
print "Sample rate:    ", sample_rate
print "Time scale:     ", timescale
print "Time offset:    ", timeoffset
print "Voltage offset: ", voltoffset
print "Voltage scale:  ", voltscale

# convert data from (inverted) bytes to an array of scaled floats
# this magic from Matthew Mets
data = numpy.frombuffer(rawdata, 'B')
data = data * -1 + 255
data = (data - 130.0 - voltoffset/voltscale*25) / 25 * voltscale

# creat array of matching timestamps
time = numpy.linspace(timeoffset - 6 * timescale, timeoffset + 6 * timescale,
                      num=len(data))

# scale time series and label accordingly
if (time[-1] < 1e-3):
    time = time * 1e6
    tUnit = "µS"
elif (time[-1] < 1):
    time = time * 1e3
    tUnit = "mS"
else:
    tUnit = "S"

# Plot the data
plot.plot(time, data)
plot.title("Oscilloscope Channel 1")
plot.ylabel("Voltage (V)")
plot.xlabel("Time (" + tUnit + ")")
plot.xlim(time[0], time[-1])
plot.show()