Update:build instructions have changed, 2019. If any manufacturer wants to see if their printer works, send me one (I’m easy to find) for free and I’ll check it out and add it here.
This might be my last post on mini-printers, as I’ve found a driver that just works with CUPS on Raspberry Pi. It also works on Ubuntu on my laptop, and should work (though untried) on Mac OS. You’ll have to build it from source, but it’s not too hard.
The hard part is working out if your thermal printer will work or not. There are many out there, and they’re all slightly different. If they support the ESC/POS bitmap command GS v 0 on 58 mm wide paper, they should work. The ones I’ve tested are:
- Catex POS5890U — USB, cheap, fast.
- “701†control board panel printer — fairly generic, decent quality printer with serial input. A bit slow for daily use at 9600 baud.
- Xiamen Embedded Printer DP-EH600 — as above.
The following should also work, but haven’t been tried:
- Adafruit Mini Thermal Receipt Printer — again, serial, so not super fast.
- Sparkfun thermal printer — which now appears to be identical to the Adafruit unit, and is referred to as the “A1 (or A2) micro panel printer†in the documentation.
Known not to work:
- BTHT-V6 printer — which uses a completely different command set. (Roughly that of an Epson FX-80 for image commands, if you care.)
If you have a manual for your printer, check it to see if it prints bitmaps by sending a three byte header of 29 118 48 (or 1D 76 30 in hexadecimal). If you’re not sure, try it with a small test image, and be ready by the power switch …
Getting and building the driver
The driver is meant for a ZiJiang ZJ-58 printer, and lives here on Github: klirichek/zj-58.
Now read and follow the Building & Installing section of the README, and do what it says. I’ll wait …
Setting up the printer
This bit is much more graphical. You’ll need the system-config-printer package:
sudo apt install -y system-config-printer cups
Open up the printer settings window (Preferences → Print Settings):
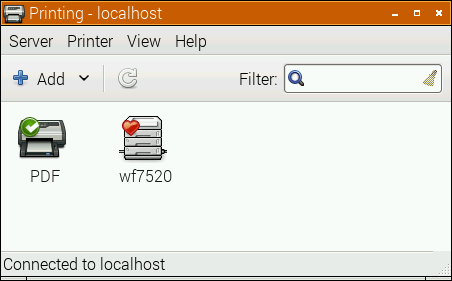 Select the Add icon, and the New Printer window opens:
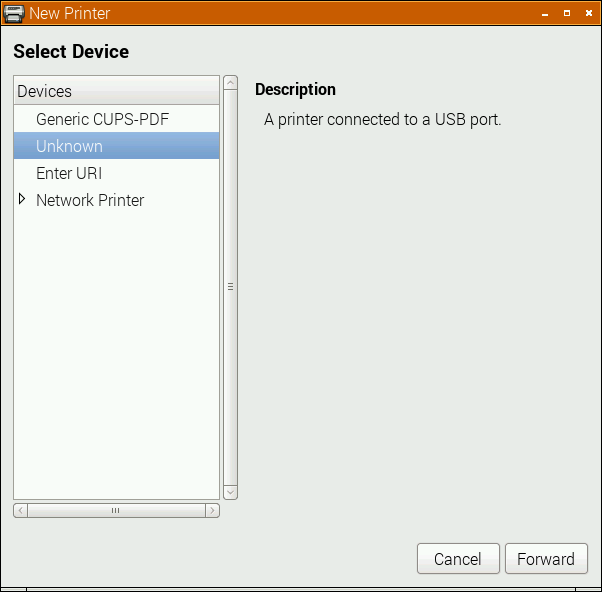 The POS5890U shows up as “Unknown†on my USB port, as Linux doesn’t know the name of this device from its USB ID.
Update (for the slightly desperate): In the land of “Things have changed!â€, my Catex printer isn’t/wasn’t showing up at all. I had to resort to this in the Enter URI option:
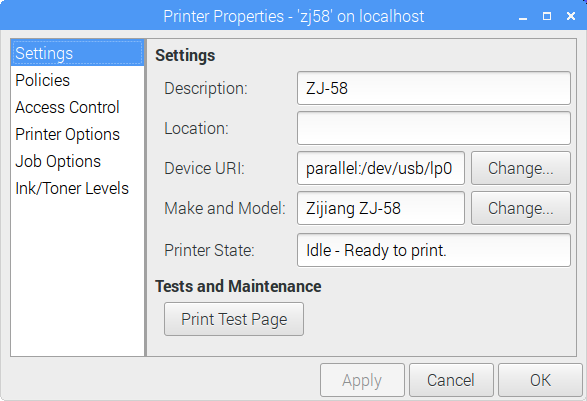
parallel:/dev/usb/lp0 seems to work. Another option might be looking at the output of
sudo /usr/lib/cups/backend/usb
which suggests that usb://Unknown/Printer might work too. (All of this might need to have been preceded by
sudo usermod -a -G lp pi
and a logout or reboot; I did say this was for the slightly desperate …)
If the above doesn’t apply, your printer might have an known ID, or show up as a serial port. Select the right one, and click Forward:
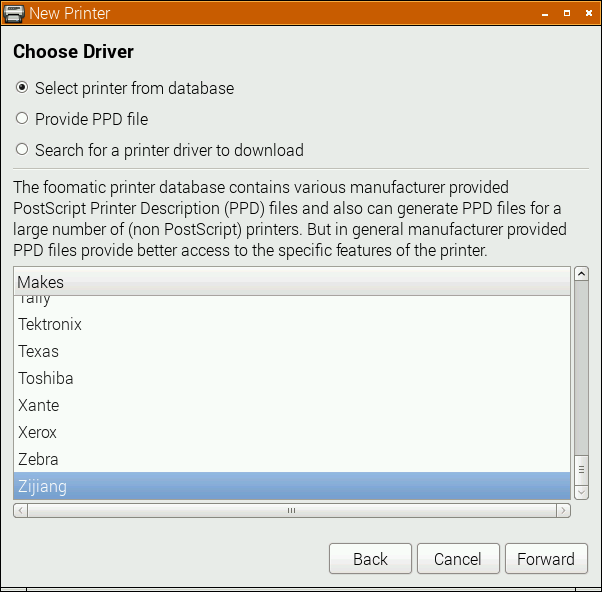 Here, I’m really pleased that the driver is for a Zijiang unit, as it’s conveniently at the end of the list. Click Forward …
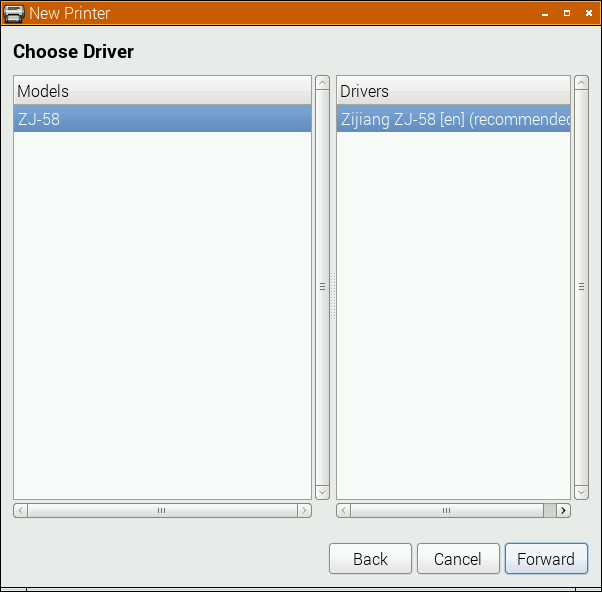 No options here, so again, Forward …
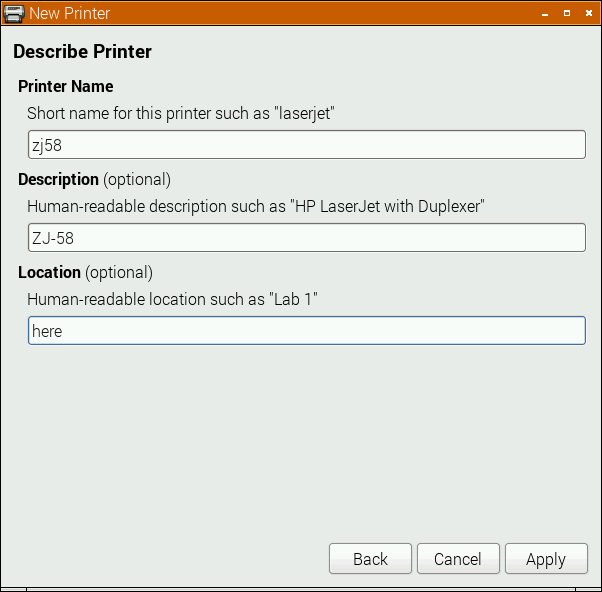 I changed the name from the default ZJ-58 to the more unixly zj58. You don’t have to, but either way, Apply the changes.
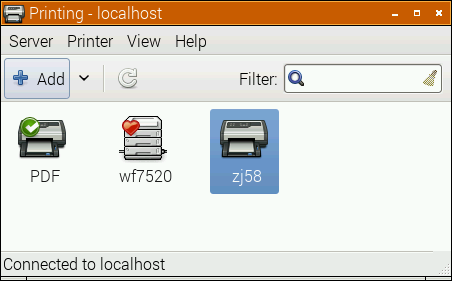 And there it is, registered as a printer!
Printer Options
Most printers expect paper wider than 58 mm, but mini-printers can’t do that. To tell the system about paper sizes, right click on the printer’s icon, and change the printer settings:
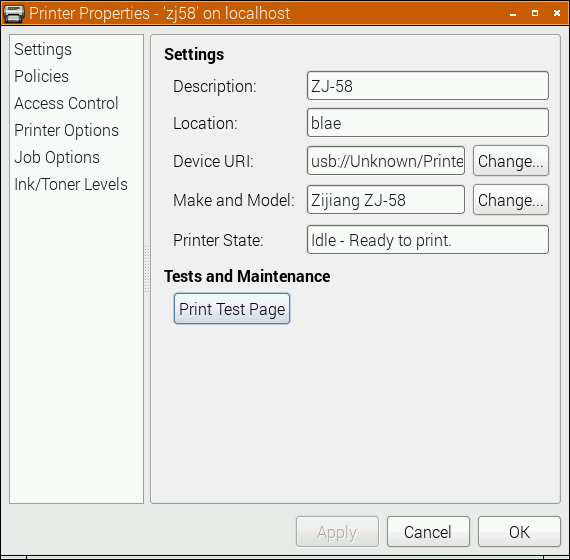 A test page might print properly now, but you should probably go into Printer Options first:
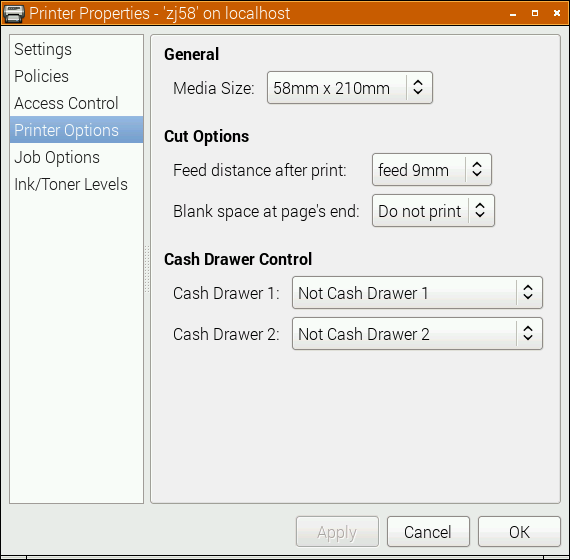 You do want to set the media size to at least 58 × 210 mm. This is just the longest strip it will print in one ‘page’; if your print is shorter, it won’t waste extra paper. You can choose longer prints, but not wider. The default assume your local standard paper size which —be it A4, Letter, or whatever — will not be what you want here. Hit OK.
Printing something
You could print the self test page, but it’s long and boring. If you’re fairly sure your printer will be supported, try this scaled PDF version of the Raspberry Pi Logo: raspberry-pi-logo. Printed and scanned, it came out like this:
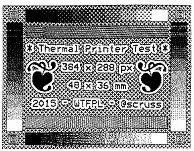
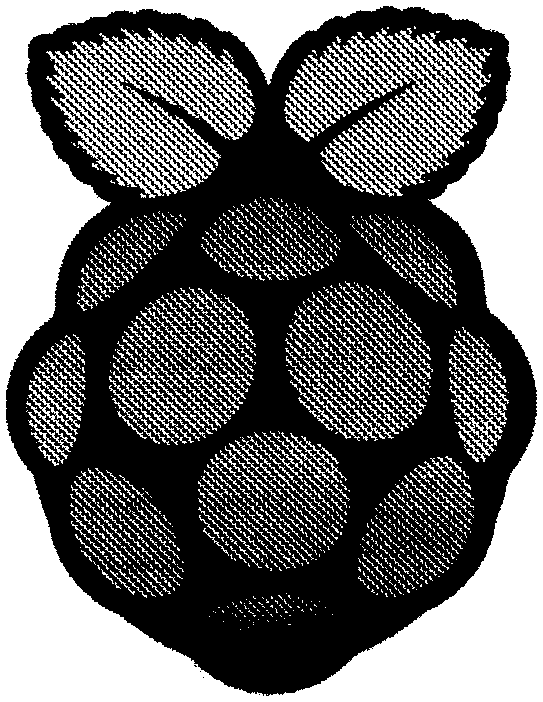 Not the best rendition, but not bad for a $30 receipt printer. My test image came out like this (iffy scan, sorry):
 I haven’t covered the intricacies of setting up serial port connections here; maybe another time. Also, there’s a short delay (maybe 10–20 s) between selecting Print and the printer coming to life. CUPS is pretty complex, and is doing things in the background while you wait.
(Seeing as I use their logo prominently up there, I should totes acknowledge that “Raspberry Pi is a trademark of the Raspberry Pi Foundationâ€. Also, I couldn’t have done all this without the support of Reed Zhao. Though Reed has moved on to bigger things and doesn’t sell printers any more, his help — not to mention the generous gift of a couple of printers — was very welcome.)
→ you might also be interested in my notes on mini-printers and Linux – it has some manuals too.
never used this with 80 mm printers, but maybe check the media size that CUPS is using?
Also, check with the author’s repo