digging the BlueSCSI

I like old (as in 68K old) Apple Macintoshes, but I don’t like their hard drives. Apple used SCSI drives, which were super-cool at the time (multiple drives on one bus! extra devices like SCSI scanners, too!) but now seem an absolute pain. There may be a lot to complain about with USB storage, but compared to SCSI, it just works.

While the 40 MB Quantum SCSI drive in my Mac Classic II still works, it gets really full really fast and that old spinning rust won’t spin forever. One of the newer ways to replace a SCSI drive is the BlueSCSI, an open-everything design based on a cheap Blue Pill micro-controller board, a Micro-SD card slot and some passive components. The whole kit is very affordable, and a local maker sells them, so it was worth a try.

I’ve had nothing but miserable failure with Blue Pill boards, and very quickly moved on to STM32F4 board that actually work. It didn’t fill me with much hope that the board I got with my kit looked like this, end on:
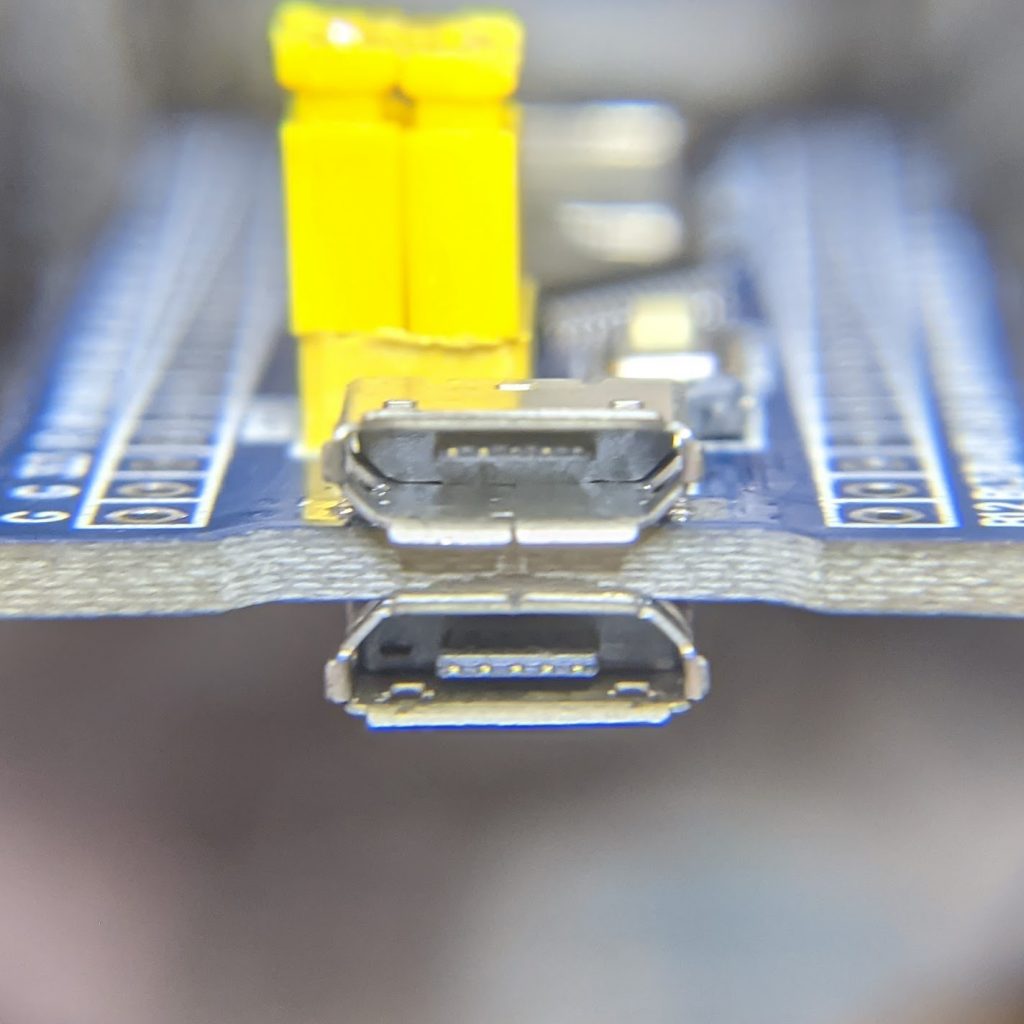
end-on view of a blue micro controller PCB which has - mystifyingly - two micro-USB connectors, one on either face of the PCB
There are two USB connectors on this board.
There are two of ____.

Despite that oddness, it all soldered up fine (the surface-mount card slot was a little fiddly) and it fits inside the Classic II’s cavernously empty shell wherever I choose to stick it down.

I thought I knew what I was doing in making filesystem images (hence my recent nonsense anent HFS utilities), but clearly I was wrong. The 2 GB images I made in Basilisk II weren’t recognized at all. For now, I’m booting from one of the RaSCSI canned boot images plus a couple of the blank formatted drive images to put my own custom system on.

I’m trying to get as much as possible set up on the Micro-SD card while I can still access it, as the Classic II’s case is not something you can pop open on a whim. It needs a special long-thin Torx T15 driver to even get the case partially open, then you have to ease/fight the case the rest of the way. Aside from the faint ponk of dodgy analogue board caps (I’ll fix ’em one day, I promise!), you have to remember to tiptoe around the life-ending voltages lurking at the back of the CRT when you’re working there. Retrotechnology: it smells bad and it can kill you!

A feature I really appreciate with the BlueSCSI is that it dumps a status log on the card every time it boots. It took me a while to get the hang of naming images correctly, but I’d have been absolutely lost without logs with this level of detail:

BlueSCSI <-> SD - https://github.com/erichelgeson/BlueSCSI
 VERSION: 1.0-20210410
 DEBUG:0 SCSI_SELECT:0 SDFAT_FILE_TYPE:3
 SdFat version: 2.0.6
 SdFat Max FileName Length: 32
 Initialized SD Card - lets go!
 Not an image: LOG.txt
 Imagefile: HD10_512 753.hda / 41943040bytes / 40960KiB / 40MiB
 Imagefile: HD20_512 BS.hda / 41943040bytes / 40960KiB / 40MiB
 Imagefile: HD40 MacHD-1000MB.hda / 1048576000bytes / 1024000KiB / 1000MiB
 Imagefile: HD30_512 MacHD-500MB.hda / 524288000bytes / 512000KiB / 500MiB
 ID:LUN0:LUN1:
  0:----:----:
  1: 512:----:
  2: 512:----:
  3: 512:----:
  4: 512:----:
  5:----:----:
  6:----:----:
 Finished initialization of SCSI Devices - Entering main loop.

So I’ve got four SCSI drives pretending to live on this card, and even if one of them’s not quite named correctly (HD40 MacHD-1000MB.hda should be called HD40_512 MacHD-1000MB.hda), it’s been found okay.
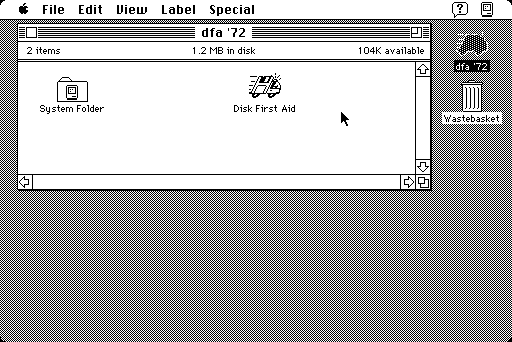
niche 68K Mac emulation needs

black and white screenshot of Macintosh System 7 desktop showing Disk First Aid icon
It amazes me how you manage to live in anything that small“: actual size Mac Classic II screenshot

So I’m refurbishing the Mac Classic II I got in 2016 now that I’ve found that BlueSCSI is a fairly cheap way of providing large replacement storage. The 40 MB (yes, 40 MB) drive from 1992 can finally be replaced.

Hit a snag, though: DiskCopy won’t copy a disk with errors, which this drive seemed to have. DiskCopy also won’t repair the boot disk, so you have to find a bootable floppy or some other way to work around this limitation. The only readily available bootable disk image I could find was the System 7.1 Disk Tools floppy — which reported no errors on my drive! Later versions of Disk First Aid would fix it, but weren’t provided on a bootable image.

Here’s the 7.1 Disk Tools floppy with all of the apps replaced by Disk First Aid 7.2. Both of these were found on the Internet Archive’s download.info.apple.com mirror and combined:

Disk duly repaired, DiskCopy was happy, backup complete. Eventually: the Classic II is not a fast machine at all.

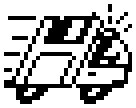
I love the old Mac icons, how they packed so much into so few pixels:

enlarged icon: stylized ambulance with flashing light and driver, side is a floppy disk, there are motion lines at back and the whole icon is slanted to indicate speed/rush
Disk First Aid icon

It’s a stylized ambulance with flashing light and driver, the side is a floppy disk, it’s got motion lines and the whole icon is slanted to indicate speed/rush. Nice!


Vaguely related: most old Mac software is stored as Stuffit! archives. These don’t really work too well on other systems, as they use a compression scheme all their own and are specialized to handle the forked filesystem that old Macs use. Most emulators won’t know what to do with them unless you jump through hoops in the transfer stage.

Fortunately, the ancient Linux package hfsutils knows the ways of these hoops, if only you tell it when to jump. The script below takes a Stuffit! file as its sole argument, and creates a slightly larger HFS image containing the archive, with all the attributes set for Stuffit! Expander or what-have-you to unpack it.

#!/bin/bash
# sitdsk - make an HFS image containing a properly typed sit file
# requires hfsutils
# scruss, 2021-07

if
    [ $# -ne 1 ]
then
    echo Usage: $0 file.sit
    exit 1
fi

base="${1%.sit}"
# hformat won't touch anything smaller than 800 KB,
#  so min image size will be 800 * 1.25 = 1000 KB
size=$(du -k "$1" | awk '{print ($1 >= 800)?$1:800}')
dsk="${base}.dsk"
dd status=none of="$dsk" if=/dev/zero bs=1K count=$((size * 125 / 100))
hformat -l "$base" "$dsk"
# note that hformat does an implicit 'hmount'
hcopy "$1" ':'
# and hcopy silently changes underscores to spaces
hattrib -t 'SIT!' -c 'SITx' ":$(echo ${1} | tr '_' ' ')"
hls -l
humount

What this does:

  1. creates a blank image file roughly 25% larger than the archive (or 1000 KB, whichever is the larger) using dd;
  2. ‘formats’ the image file with an HFS filesystem using hformat;
  3. copies the archive to the image using hcopy;
  4. attempts to set the file type and creator using hattrib;
  5. lists the archive contents using hls;
  6. disconnects/unmounts the image from the hfsutils system using humount.

Notice I said it “attempts” to set the file type. hfsutils does some file renaming on the fly, and all I know about is that it changes underscores to spaces. So if there are other changes made by hfsutils, this step may fail. The package also gets really confused by images smaller than 800 KB, so small archives are rounded up in size to keep hformat happy.

Emulating a Mac IIx on Raspberry Pi

Yup, I have a failing for 512×384 screens …

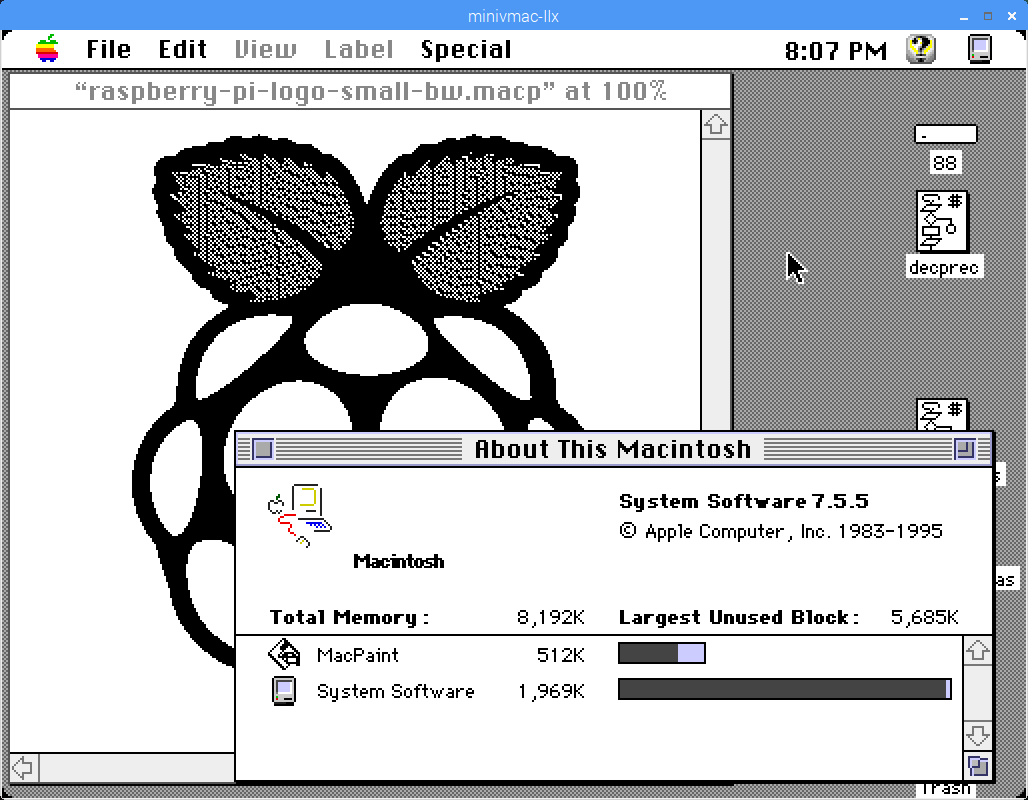
Running Mini vMac on a Raspberry Pi is hardly news. But maybe running it as a colour Mac II is. The screen size I’ve chosen is closer to a Color Classic, for no other reason that I like it.

To build a Mac II-capable version of Mini vMac, you’ll need the Alpha source code. You’ll also need a working Mini vMac setup, as it uses a 68k Mac program to set up the source. Pretty much any basic setup and bootable disk will run this okay:

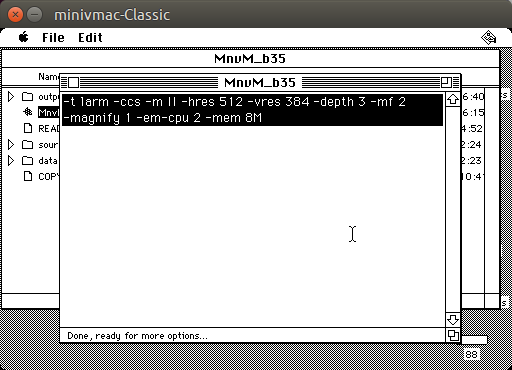
Mini vMac building on an emulated Mac Classic booting from the System 7 Network Access floppy image (no, I couldn’t boot from Classic’s hidden boot ROM disk)

The build options I chose are:

-t larm -ccs -m II -hres 512 -vres 384 -depth 3 -mf 2 -magnify 1 -em-cpu 2 -mem 8M

I’ve chosen to swap the Ctrl key with the Command (⌘) key, as most non-Mac keyboards work better with this.

The build program will export a file out/minivmac-3.5.0-larm.tar that you can unpack into the full source code. It’s a really simple build, and fast, too.

Now you’ll need a Mac IIx ROM image (which I’m not supposed to help you find, but it’s an easy search) and OS image disks from the Mini vMac System Software page. Have fun!

Mac Classic II rev 2 re-capping


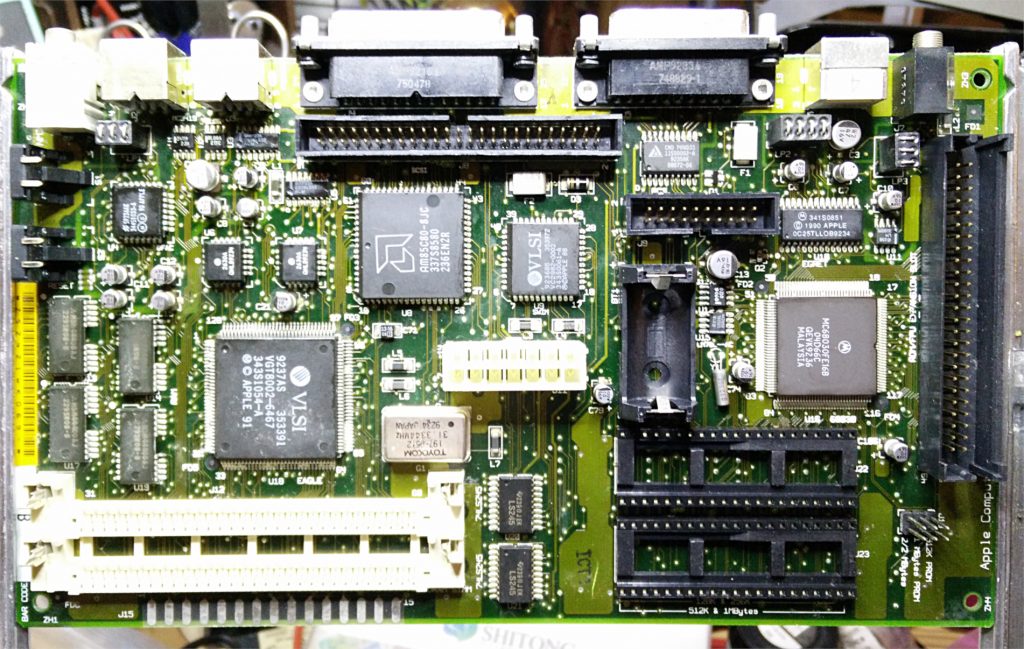
Since the 68kMLA wiki page on Capacitor Replacement doesn’t have it, and also doesn’t seem to be accepting new edits, here’s what you need to replace the leaky capacitors on a revision 2 Macintosh Classic II motherboard (part 820-0326-B):

  • 2× 1 µF, 50 V rating (C9, C15)
  • 3× 47 µF, 16 V rating (C3, C4, C13)
  • 12× 10 µF, 16 V rating (C5, C6, C7, C8, C10, C11, C12, C14, C21, C74, C79, C106)

You’ll probably also be looking for a 3.6 V ‘½ AA’/14250 lithium battery too, as if it hasn’t leaked in the 25 years since your Classic II was made it’ll be completely flat. These can be a bit pricey and hard to find. I got one at Sayal for nearly $10.

The revision 2 Classic II board is immediately identifiable by having only two ROM sockets where the first revision has four ROMs.