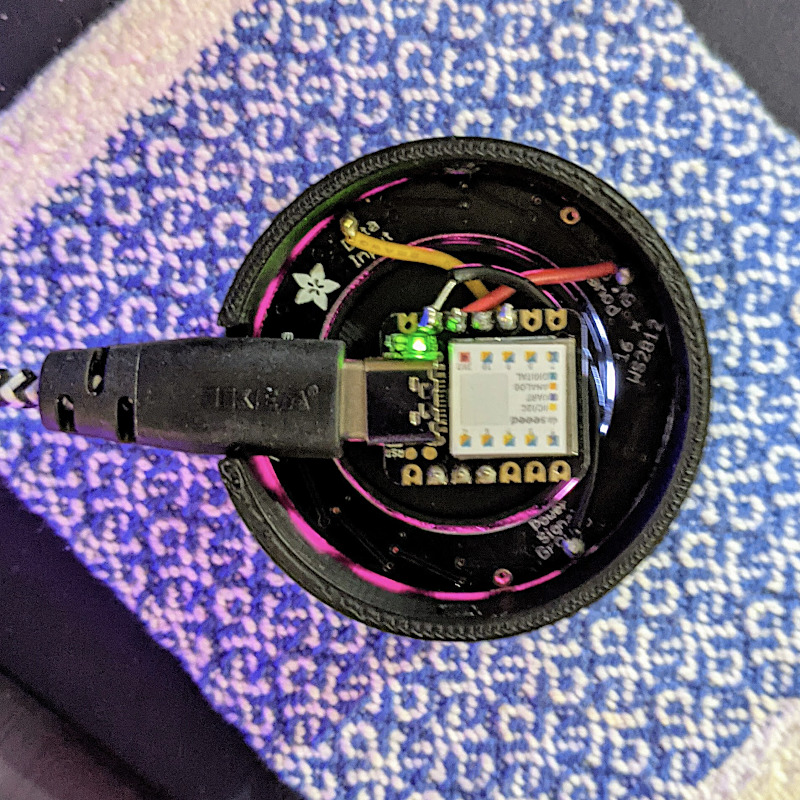
Tod Kurt’s QTPy-knob: Simple USB knob w/ CircuitPython is a fairly simple USB input project that relies on the pin spacing of an Adafruit QT Py development board being the same as that on a Bourns Rotary Encoder. If you want to get fancy (and who wouldn’t?) you can add a NeoPixel Ring to get an RGB glow.
The QT Py is based on the Seeeduino XIAO, which is a slightly simpler device than the Adafruit derivative. It still runs CircuitPython, though, and is about the least expensive way of doing so. The XIAO is drop-in replacement for the Qt Py in this project, and it works really well! Everything you need for the project is described here: todbot/qtpy-knob: QT Py Media Knob using rotary encoder & neopixel ring
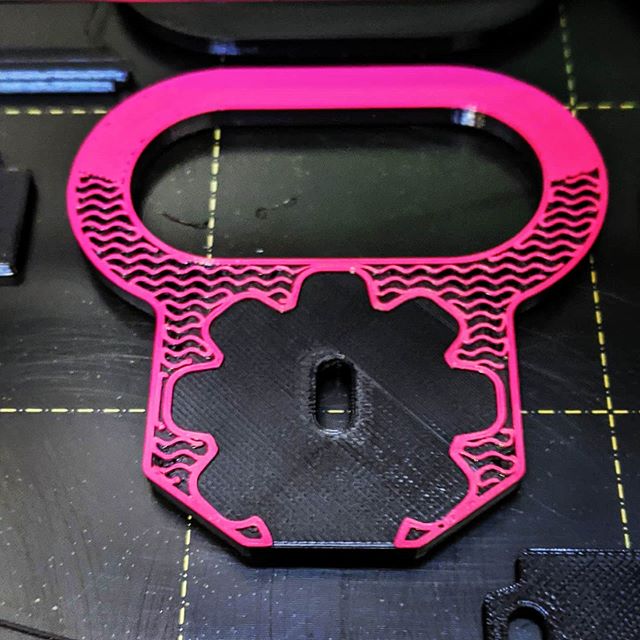
I found a couple of tiny glitches in the 3d printed parts, though:
- The diffuser ring for the LED ring is too thick for the encoder lock nut to fasten. It’s 2 mm thick, and there’s exactly 2 mm of thread left on the encoder.
- The D-shaft cutout in the top is too deep to allow the encoder shaft switch to trigger.
I bodged these by putting an indent in the middle of the diffuser, and filling the top D-shaft cutout with just enough Blu Tack.
Tod’s got a bunch of other projects for the Qt Py that I’m sure would work well with the XIAO: QT Py Tricks. And yes, there’s an “Output Farty Noises to DAC†one that, regrettably, does just that.
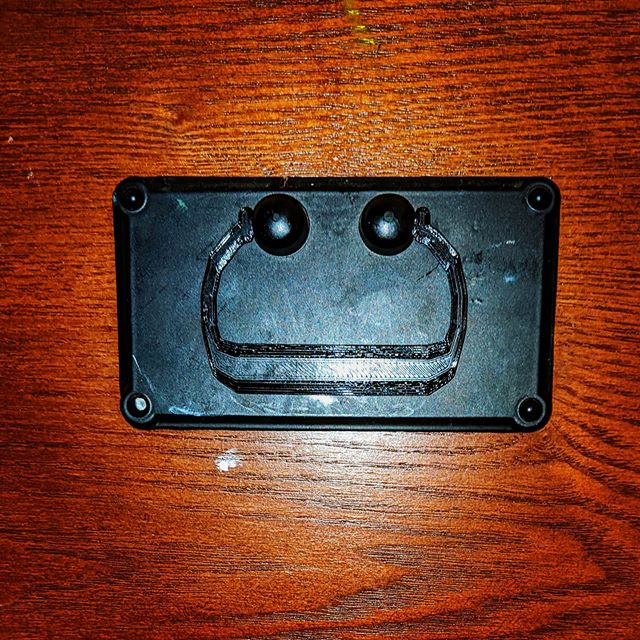
Maybe I’ll add some mass to the dial to make it scroll more smoothly like those buttery shuttle dials from old video editing consoles. The base could use a bit more weight to stop it skiting about the desk, so maybe I’ll use Vik’s trick of embedding BB gun shot into hot glue. For now, I’ve put some rubber feet on it, and it mostly stays put.
Hey! Unlike my last Seeed Studio device post, I paid for all the bits mentioned here.