I’ve had a couple of Teensy boards for a while, but a misunderstanding that they needed a load of of extra software installed (they need one thing, and it’s easy) had kept me away. They’ve got really impressive specs, and they’re especially easy to turn into USB devices like keyboards.

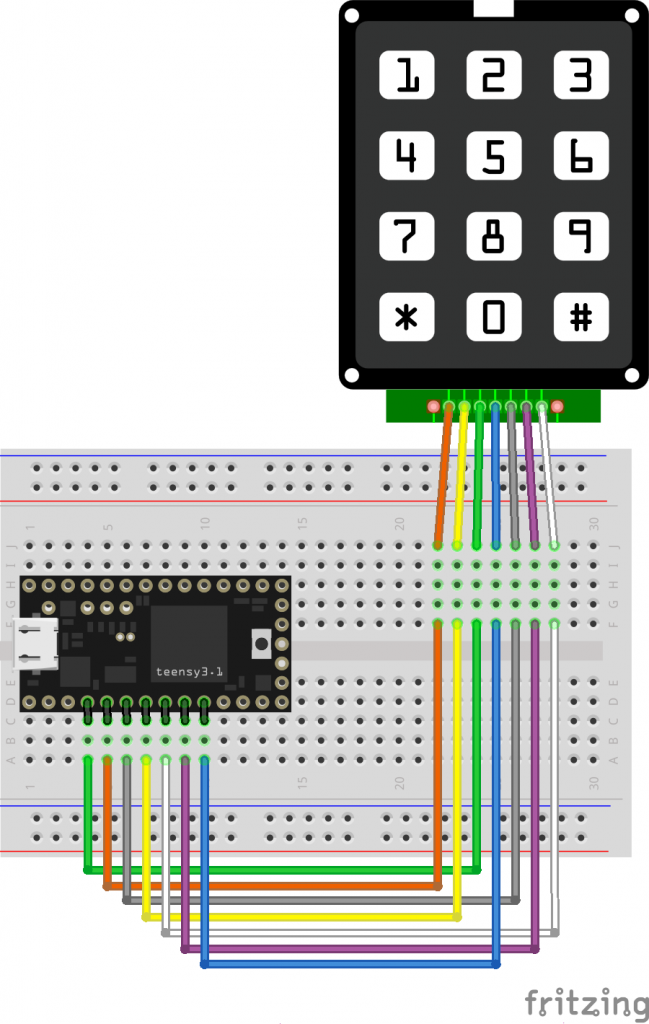
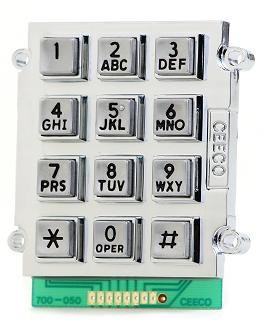
Here’s a little demo that turns a phone keypad — in my case, a ridiculously solid CEECO solid metal keypad designed for institutional use — into a simple USB keyboard. Plug it into any machine (including a Raspberry Pi) and it will be identified as a keyboard. No drivers are required.
The code is based on the standard Arduino Keypad library basic demo. That code was meant for a different keypad, so I eventually found a configuration that worked in the Sparkfun 12 button keypad datasheet. Rather than printing characters to the serial port, I used calls to Teensy’s USB Keyboard library instead.
The pinout is (from left to right, key side up):
- do not connect
- Column 2
- Row 1
- Column 1
- Row 4
- Column 3
- Row 3
- Row 2
- n/c
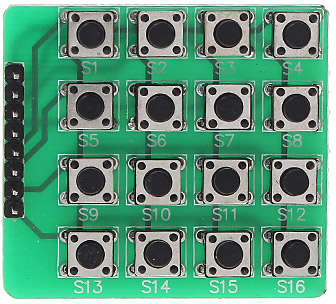
There’s no reason why this wouldn’t work with those very cheap 4×4 button matrix keypads for Arduino too with only minor modifications. Those keypads use 8 data lines, and they’re arranged (I think) as rows 1-4 on pins 1-4 and columns 1-4 are pins 5-8. columns 4-1 then rows 1-4 from the top of the pin connector down:
 The Teensy USB keyboard isn’t limited to sending single characters: a single button press could trigger sending a whole string. I haven’t yet thought out any major uses for this (except “Crypto!â€, which is my usual idea when I have no idea what I’m doing), but you might have better plans.
Update, 2020-04: These keypads don’t have diodes on every key to prevent key ghosting if you press multiple keys. Despite what the Arduino Playground Keypad section might tell you, you can’t do useful multi-key/rollover detection with them.