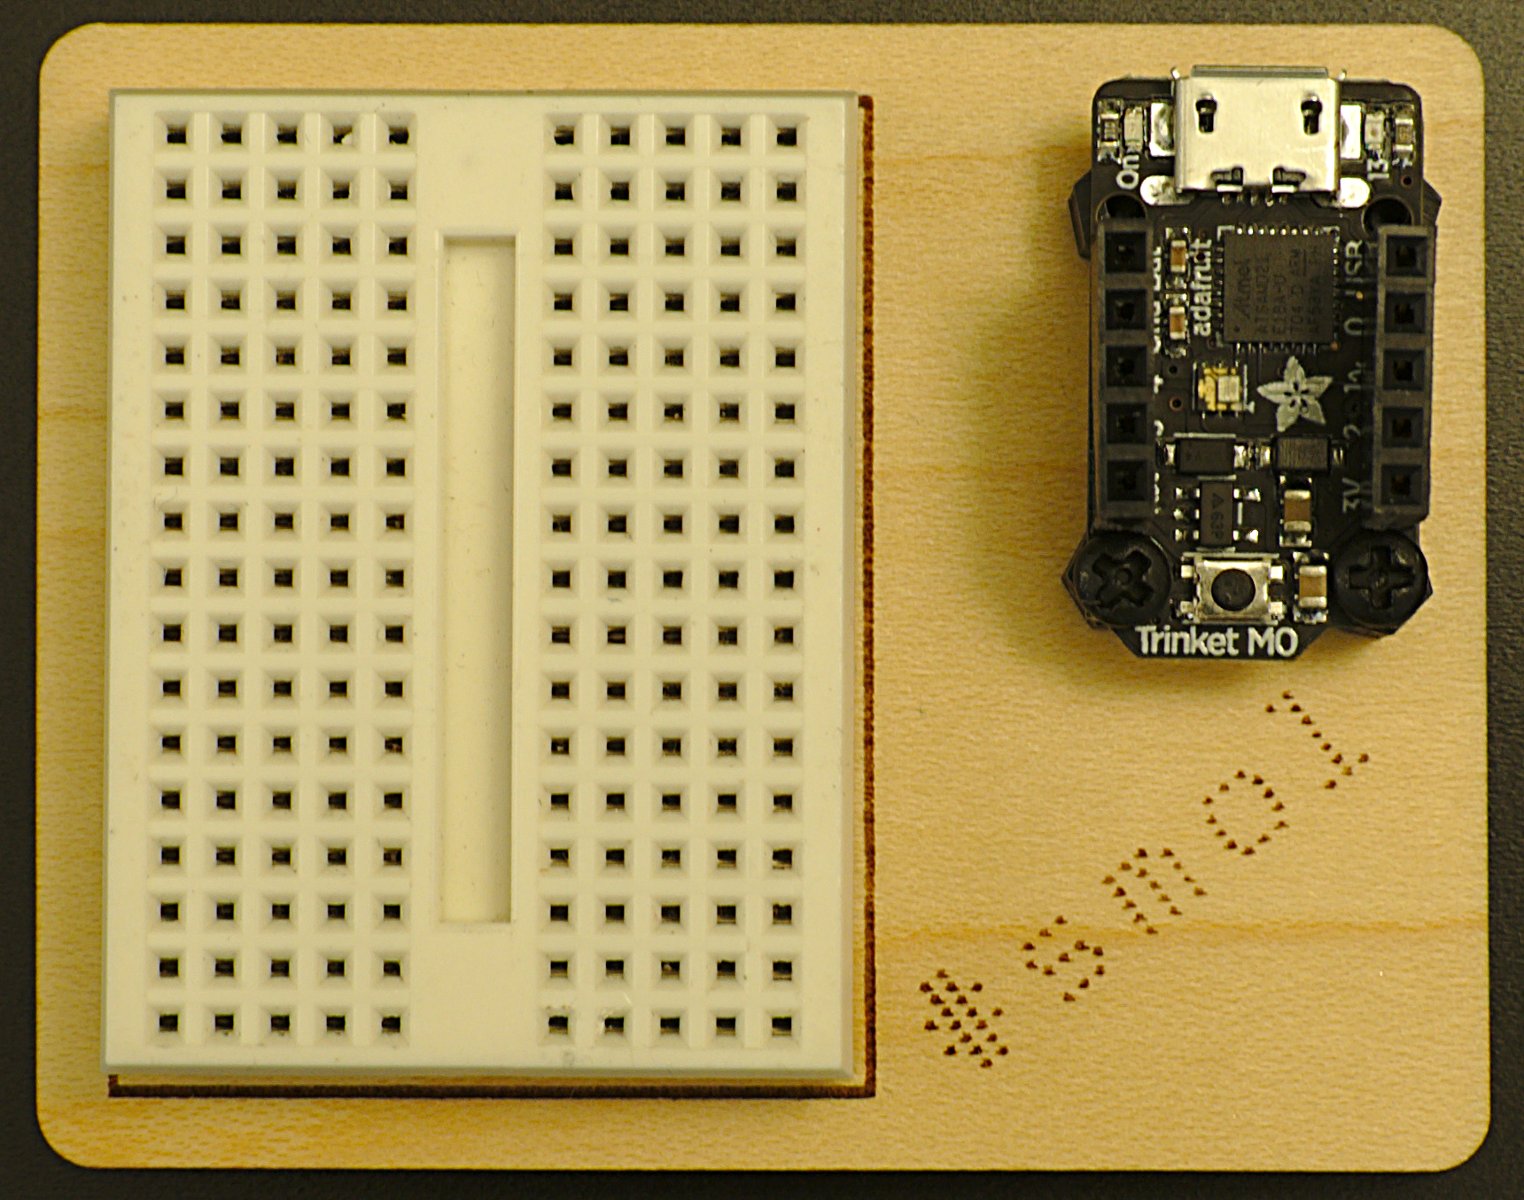
Unfortunately — and you can see it here on the completely dry five USB pins — the soldering on the USB connector of the Nionics Atto I just got wasn’t good. When I soldered on the weentsy pitch headers the heat of the iron melted the one joint that was holding the connector on. It’s impossible to repair without thermal rework equipment.
I really wish that Nionics had pre-soldered those 1.27 mm / 1â„2₀″ headers as it was a nice board. Since it breaks out only a few of the ATmega32U4‘s pins, instead of a single LED it has an RGB LED for an indicator. Otherwise, program it like an Arduino Leonardo.
Instagram filter used: Lo-fi