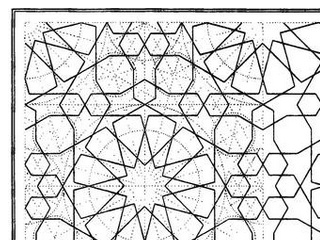
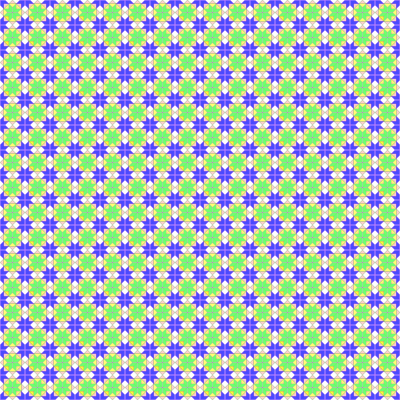
I bought a CD-ROM, The World of Patterns. It’s supposed to work on ‘Any computer with an Internet browser and a CD-ROM drive’. Guess I don’t just have any computer, then …
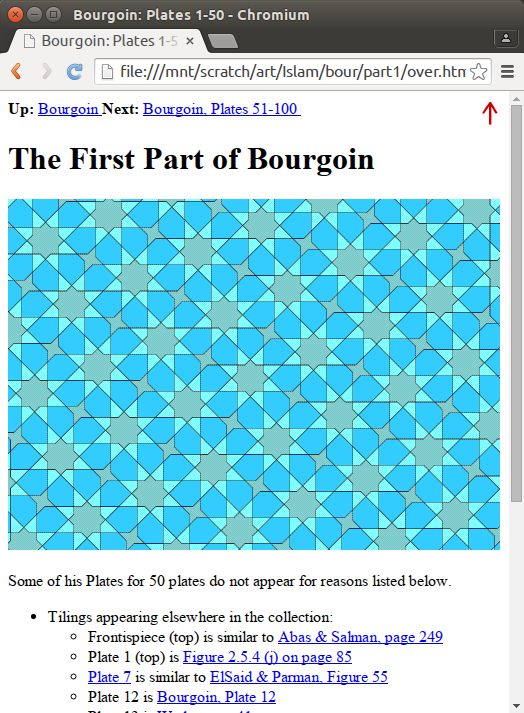
The disk — an interesting mathematical/artistic study of patterns — is arranged as a tree of HTML files, with internal links and images. This is how the folders appear on my computer:
├── art
│ ├── islam
│ ├── preislam
│ └── pstislam
│ ├── latt
│ ├── other
│ └── quilts
│ ├── modern
│ │ ├── large
│ │ ├── patch3
│ │ └── patch4
│ └── usa
├── info
├── maths
All neatly lower case, as one might expect. Unfortunately, the internal links are hard-coded to access links such as /art/Islam/over.htm, and Linux, being good and literal, can’t find the upper case ones.
Unfortunately, the majority of computers quietly ignore the case of letters on removable media. Linux’s insistence on being correct is at odds with what is generally considered useful. But there’s a way around this. You can give the mount command options to tell it to be more chill about case:
sudo mount -t iso9660 -o loop,check=relaxed,map=normal,norock,nojoliet disk.iso /mnt/scratch/
This works for me quite well:
The CD-ROM is interesting, if a little dated. The author has gone on to produce the website tilingsearch.org, a huge database of historical tile patterns.
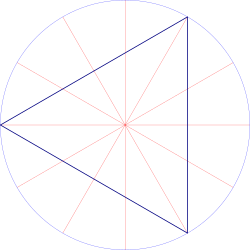
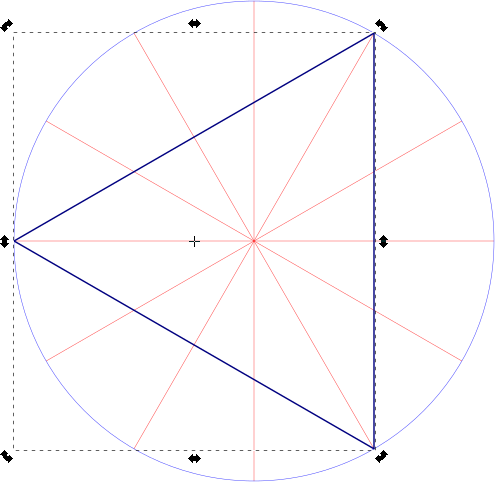
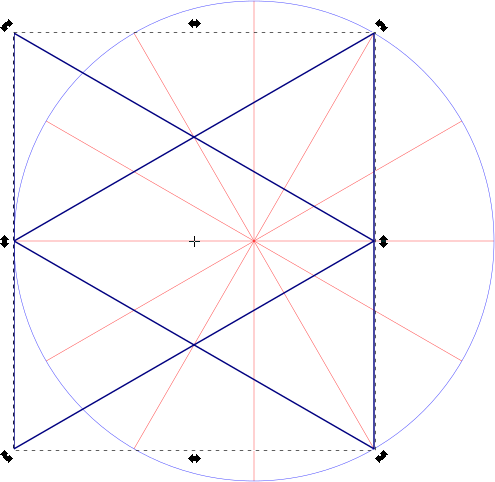
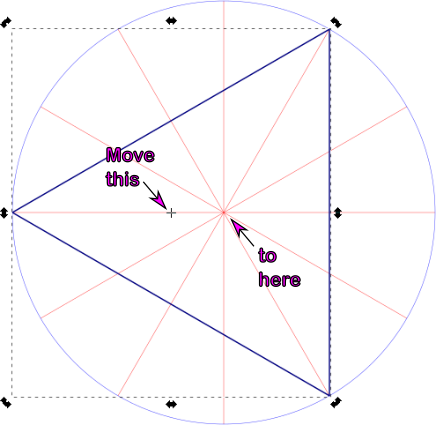
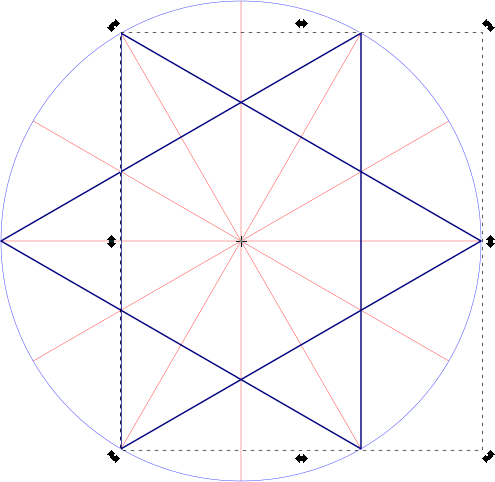
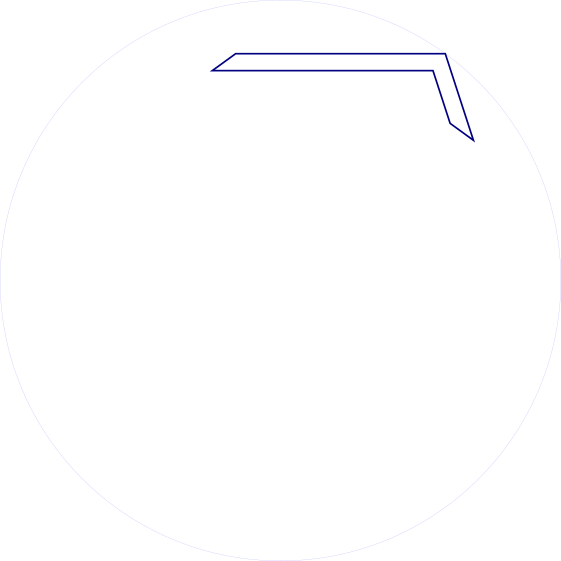
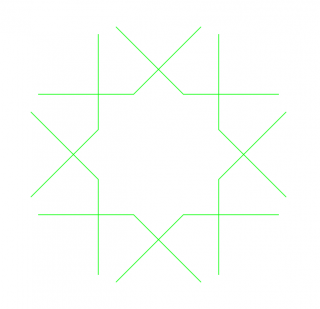
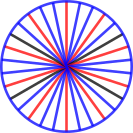
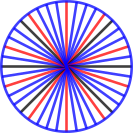
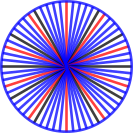
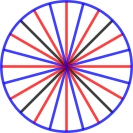
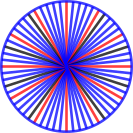
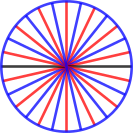
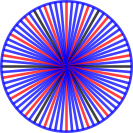
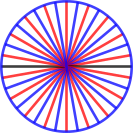
These SVG templates are modelled after Eric Broug‘s drawing templates for Islamic Geometric Design pattern elements. Although written for Inkscape, they should be usable with almost any graphics program.
By enabling snapping to nodes and object centres, your drawing program can act like an accurate straight edge and compass for constructing geometric figures.
File Nomenclature
The files are name N-LL-S.svg, where:
N — is the root symmetry: 4-fold, 5-fold, 6-fold, etc.
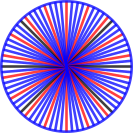
LL — the total number of lines arranged evenly around the circle. This will always be a multiple of N.
S — If the total number of lines has another symmetry that is a factor, this is S. If S = 0, then only the root symmetry is marked.
Examples:
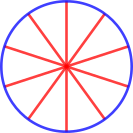
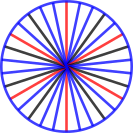
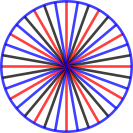
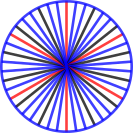
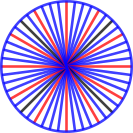
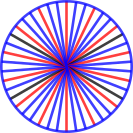
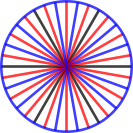
4-12-6.svg — base symmetry 4-fold (square/diamond), with 12 lines or 30° spacing. Hexagonal (6-fold) guidelines are highlighted in a different colour.
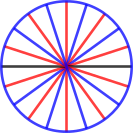
5-10-0.svg — base symmetry 5-fold (pentagonal), with 10 lines or 36° spacing. No other guidelines are highlighted.
Features
In Inkscape 0.91:
units set to mm
snapping set to cusp nodes, intersections, and object rotation centres
construction lines on a separate layer (‘construction’) from the active layer (‘drawing’)
Summary: Buy the paper edition; this book is illegible on Kindle.
The original book features very finely engraved line drawings, with construction lines showing how the patterns are built up. The Kindle edition has only low-resolution scans, so the lines break down into noise and are very hard to follow. You can’t zoom in, either. The figure numbering is entirely absent from the Kindle edition, so you can’t use this book for reference. Some of the page scans are squint and partially cut off, too.
Very disappointed in this purchase. You’re better off with the paper than trying to squint at these smudgy pixels.
(unedited text as simultaneously posted to Amazon)
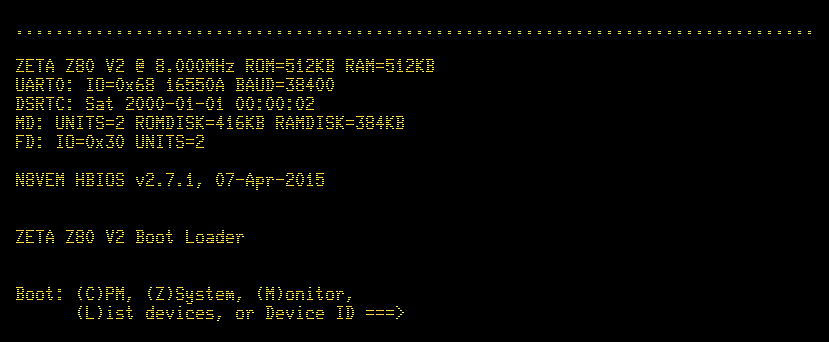
I’d been having no luck getting the SD card working on my Zeta. I got help on the mailing list, and uploaded a new 512KB Flash ROM image (via XMODEM and floppy; teh slow!). So now I have two multi-megabyte drives on my CP/M computer — whee!
You have no idea how good it was to see that message come through over the serial link. The Zeta worked first time!
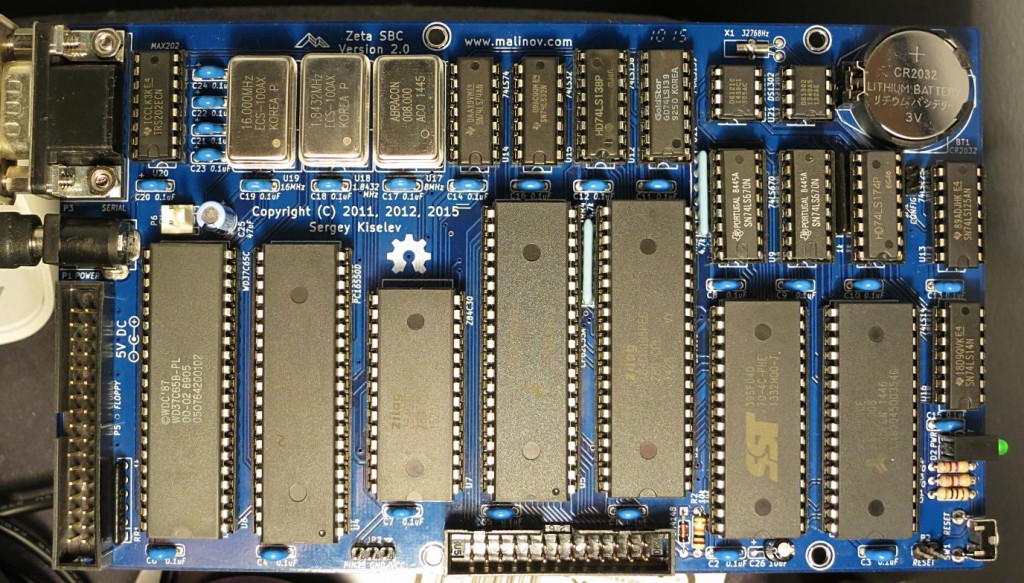
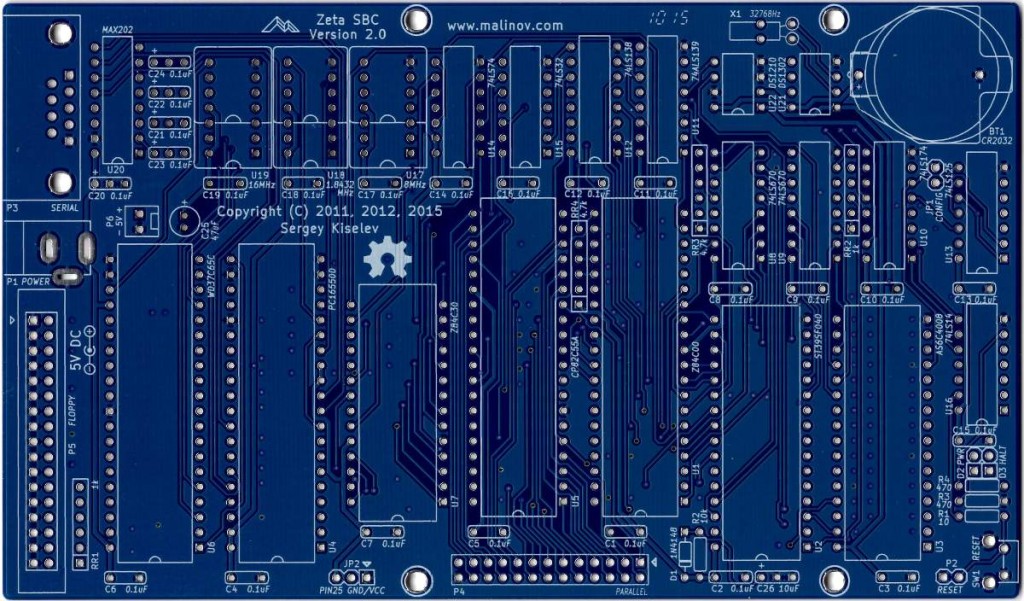
Here’s the board, fully populated:
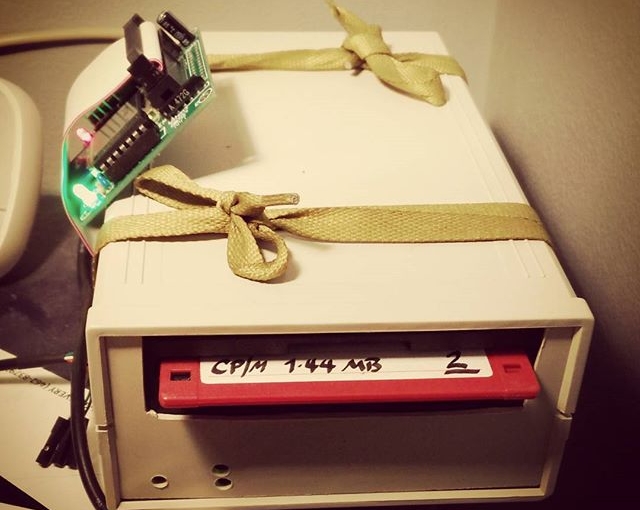
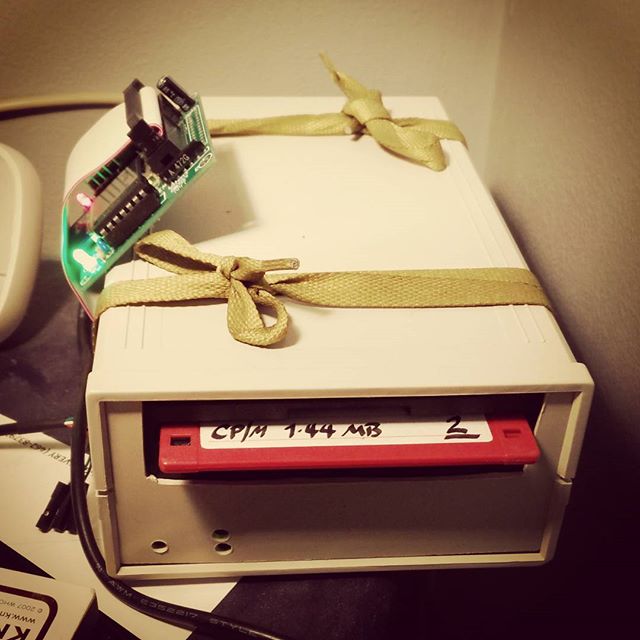
I still have to put it in a proper case. A visit to Above All Electronics did result in getting a floppy drive (and most importantly, 3½” 1.44 MB floppies …) and all the cables, so I’ll add that later. But for now, I’ll try to remember how CP/M works …
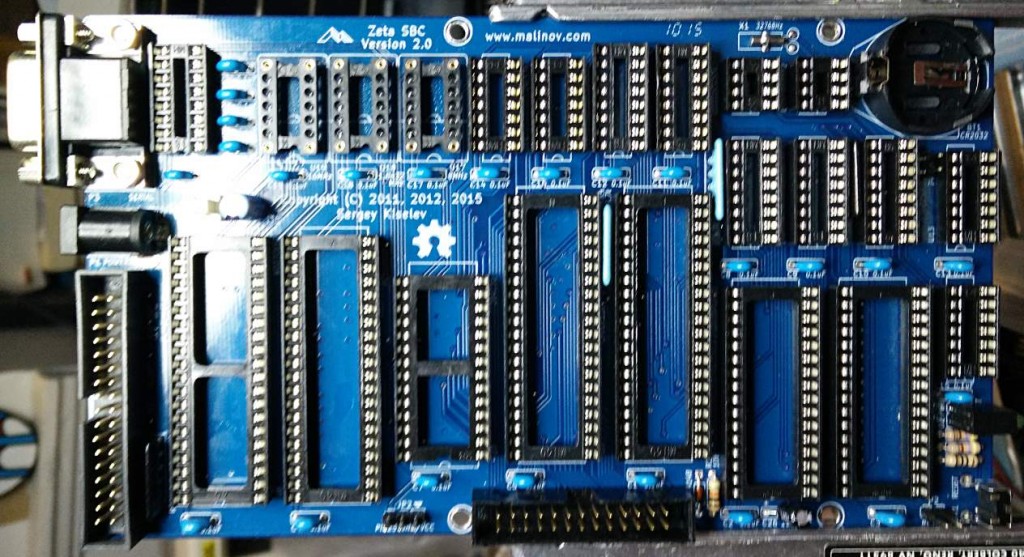
Please excuse horrible blurry photo, but I think all the soldering is done —
This adds the crystal sockets, the 32.768 kHz RTC crystal, the status LED(s) and the reset button.
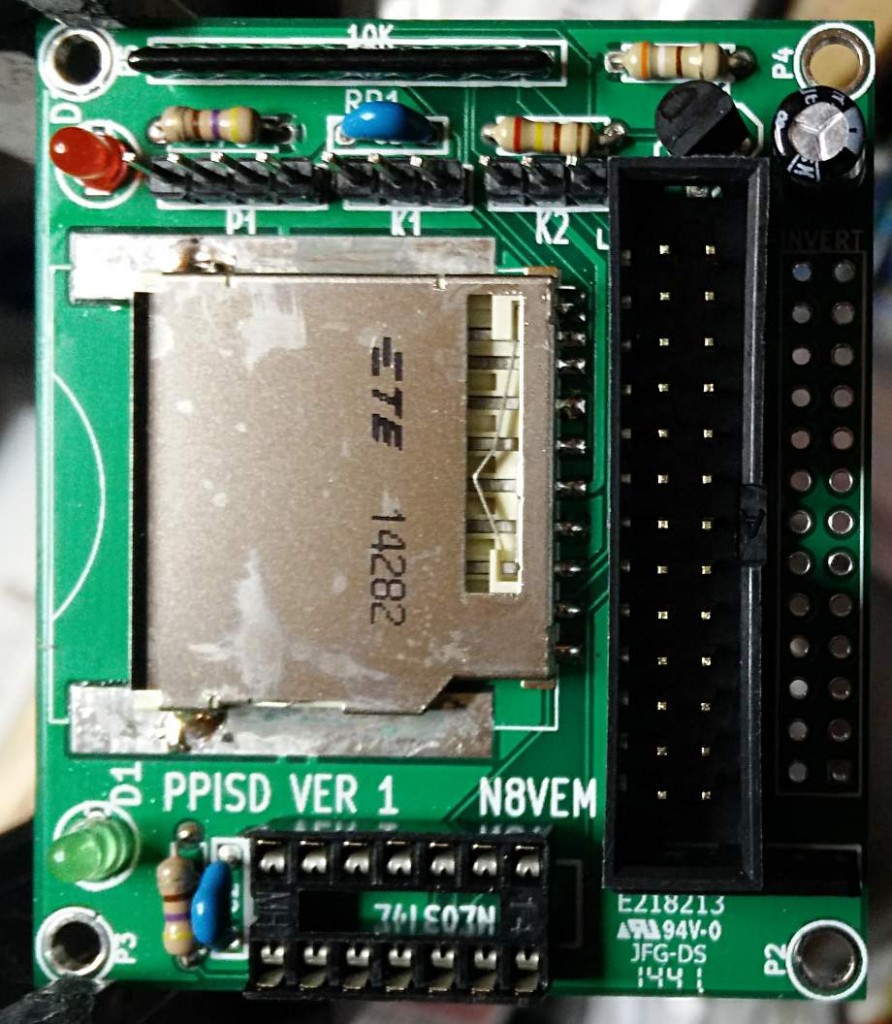
A whole new board I soldered up is the Mini-PPISD. It adds (slow) SD card storage to an SBC board:
Man, but those surface mount SD card pads are a pain. I had to get flux on the PCB pad and the bottom of the SD connector, load a little blob of solder on the iron, then warm up the pad and roll the solder into place. It made a satisfying little Zsht! noise as the flux burnt off, and the molten solder got drawn under the pad by capillary action.
Next up is checking the power and ground continuity, adding the chips, building a null modem (grr; I hate RS232, really) and finding a case. I may already have one, but I may forage at Above All to get a 3½” floppy drive and enclosure. I definitely have an old Turbo/reset button from an XT that would make a great reset breakout.
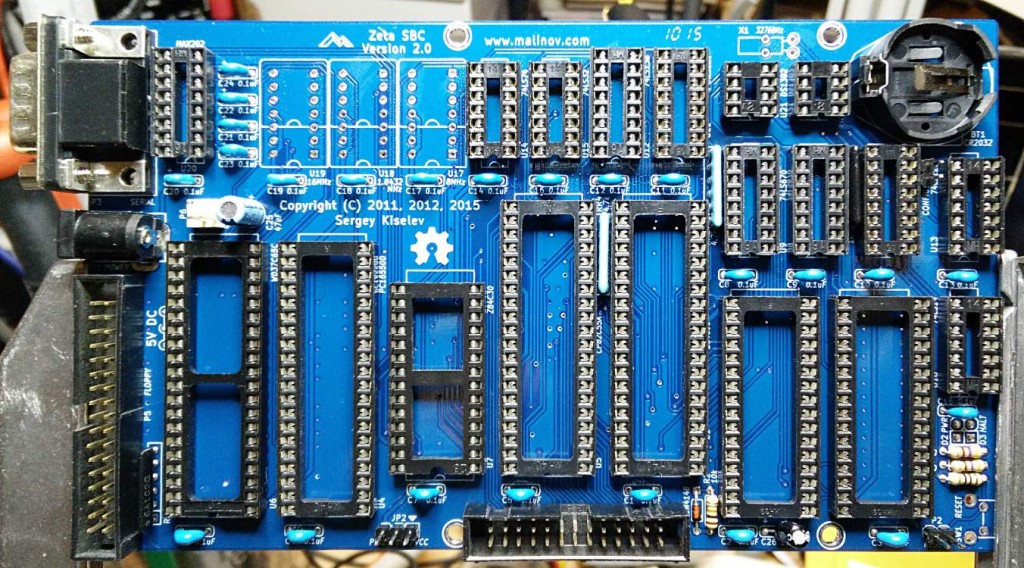
Just waiting for the full-can oscillator sockets (and most of the chips) to arrive from Mouser. I could have used 14-pin DIP machine pin sockets, as Sergey was thoughtful and had all of the holes drilled.
Most of the big sockets need to be fully soldered, as at the moment they’re just tack-soldered at the corners. Maybe I’ll put on some dronecore and have a meditative time with the Sn-Ag tonight. I’ll be glad to get the flux off the board, though: it’s not my usual stuff (which is Kester #951; no clean ftw), and what I’m using is smoky and a bit gummy. It does make nice bright joints, though, which is never 951’s strong point.
This might be my last post on mini-printers, as I’ve found a driver that just works with CUPS on Raspberry Pi. It also works on Ubuntu on my laptop, and should work (though untried) on Mac OS. You’ll have to build it from source, but it’s not too hard.
The hard part is working out if your thermal printer will work or not. There are many out there, and they’re all slightly different. If they support the ESC/POS bitmap command GS v 0 on 58 mm wide paper, they should work. The ones I’ve tested are:
Catex POS5890U — USB, cheap, fast.
“701” control board panel printer — fairly generic, decent quality printer with serial input. A bit slow for daily use at 9600 baud.
Xiamen Embedded Printer DP-EH600 — as above.
The following should also work, but haven’t been tried:
Sparkfun thermal printer — which now appears to be identical to the Adafruit unit, and is referred to as the “A1 (or A2) micro panel printer” in the documentation.
Known not to work:
BTHT-V6 printer — which uses a completely different command set. (Roughly that of an Epson FX-80 for image commands, if you care.)
If you have a manual for your printer, check it to see if it prints bitmaps by sending a three byte header of 29 118 48 (or 1D 76 30 in hexadecimal). If you’re not sure, try it with a small test image, and be ready by the power switch …
Getting and building the driver
The driver is meant for a ZiJiang ZJ-58 printer, and lives here on Github: klirichek/zj-58.
Now read and follow the Building & Installing section of the README, and do what it says. I’ll wait …
Setting up the printer
This bit is much more graphical. You’ll need the system-config-printer package:
sudo apt install -y system-config-printer cups
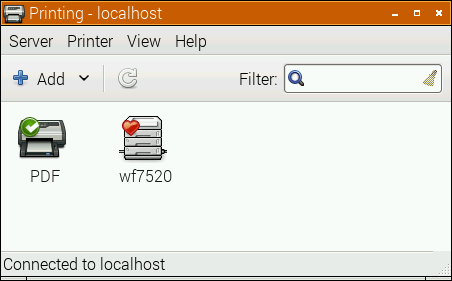
Open up the printer settings window (Preferences → Print Settings):
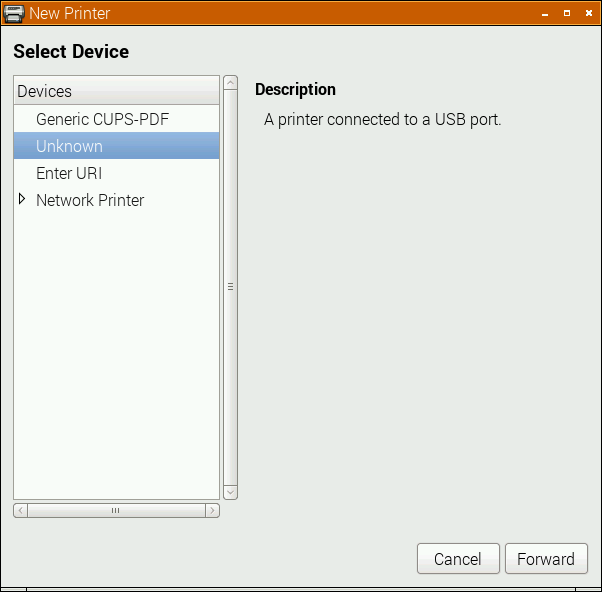
Select the Add icon, and the New Printer window opens:
The POS5890U shows up as “Unknown” on my USB port, as Linux doesn’t know the name of this device from its USB ID.
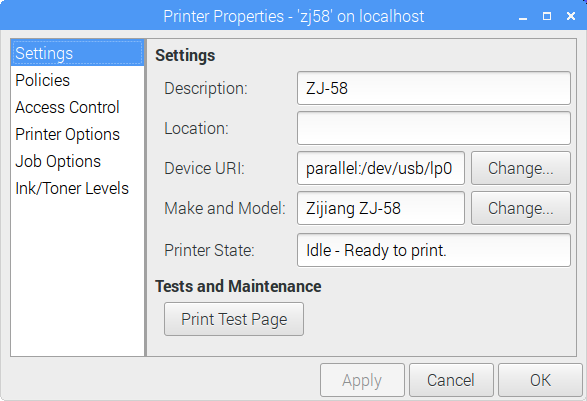
Update (for the slightly desperate): In the land of “Things have changed!“, my Catex printer isn’t/wasn’t showing up at all. I had to resort to this in the Enter URI option:
(hey, this image doesn’t quite match the flow. Look only at the the Device URI bit please)
parallel:/dev/usb/lp0 seems to work. Another option might be looking at the output of
sudo /usr/lib/cups/backend/usb
which suggests that usb://Unknown/Printer might work too. (All of this might need to have been preceded by
sudo usermod -a -G lp pi
and a logout or reboot; I did say this was for the slightly desperate …)
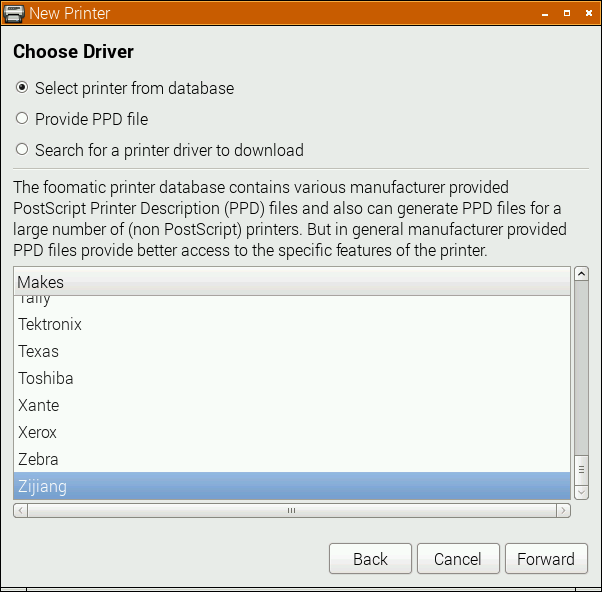
If the above doesn’t apply, your printer might have an known ID, or show up as a serial port. Select the right one, and click Forward:
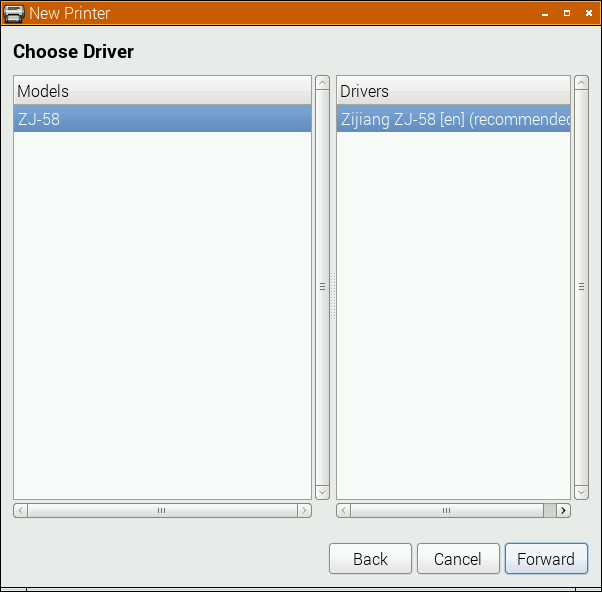
Here, I’m really pleased that the driver is for a Zijiang unit, as it’s conveniently at the end of the list. Click Forward …
No options here, so again, Forward …
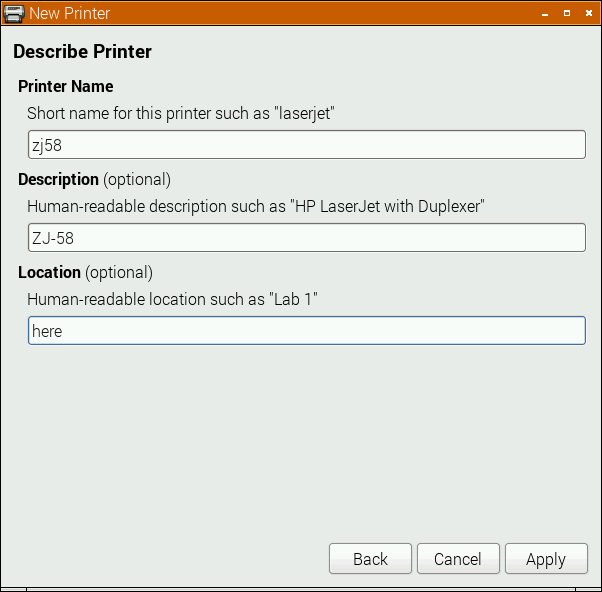
I changed the name from the default ZJ-58 to the more unixly zj58. You don’t have to, but either way, Apply the changes.
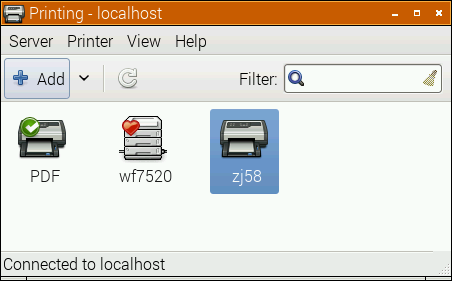
And there it is, registered as a printer!
Printer Options
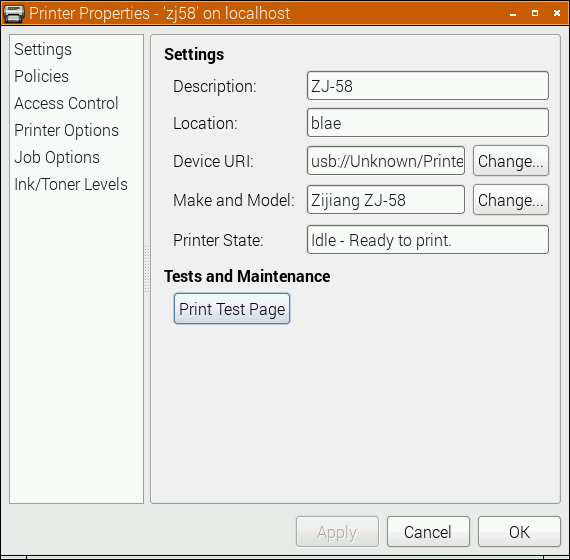
Most printers expect paper wider than 58 mm, but mini-printers can’t do that. To tell the system about paper sizes, right click on the printer’s icon, and change the printer settings:
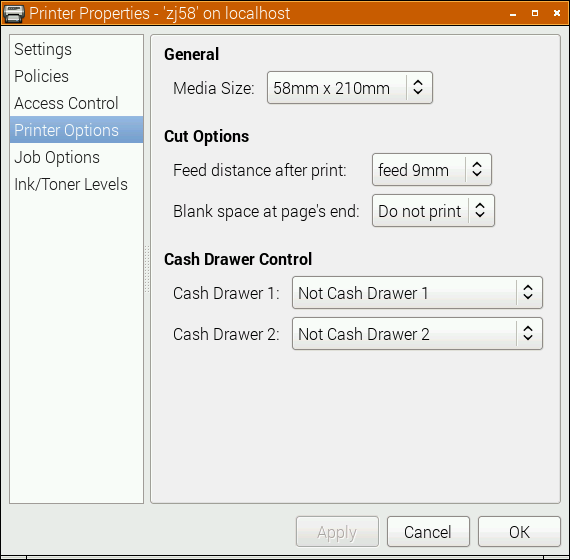
A test page might print properly now, but you should probably go into Printer Options first:
You do want to set the media size to at least 58 × 210 mm. This is just the longest strip it will print in one ‘page’; if your print is shorter, it won’t waste extra paper. You can choose longer prints, but not wider. The default assume your local standard paper size which —be it A4, Letter, or whatever — will not be what you want here. Hit OK.
Printing something
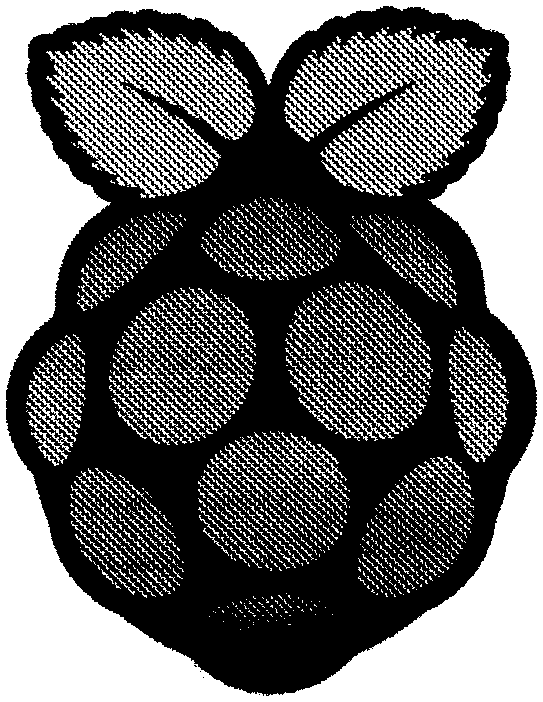
You could print the self test page, but it’s long and boring. If you’re fairly sure your printer will be supported, try this scaled PDF version of the Raspberry Pi Logo: raspberry-pi-logo. Printed and scanned, it came out like this:
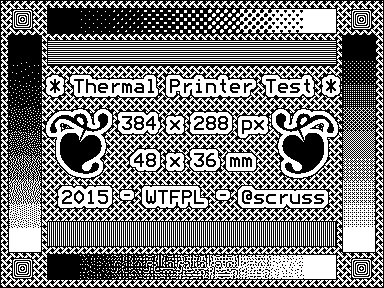
Not the best rendition, but not bad for a $30 receipt printer. My test image came out like this (iffy scan, sorry):
I haven’t covered the intricacies of setting up serial port connections here; maybe another time. Also, there’s a short delay (maybe 10–20 s) between selecting Print and the printer coming to life. CUPS is pretty complex, and is doing things in the background while you wait.
(Seeing as I use their logo prominently up there, I should totes acknowledge that “Raspberry Pi is a trademark of the Raspberry Pi Foundation”. Also, I couldn’t have done all this without the support of Reed Zhao. Though Reed has moved on to bigger things and doesn’t sell printers any more, his help — not to mention the generous gift of a couple of printers — was very welcome.)
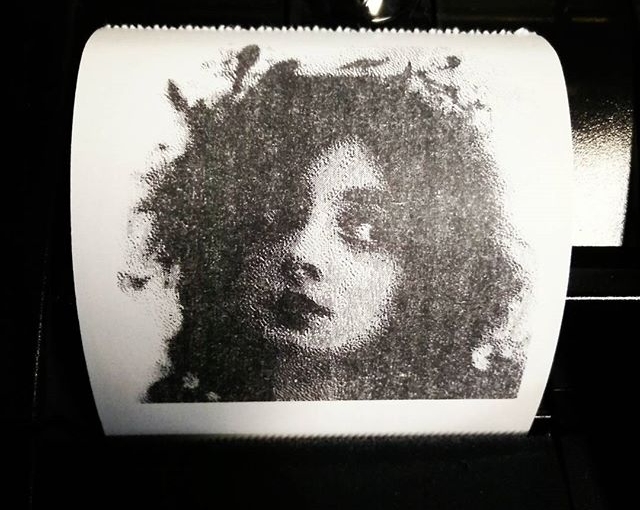
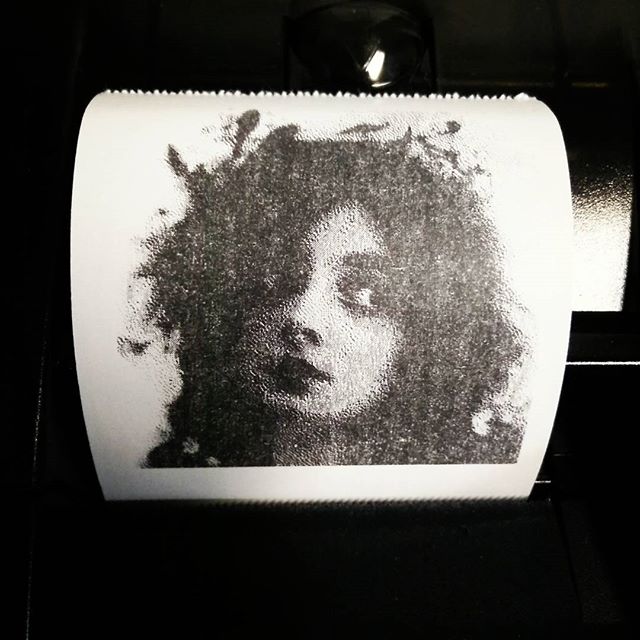
Scored this cheapo USB printer on eBay: “High-speed 58mm POS Dot Receipt Paper Thermal Printer USBâ€. It identifies itself as a CATEX Technolog [sic] POS5890U, with a USB vendor:product ID of b000:0410. After a bit of random fiddling, it shows up as /dev/usb/lp0 on a Raspberry Pi. After turning off CUPS (as it nabs the device, not even letting root near it), you can print images up to 384 dots (48 mm at 8 dots/mm) wide using the ESC-POS GS v 0 command. You can use my esc-pos-image.py script if you wish, and if you need a test image …
(The photo is of Marie Doro; proto-goth 1902 style.)
Fun discovery #1: not all CR-2032 battery holders are the same size. This board call for the one just a tiny bit larger than the coin cell itself. Most of the ones with the retainer clip that goes over the battery are too big, and will prevent other components being installed.
Artifex’s GSView is rather good. It describes itself as ‘a user friendly viewer for Postscript, PDF, XPS, EPUB, CBZ, JPEG, and PNG’, and it sure does those things. It’s currently bundled as Mac, Windows and Linux Intel-only binaries, but maybe we’ll see ARM distribution or source soon enough.
The name confused me a bit. Russell Lang of Ghostgum Software Pty Ltd has maintained a nice Windows-only Ghostscript front end called GSview for years. Note the huge difference in names: Artifex‘s release is GSView 6, while Ghostgum’s is GSview 5. Hmm.
Naming aside, GSView does make it very easy to convert its input files to PDF/A, the ISO standard archival PDF definition that is immune to Adobe’s format meddling. (Adobe have, with Acrobat Reader DC, maintained an unbroken tradition that their latest PDF reader software is more bloated and craptastic than the last.)
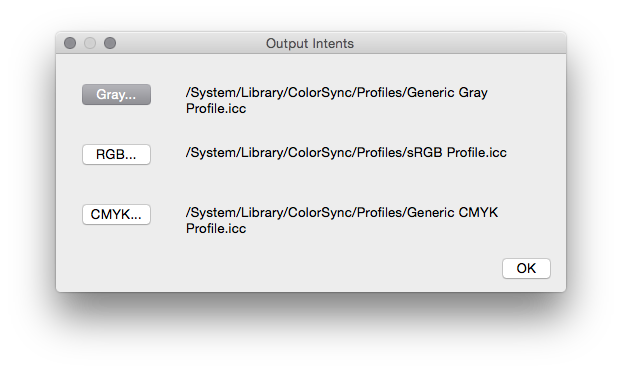
PDF/A defines several archival settings such as font embedding and colour management. It’s possible to do this on the Ghostscript command line, but it’s fiddly. GSView just needs you to point it at the colour standard files on your system. On Mac, these live in /System/Library/ColorSync/Profiles/, and in the image below, I’ve picked out the generic ones:
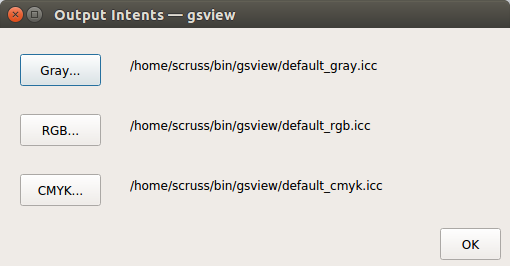
On Linux, these files will likely be somewhere predictable; for me, they are in /usr/share/ghostscript/9.15/iccprofiles/. I made copies in the GSView executable folder so they wouldn’t get lost if my system updates Ghostscript:
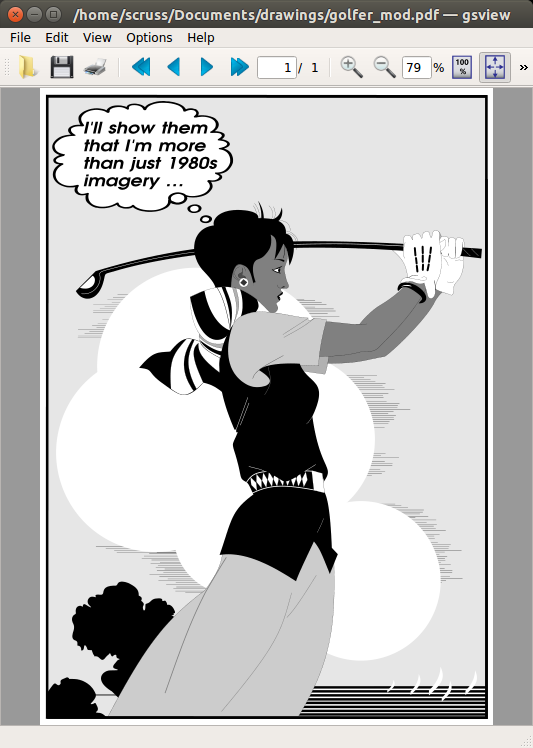
The PDF/A files you get can be considerably smaller than the originals. A 10 MB LibreOffice Impress slide deck from a presentation on OpenStreetMap that I gave last week shrunk down to 1.3 MB when saved by GSView, with only very minor JPEG gribblies visible in the slide background. The graphic above (modified from the Ghostscript example file ‘golfer.eps’; yay, Illustrator 1.0!) shrunk by ⅓. These are handy savings, plus you get a standalone archival format that will never change!
A minimally-useful tracing of the standard numerals embossed
on credit cards. The geometry should be checked against ISO/IEC 7811—1:2002 should these data be used for official purposes. No claims of compliance are made here.
As there are only 10 digits in this font, encoding it as a digital
form (TTF, OTF, or otherwise) is left as an exercise for the reader.
Files
f7b-colour.svg – an A4 sheet with all 10 digits presented as a
poster. Each digit is approximately 1284% standard size.
eps folder – PostScript source files. Each outline is approximately 5695% standard size, which is appropriate for a glyph in FontForge.
Workflow
The rough character outlines were created as short scripts in Python,
using the Shapely library to handle geometry. A confusing array of support tools (including, but not limited to: QCAD, wellknown
and OGR added the arcs and fillets. The more complex arc intersections were calculated using GeoGebra. Finally, the
outlines — at this point, mostly in the form of PostScript Level 2 arct commands — were hand-keyed into the EPS files included here.
Notes on the data
There are some typos in the published coordinates, particularly in
the “1” glyph. Whether these are genuine errors or
‘trap streets‘, is hard to tell. The glyphs presented here are intended to be visually accurate
The published coordinates of the “8” glyph indicate that it is
only 97.6% as tall as the other digits. This has been carried
through here.
Twenty-two years ago, I wrote a thesis. It wasn’t a very good thesis, but it did what it needed to do. For years, its model files have been unreadable, because the spreadsheets were written in a ~1992 version of Microsoft Works. These are old files:
Quite recently, LibreOffice realized that there are old files out there that (unlike my thesis models) could still be useful. As they have no commercial requirement to only support the latest and greatest, LibreOffice added the ability to read these ancient works. So my old stuff lives again:
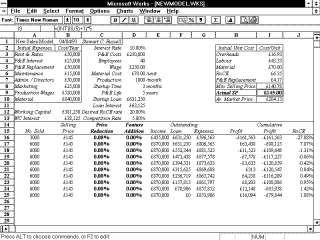
I found a screen dump that I used back in ’93 to illustrate the layout. The display was colour, but here it is brought back to life with a little bit of antialiasing:
LibreOffice can also read old AppleWorks files. Although Works 6 still runs on Catherine‘s Mac, it looks a bit … dated:
Thanks, LibreOffice! It’s sometimes easy to forget (like right after updated to Ubuntu 15.04, which decided that BlueTooth support was kindaoptional unless you jumped through hoops …) that people do write software just to be more useful.
Hey! This is yet another of my ancient posts about Raspberry Pis that probably contains out-of-date information. In order to run FreeBASIC on a Raspberry Pi, all you need do is:
FreeBASIC is a pretty nifty cross-platform BASIC compiler. It uses a Microsoft-like syntax, has an active user and developer base, and is quite fast. Building the latest version on a Raspberry Pi is a bit of a challenge, though.
FreeBASIC 1.01 demo running on a Raspberry Pi from Geany
Part of the problem is that FreeBASIC is mostly written in FreeBASIC, so you need a working compiler to bootstrap the latest version.
Update: you’re probably best just downloading the binary install packages from the FreeBASIC site. I’m having difficulty getting recent (late 2016) source packages to build for reasons that would take too long for most people to care about.
unzip fbc_linux_armv6_rpi_version.zip
cd fbc_linux_armv6_rpi/
chmod +x install.sh
sudo ./install.sh -i
Don’t delete the installation folder just yet.
Grab the latest version of the source from github:
cd
git clone https://github.com/freebasic/fbc.git
Change directory to the new FreeBASIC source folder (cd fbc), and type make. (or, on a Raspberry Pi 2 or 3, make -j4 to use all the cores …). After a while (in my tests, about 52 minutes on a 512 MB Raspberry Pi, or around 6½ minutes [!] on a Raspberry Pi 2), it should finish. If there’s a bin/fbc file, the compilation worked!
Before you install the new compiler, uninstall the old one: change directory to the fbc_linux_armv6_rpi folder, and type:
sudo ./install.sh -u
Once that’s done, go back to the new fbc folder, and type:
sudo make install
And you’re done! You can delete the fbc_linux_armv6_rpi folder now. If you don’t mind it taking up space, keep the fbc folder to allow you a quick rebuild of the latest version of the compiler with:
cd fbc
git pull
make
sudo make install
Note that this will build a native armv7l compiler on a Raspberry Pi 2, and an armv6l one on a Raspberry Pi. This means you can’t run binaries you built on a Raspberry Pi 2 on a Raspberry Pi (you’ll get an Illegal Instruction error), but you should be able to run ones built on a Raspberry Pi on a Raspberry Pi 2. Binary compatibility is overrated, anyway …
Just got Bill “WaywardGeek” Cox’s Infinite Noise USB Random Number Generator. It uses very few components, and doesn’t even have a microcontroller on board. It relies on the controlled amplification of thermal noise as its entropy source.
Not great enhanced image of the Infinite Noise board. Yes, that’s all there is to it
As it’s so very simple, it uses a driver to read from the device, and then hashes the data to reduce the data stream to very close to pure noise. Building the driver is easy, once you work it that the code lives in the infnoise/software folder on the author’s github repo.
Normal operation would look like this:
sudo ./infnoise | entropy_consuming_program …
as in
sudo ./infnoise | rngtest -t 10
which I left running for a work day to get
…
rngtest: bits received from input: 10327720032
rngtest: FIPS 140-2 successes: 515955
rngtest: FIPS 140-2 failures: 431
rngtest: FIPS 140-2(2001-10-10) Monobit: 63
rngtest: FIPS 140-2(2001-10-10) Poker: 61
rngtest: FIPS 140-2(2001-10-10) Runs: 162
rngtest: FIPS 140-2(2001-10-10) Long run: 151
rngtest: FIPS 140-2(2001-10-10) Continuous run: 0
rngtest: input channel speed: (min=29.022; avg=178.828; max=19531250.000)Kibits/s
rngtest: FIPS tests speed: (min=17.403; avg=30.153; max=85.917)Mibits/s
rngtest: Program run time: 56727702860 microseconds
So from its success to failure rate, it produces pretty decent (for my casual use) results. These bytes chug out at around 22¾ Kbytes/second; not screamingly fast, but decent, considering the very simple hardware.
You can run the hardware without hashing/whitening, and the results (from a much shorter run) are less solid:
sudo ./infnoise --raw | rngtest -t 10
…
rngtest: bits received from input: 15499264
rngtest: FIPS 140-2 successes: 0
rngtest: FIPS 140-2 failures: 774
rngtest: FIPS 140-2(2001-10-10) Monobit: 0
rngtest: FIPS 140-2(2001-10-10) Poker: 774
rngtest: FIPS 140-2(2001-10-10) Runs: 774
rngtest: FIPS 140-2(2001-10-10) Long run: 0
rngtest: FIPS 140-2(2001-10-10) Continuous run: 0
rngtest: input channel speed: (min=27.201; avg=355.760; max=9765625.000)Kibits/s
rngtest: FIPS tests speed: (min=24.868; avg=30.488; max=41.554)Mibits/s
rngtest: Program run time: 49831593 microseconds
Another naïve test is seeing how images made from the data stream look:
random bytes (PNG), file size 49435 bytes
raw bytes (PNG), file size 45421 bytes
Each of these 128 pixel squares should be no less than 49152 (= 128 × 128 × 3) bytes — plus the size of any PNG header/metadata — in size. The fact that the raw output is smaller shows that PNG’s compressor found some patterns it could work with.
It’s a fun little device, and Bill is adding new code and features to the driver at waywardgeek/infnoise regularly.