After a relative lack of success in making cheap plotter pens, I managed to score a trove of old pens on eBay. Some of these were dry, and I tried to resuscitate them. A few came back to life, but I ended up with a handful of very dead pen shells.
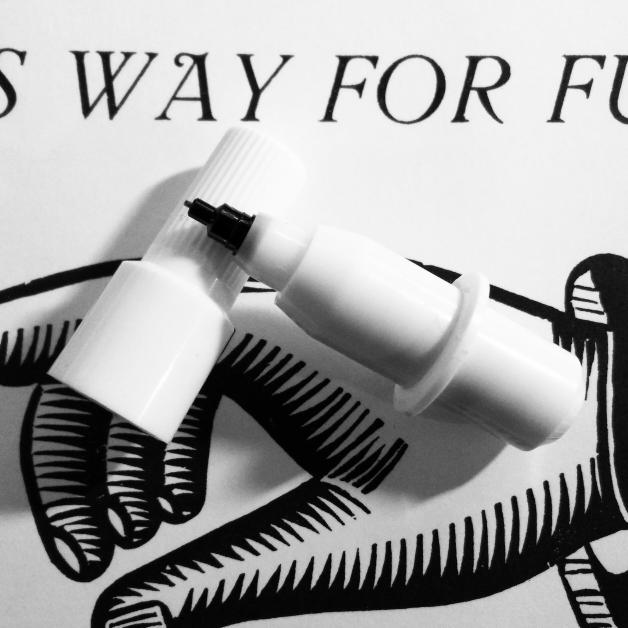
I think the pens were made or sold by Alvin, as there were several empty Alvin trays in the batch I got on eBay. In taking one apart, I thought that a pen refill might just slide inside. Lo and behold, but didn’t the pen nerd’s fave gel pen du jour refill just slide in with enough of an interference fit that it wouldn’t easily slide back out.
Taking the dry pens apart isn’t too easy:
- Pull the black tip straight out with pliers; it has a long fibre plug which goes into the ink reservoir. Discard the tip.
- While it’s really hard to see, the other end of the pen body has a push-on plug. Gently working around it with a sharp knife can open it up a bit.
- Once you’re inside the pen, pull the dry fibre ink reservoir out with tweezers and discard it.
Converting the pen body to use a Jetstream refill needs some tools:
- Drill a hole in the plug at the end of the pen body just large enough to allow the end of the refill to pass through. It helps if this is mostly centred to keep the pen point centred; this is important for accurate plots.
- Cut a piece of tubing just wide enough to slip over the pen refill, but not quite narrow enough to fit through the hole you just drilled. I used some unshrunk heatshrink tubing for this. It needs to be just long enough to push against the plug when the pen tip is at the right length. This should help stop the refill getting hammered back into the body by your plotter.
- Before you assemble the pen, I find it useful to cut a couple of flats in the sides of the plug so you can more easily change the refill. You don’t have to do this, though.
- Assemble the pen:
- Push the Jetstream refill into the pen body, and adjust it so it sticks out about 6 mm clear of the plastic collar near the nib.
- Put the tubing over the other end of the refill, and push the plug over the top, clicking it into place.
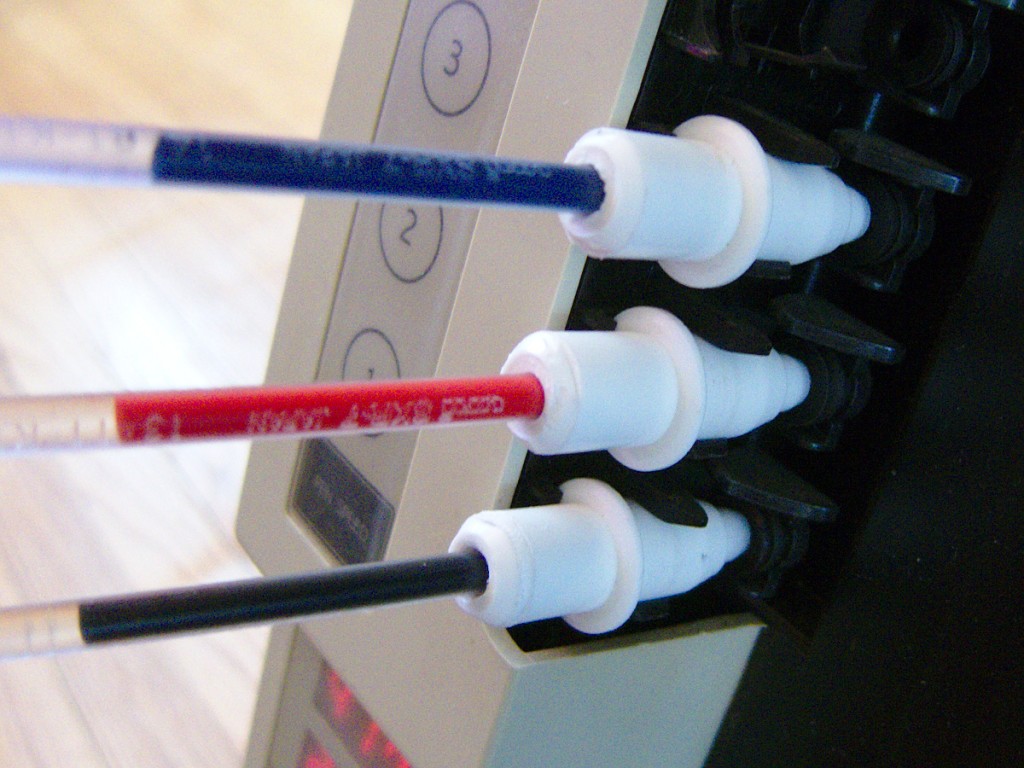
To get best results, you’ll have to slow your plot speed down quite a bit. At standard speeds, you get a ¼ mm interrupted line which looks like this:

Close up, the lines are really faint
 A hint that I should run them slower was at the start of each line, where the line would start very thick, then taper off as the ink supply ran low:
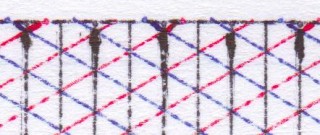
Run at 120 mm/s, the results where a bit darker, but still blobby at the start of lines:
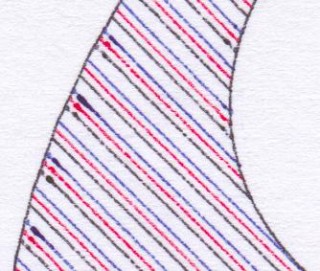
Slowing down to 60 mm/s produced slightly better results:
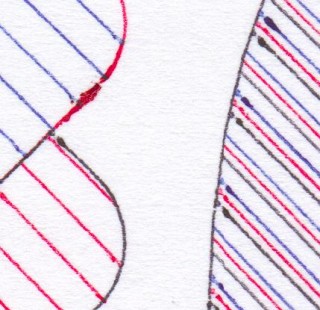
But sharpest of all was at the crawling speed 30 mm/s:
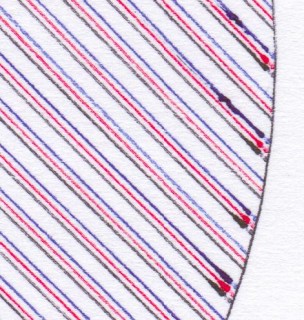
Some pronounced blobs at the starts of lines still. Here’s the full page at 600 dpi, squished into a very lossy PDF: jetstream_plotter-slow
The blobs could be due to this, though:
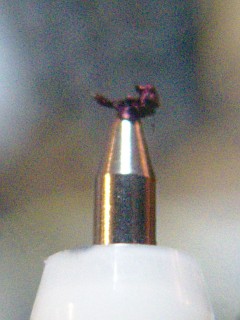
It seems that a mix of paper fibres and coagulated ink builds up on the tip. Occasional cleaning seems to be a good idea. It also seems to help to draw a quick scratch line before anything important so the ink will be flowing properly.
Just to sign off, here’s one of the pens in action: