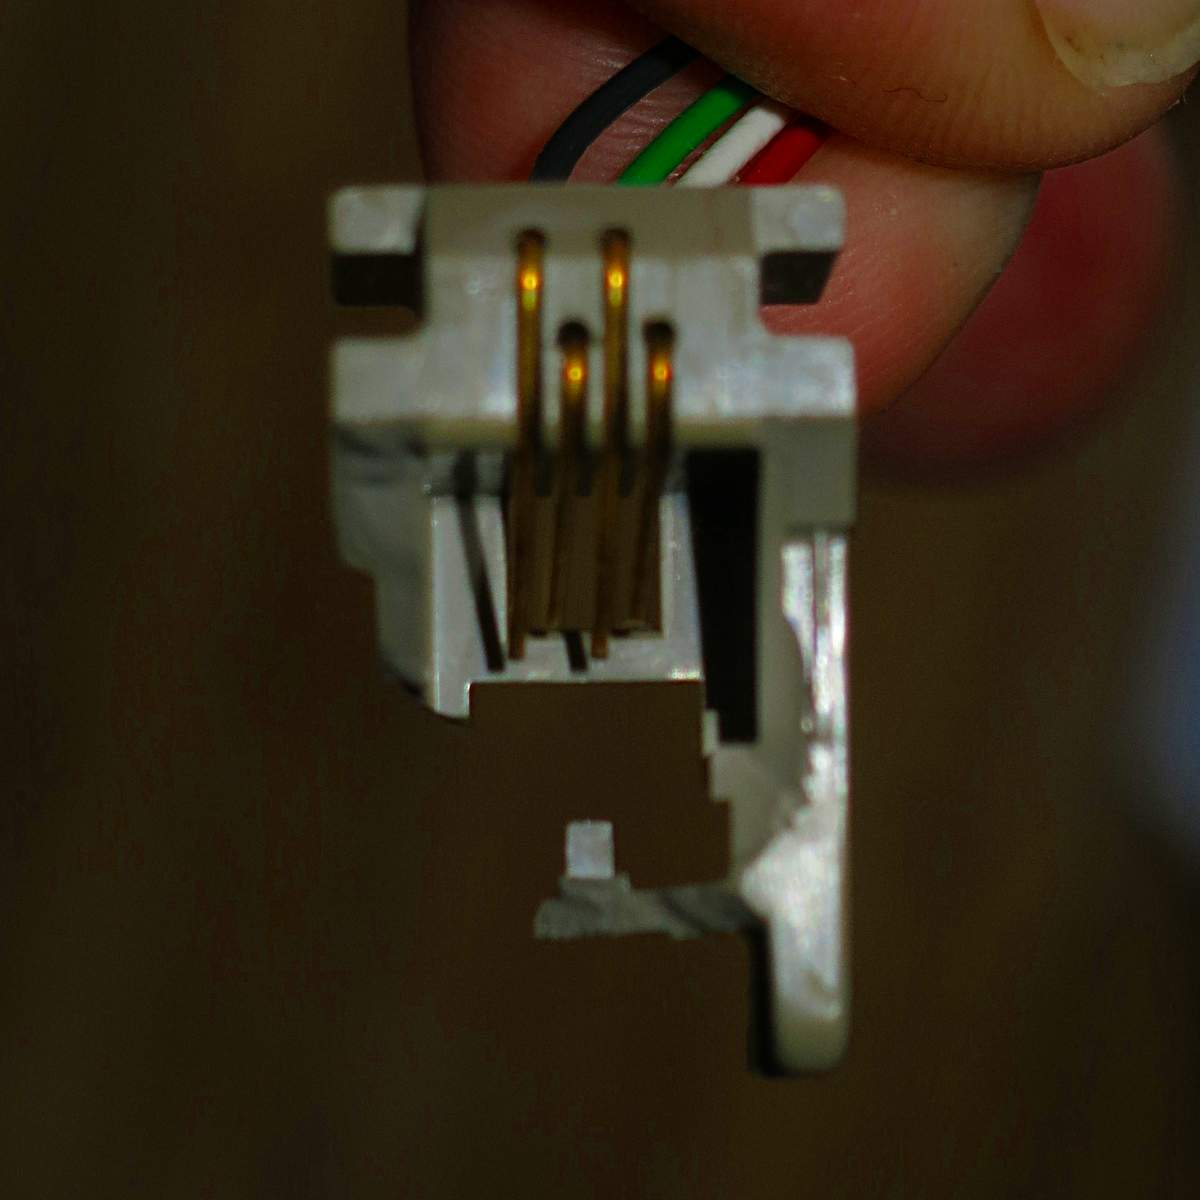
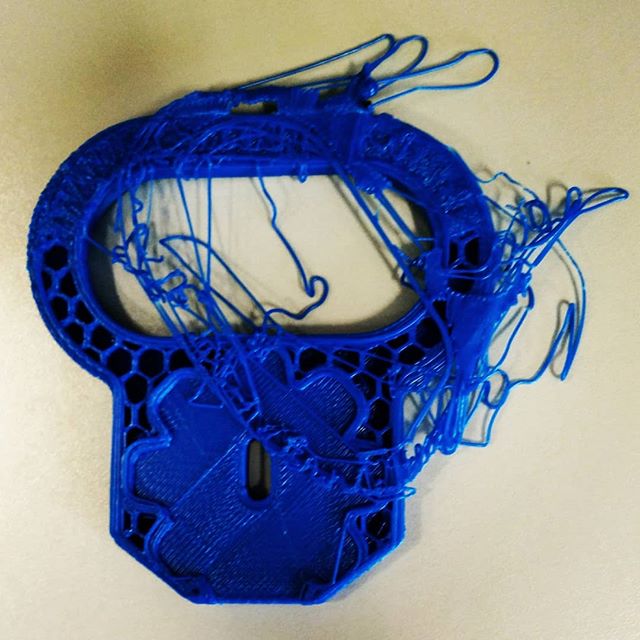
It seems that Princess telephones — like the one I have — were notorious for having their connectors break. The connectors are made of brittle thermoset resin, and sit just where they’d hit the ground if you dropped the phone. This is definitely what happened here:
Very broken 616p modular handset connector. Pins are (l to r): Black, Green, White, Red
For the handset, you want a 616P connector. If your wall connector has gone too, you’ll need the 623P connector for that. These are fairly readily available on eBay.
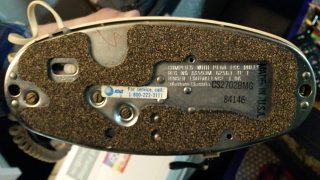
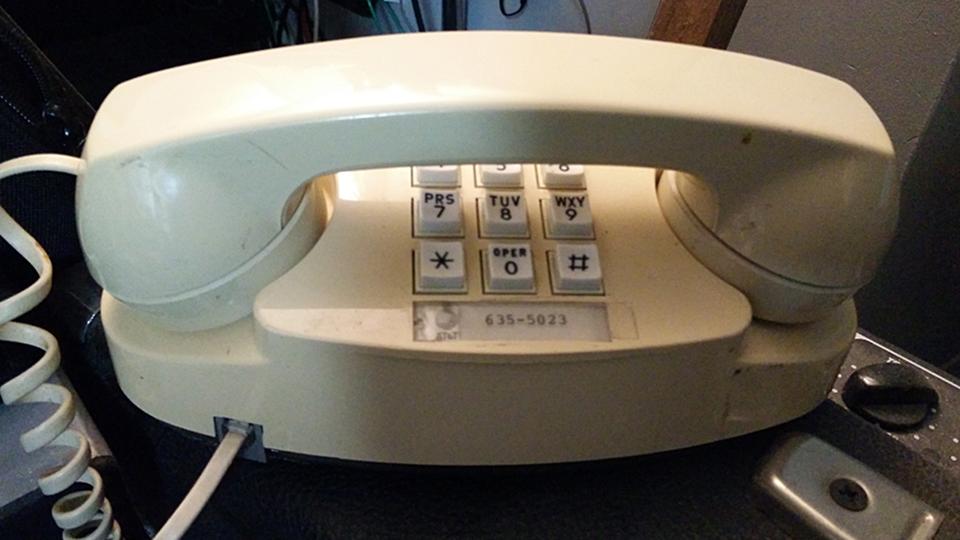
These instructions really only apply to the 2702BMG model of the Princess phone. There are many variants, and the 2702BMG was one of the last Princess models made.
Remove the upper body by unscrewing the two screws at each end of the base
Undo the screws at left and right to remove the case
Remove the body, and remove the keypad. This is held in by two screws, one on each side of the keypad
If your phone’s anything like mine, untwist the wires inside to get the line and handset connectors separated
Unhook the old connectors from the terminals, and attach the new connectors as shown:
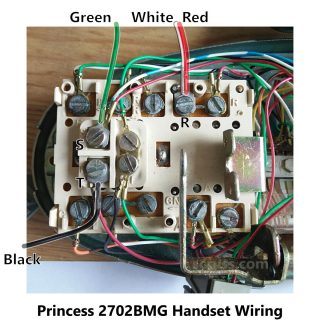
Handset wiring: Green → S, White & Red → R, Black → T
Slot the handset modular connector into its space in the phone chassis
Replace the keypad
Re-route the wires so they don’t get pinched or block the handset hook, then re-attach the plastic body with the two screws.
I love it when people discover this book. It’s been a minor obsession of mine for nearly 30 years. I first put it on the web in March 2000 and updated it to then-current web standards in 2003: What a Life!: an autobiography. Over the years I’ve received a bunch of interesting notes from fans and even a couple from relatives of the authors. I marked it up the old, hard way: by scanning pages then re-keying the text. OCR wasn’t that great back in the day.
So I get kind of irked that this cakeordeath fella lifts my pictures and markup wholesale. Shame he didn’t understand how to copy CSS, ‘cos his formatting comes out worse than mine:
<div>
<p><spanclass="smallcaps">I</span> was born very near the end of the
year. <imgsrc="Images/wal009a.jpg" width="112" height="104"
alt="calendar showing 29 December" class="right" /></p>
</div>
<p>The grange where I was born was situated in a secluded corner of
the Chiltern Hills. Rumour had it that Queen Elizabeth had slept
there.</p>
<divclass="centre"><imgsrc="Images/wal009b.jpg" width="160"
height="232" alt="doll's house" /></div>
I mean, come on … including my domain and image path scruss.com/wal in his image urls? Otherwise, it’s whitespace difference. I dunno, these kids today: lift anything without credit, so they would. Seems this dude is a semi-popular blogger, and I’d be vastly annoyed if he were getting ad revenue for this, while I did this for fun and it’s cost me to host it all these years.
select this to see the full resolution scan. Original is just under 6 cm wide
Unfortunately, an earlier attempt to print this figure using a fresh-out-the-box 20+-year-old HP SurePlot ¼ mm pen on glossy drafting paper resulted in holes in the paper and an irreparably gummed-up pen. If anyone knows how to unblock these pens, I’m all ears …
This is one of those toys that you whirl around on a piece of string and it makes a chirping sound like a flock of sparrows. I have no idea what they’re called, so I called it birb_chirper.
Print Settings
Printer: Reach 3D Rafts: Doesn’t Matter Supports: Doesn’t Matter Resolution: 0.3 mm Infill: 0%
Notes: This is a thin-walled model, so use at least two shells and no infill for smooth walls.
Post-Printing
Take a piece of thin string about 1 metre long (I used micro-cord, very fine paracord), pass it through the hole in the tip, then tie off a jam knot that’s big enough to stop in the hole in the top but still pass back through the slot in the side. Now whirl the thing around fast by the string, and it should start to chirp.
This is intended for the amusement of small children and the annoyance of adults.
How I Designed This
The tip of this thing is an ogee curve. I’ve included my library for creating simple ogee and ogive profiles in OpenSCAD.
// ogive-ogee example
// scruss, 2018
use <ogive_and_ogee.scad>;
ogive(20, 35);
translate([0, -5])text("ogive(20,35)", size=3);
translate([30, 0])ogee(20, 35);
translate([30, -5])text("ogee(20,35)", size=3);
Skelf is a Scots word for splinter or shard and is a weak pun on the Stealth clips that splintered for me.
When both clips broke within a week on my Timbuk2 messenger bag, I knew I had to do something. This coincided with me fixing my 3d printer (it was the extruder feed: it was too loose all along!), so I was able to prototype a new clip.
I made this two-colour plotted card for the MeFi “holiday card exchange – v.e.†thing. Pen plotter is a Roland DG DXY-1300 (1990s) using Roland 0.3 mm fibre-tip pens. Plot size is 123 × 91 mm, and is driven entirely from Inkscape 0.92.