Instagram filter used: Lo-fi
Photo taken at: Left Bank Books
I would like to describe a new and highly impractical method of transferring data between computers. Modern networks are getting more efficient every year. This protocol aims to reverse this trend, as RAFTP features:

Figure 1 shows a test image before it was converted into PGM format. This was then converted into an audio file using minimodem:
minimodem --tx -v 0.90 -f doge-small-1200.wav 1200 < doge-small-tx.pgm
This file was then transferred to an audio player. To ensure maximal palaver, the audio player was connected to a computer via a USB audio interface and a long, minimally-shielded audio cable. The output was captured as mp3 by Audacity as this file: RAFTP-demo
The mp3 file was then decoded back to an image:
madplay -o wav:- RAFTP-demo.mp3 | minimodem --rx -q -f - 1200 | rawtopgm 90 120 | pnmtopng > doge-small-rx.png
Figure 2 shows the received and decoded file:

Hey! This post is completely ancient. It doesn’t even use Python 3. Advice given here might be well out of date.
… it complains that the oscilloscope is always making waves.
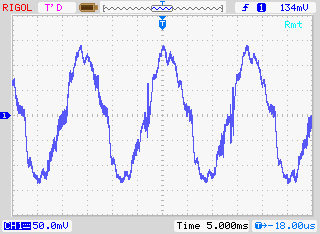
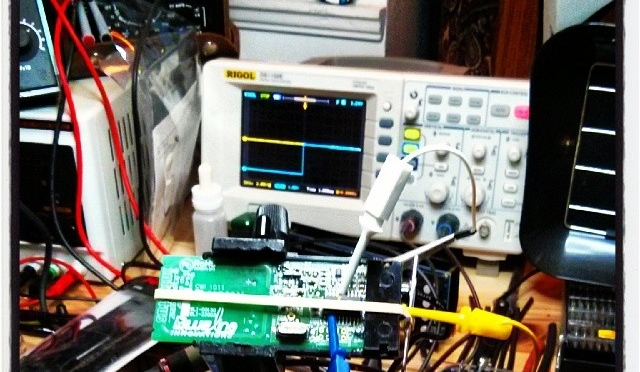
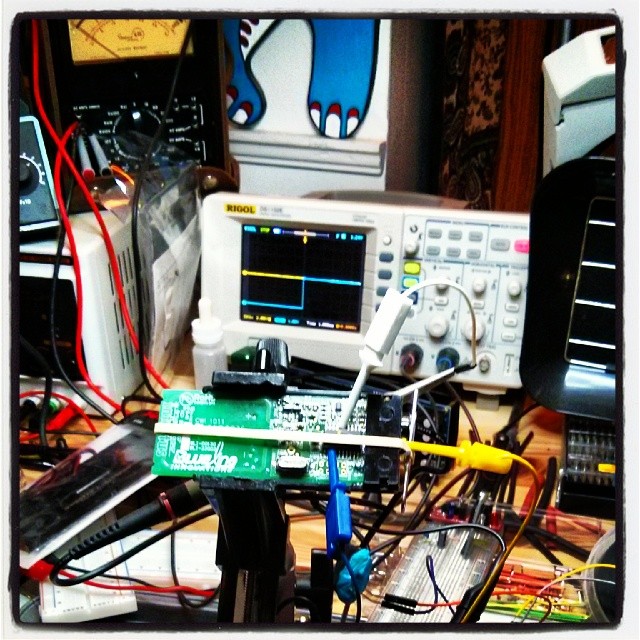
Ahem. Anyway. I have a Rigol DS1102E 100 MHz Digital Oscilloscope. For such a cheap device, it’s remarkable that you can control it using USB Test & Measurement Class commands. I’d been wanting to use a Raspberry Pi as a headless data acquisition box with the oscilloscope for a while, but Raspbian doesn’t ship with the usbtmc kernel module. I thought I was stuck.
Alex Forencich turned up in the forum with an all-Python solution: Python USBTMC (source: alexforencich / python-usbtmc). I got this working quite nicely today on both the Raspberry Pi and my Ubuntu laptop. Here’s how I installed it:
If you get the status line, congratulations! You now have a fully working usbtmc link. I haven’t had much time to play with this, but I know I can make really nice screenshots to an attached USB drive using the command: instr.write(“:HARDcopy”). Many more commands can be found in the DS1000D/E Programming Guide, available on Rigol‘s site.
I had a couple of problems, though:
I’ve still got to work my way through the Rigol’s data format, but other people have done that before:
I’ll post any updates here, along with the Raspberry Pi forum topic: USB Test & Measurement class (usbtmc) driver?
Incidentally, if you’re working with WFM data dumps from the Rigol ‘scopes (and you should, because they make storing data to USB drives quick), mabl/pyRigolWFM is basically magic. Not merely can it describe and decode those binary files, it can do pretty graphics with no thought required:
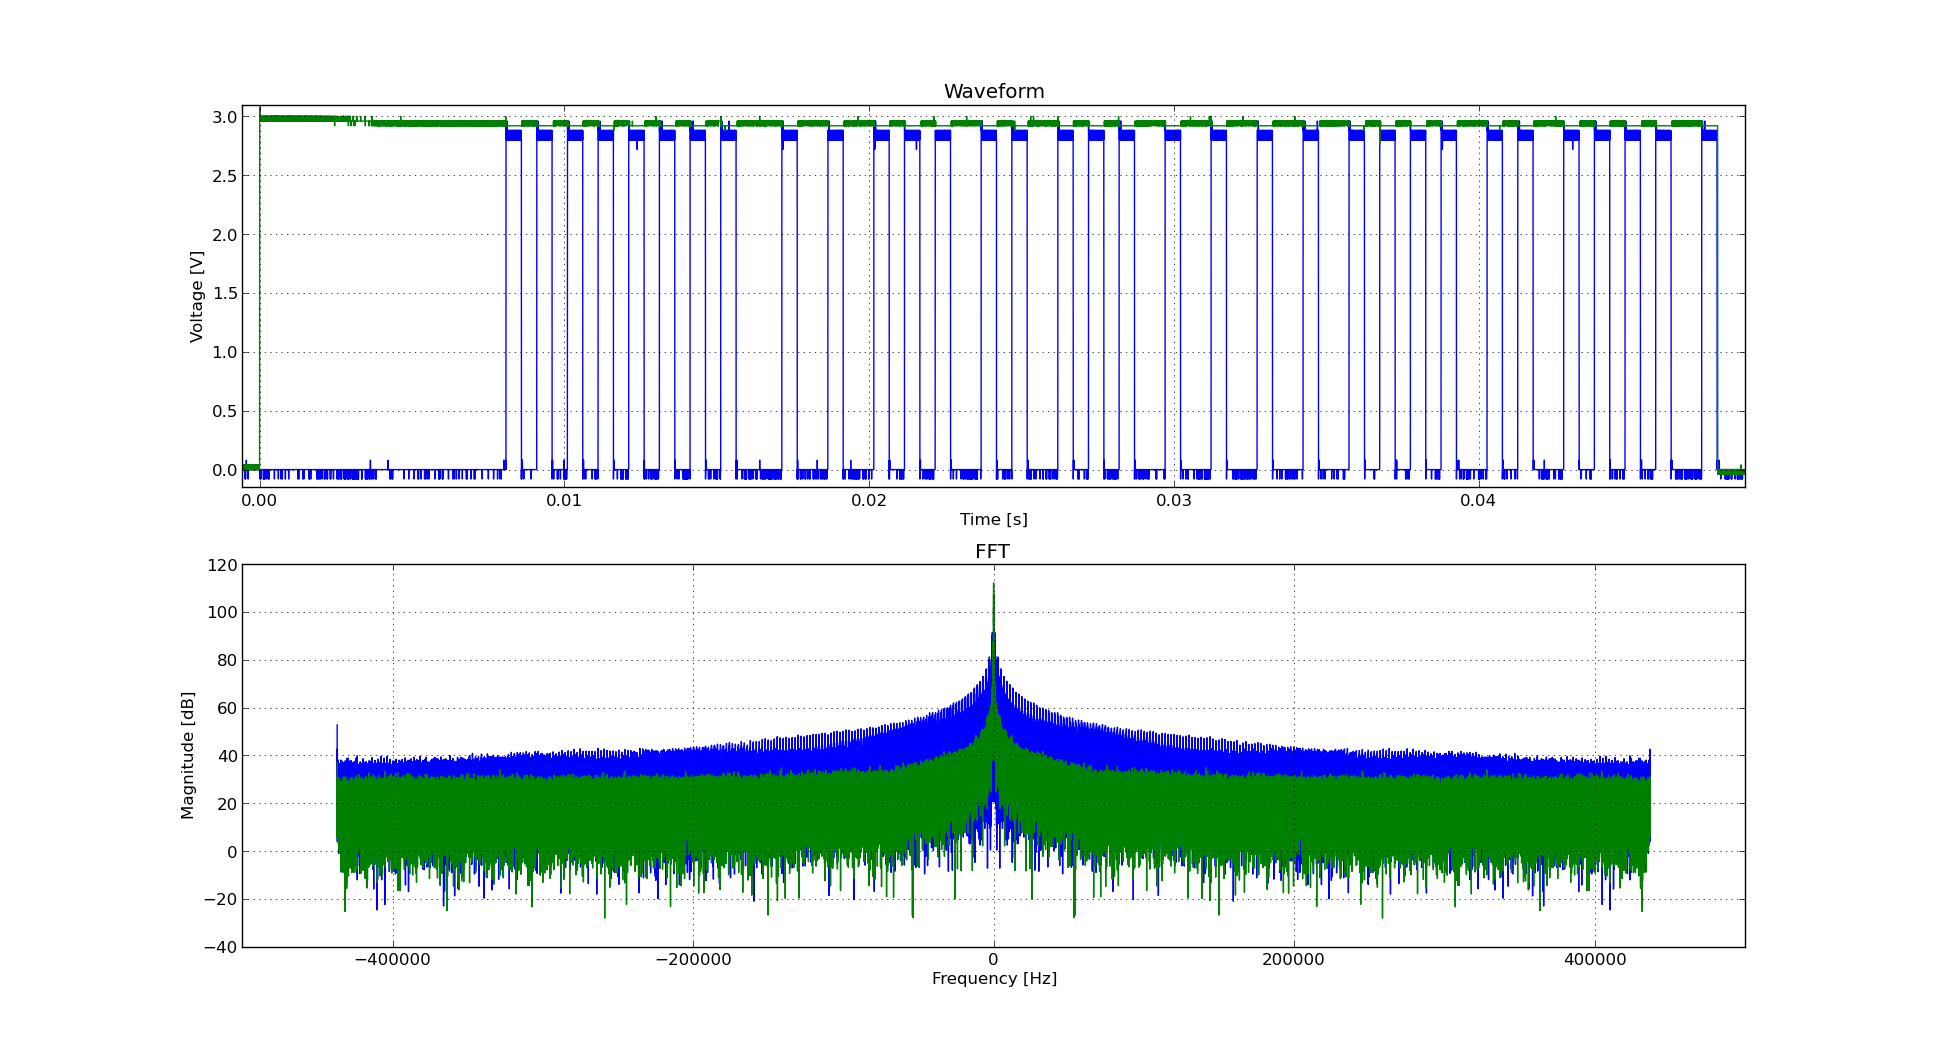 Hat tip for the mention: MP3 Options & Oscilloscope Interfacing For Raspberry Pi @Raspberry_Pi #piday #raspberrypi « adafruit industries blog
Update, 2013-12-20: I’ve successfully managed to run most of Ken’s examples with Alex’s code. The major modification you have to do is use ask_raw instead of ask. Example code shown below:
#!/usr/bin/python
# -*- coding: utf-8 -*-
"""
Download data from a Rigol DS1102E oscilloscope and graph with matplotlib
using Alex Forencich's python-usbtmc pure python driver
https://github.com/alexforencich/python-usbtmc
scruss - 2013-12-20
based on
Download data from a Rigol DS1052E oscilloscope and graph with matplotlib.
By Ken Shirriff, http://righto.com/rigol
which in turn was
Based on http://www.cibomahto.com/2010/04/controlling-a-rigol-oscilloscope-using-linux-and-python/
by Cibo Mahto.
"""
import usbtmc
import time
import numpy
import matplotlib.pyplot as plot
# initialise device
instr = usbtmc.Instrument(0x1ab1, 0x0588) # Rigol DS1102E
# read data
instr.write(":STOP")
instr.write(":WAV:POIN:MODE RAW")
# first ten bytes are header, so skip
rawdata = instr.ask_raw(":WAV:DATA? CHAN1")[10:]
data_size = len(rawdata)
# get metadata
sample_rate = float(instr.ask_raw(':ACQ:SAMP?'))
timescale = float(instr.ask_raw(":TIM:SCAL?"))
timeoffset = float(instr.ask_raw(":TIM:OFFS?"))
voltscale = float(instr.ask_raw(':CHAN1:SCAL?'))
voltoffset = float(instr.ask_raw(":CHAN1:OFFS?"))
# show metadata
print "Data size: ", data_size
print "Sample rate: ", sample_rate
print "Time scale: ", timescale
print "Time offset: ", timeoffset
print "Voltage offset: ", voltoffset
print "Voltage scale: ", voltscale
# convert data from (inverted) bytes to an array of scaled floats
# this magic from Matthew Mets
data = numpy.frombuffer(rawdata, 'B')
data = data * -1 + 255
data = (data - 130.0 - voltoffset/voltscale*25) / 25 * voltscale
# creat array of matching timestamps
time = numpy.linspace(timeoffset - 6 * timescale, timeoffset + 6 * timescale,
num=len(data))
# scale time series and label accordingly
if (time[-1] &lt; 1e-3):
time = time * 1e6
tUnit = "µS"
elif (time[-1] &lt; 1):
time = time * 1e3
tUnit = "mS"
else:
tUnit = "S"
# Plot the data
plot.plot(time, data)
plot.title("Oscilloscope Channel 1")
plot.ylabel("Voltage (V)")
plot.xlabel("Time (" + tUnit + ")")
plot.xlim(time[0], time[-1])
plot.show()
Hi there! This post is beyond ancient, and made sense back when the original Raspberry Pi Linux distributions didn’t have floating point support. With the multi-core Raspberry Pi 3, lame now runs at an acceptable rate. You should probably ignore this post unless you’re deliberately trying to recreate that bubbly old MP3 sound.
One thing the Raspberry Pi is not good at is encoding MP3s at any great speed. At best (using lame) you might get slightly better than 2× real time playback. If you’re using your Raspberry Pi to transcode to another format, that might be slow enough (with other system overhead) to make the output stutter.
While it would be nice to have the GPU as a general media encoder, we’re not there yet. If you must encode mp3s quickly on a Raspberry Pi, there are a couple of options:
Please note that both of these are based on the old ‘8hz’ mp3 encoder, which was a fairly literal interpretation of the original Fraunhofer code. They only start producing okay sounding files at high bitrates.
If you need to decode mp3s quickly, MAD is pretty good: http://www.underbit.com/products/mad. It’s in the repos as ‘madplay’.
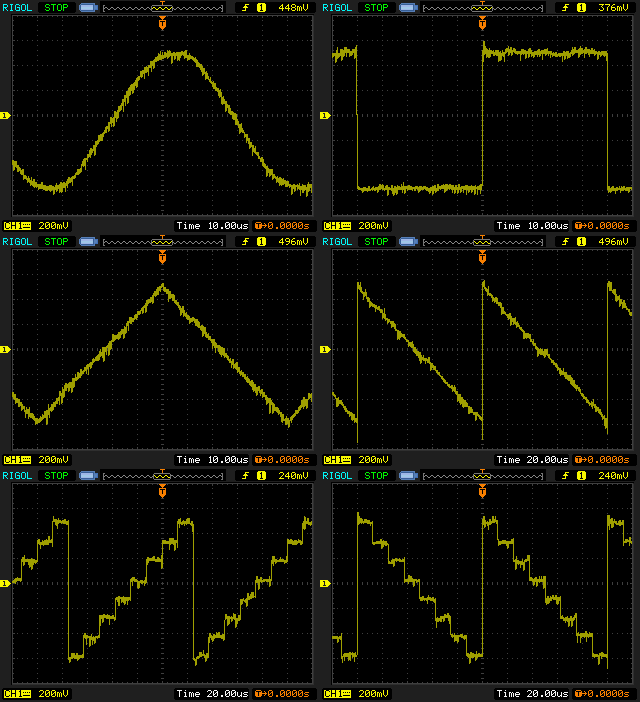
My JYE Tech miniDDS function generator has the fuzzies, alas. It seems that this is a known problem.