
Instagram filter used: Lo-fi
Well, look at this:
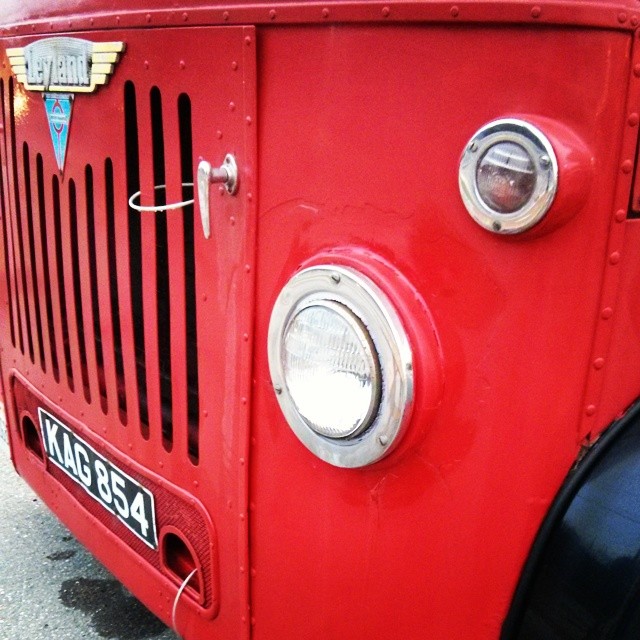
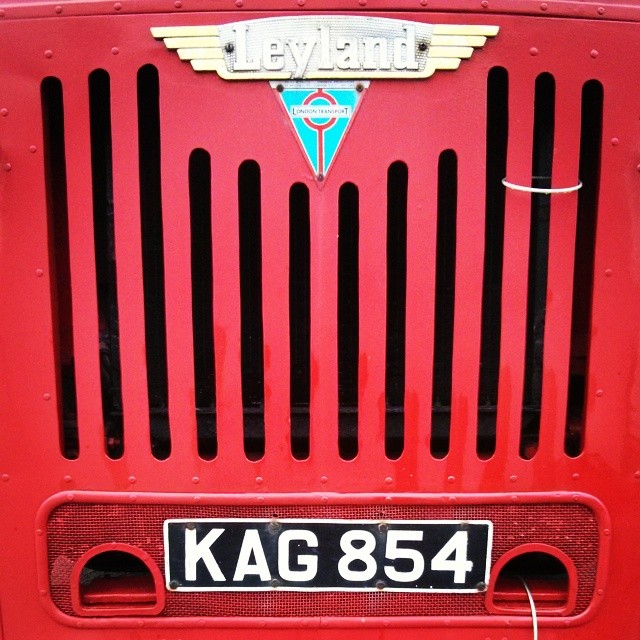
$ stty -F /dev/ttyACM0 speed 115200 raw cs8
$ rngtest -t 6 < /dev/ttyACM0
  … much snippage …
rngtest: bits received from input: 312368864
rngtest: FIPS 140-2 successes: 15602
rngtest: FIPS 140-2 failures: 16
rngtest: FIPS 140-2(2001-10-10) Monobit: 2
rngtest: FIPS 140-2(2001-10-10) Poker: 2
rngtest: FIPS 140-2(2001-10-10) Runs: 8
rngtest: FIPS 140-2(2001-10-10) Long run: 4
rngtest: FIPS 140-2(2001-10-10) Continuous run: 0
rngtest: input channel speed: (min=837.317; avg=1168.033; max=1948.060)Kibits/s
rngtest: FIPS tests speed: (min=16.834; avg=27.779; max=77.221)Mibits/s
rngtest: Program run time: 271917796 microseconds
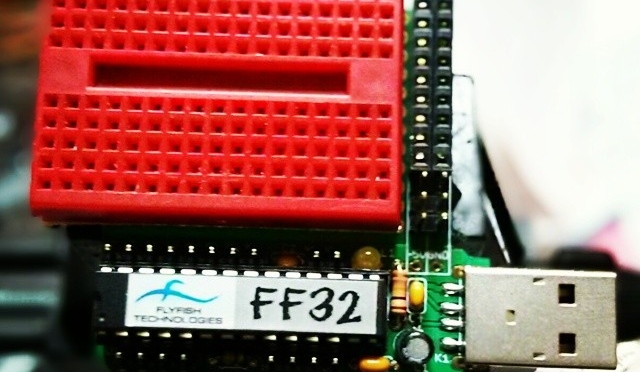
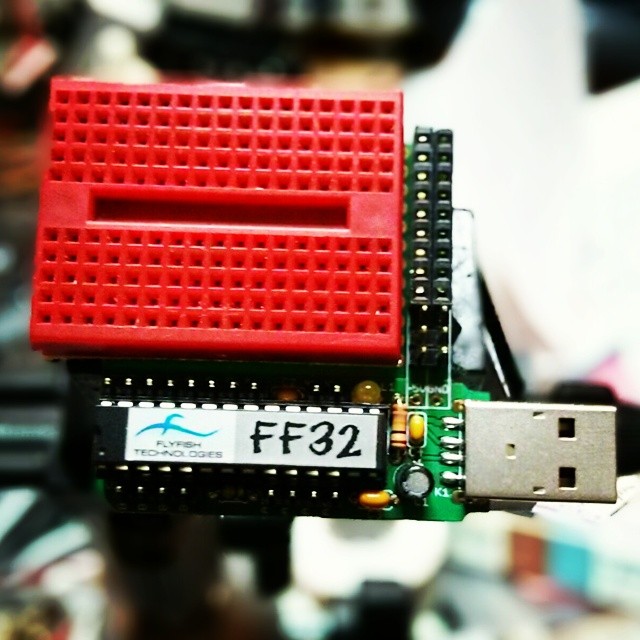
Over a megabit/second of decent quality random data. This is from an Arduino Due, which has an Atmel SAM3X8E ARM Cortex-M3 microcontroller on board. I hadn’t found much use for this board previously, as it fell between a regular 8-bit Arduino and my (many!) Raspberry Pis.
This changed when I found out about Walter Anderson’s Entropy library, which uses µc timer jitter as a source of entropy. Originally designed as a slow but true source of random integers on the Atmel AVR chips, it’s been extended to use the SAM3X8E‘s built-in hardware RNG. Since the Due has a native USB port, you’re not limited to standard baud rates.
Here’s the code, trivially modified from one of Walter’s examples:
// Generate_Random_Bytes_Due - speedy demo of Arduino Due's HWRNG
// based on Generate_Random_Bytes, for Entropy, an Arduino library.
// Copyright 2012 by Walter Anderson
//Â modified - scruss - 2014-08-13
// remember to reconnect to native USB port
#include <Entropy.h>
void setup() {
 SerialUSB.begin(115200);
 while (!SerialUSB) {
   ; // wait for serial port to connect.
 }
 Entropy.initialize();
}
void loop() {
 uint16_t r = Entropy.random();
 SerialUSB.write(lowByte(r));
 SerialUSB.write(highByte(r));
}
It’s a minor pain to have to reconnect the USB cable to the other port on the Arduino Due after programming, but it’s worth it just to see an 84 MHz µc belting out random bytes 37½% faster than an 800 MHz Raspberry Pi …
 Over the last few weeks, I’ve been playing with a few small thermal printers. Meant as POS or information booth printers, they make a diverting project for the lo-fi printing enthusiast. While they all have common features — 58 mm/2¼” paper width, 8 pixel/mm resolution, 48 mm print width, serial connection — they all have their quirks. You may have seen these sold as the Adafruit Mini Thermal Receipt Printer or Sparkfun’s Thermal Printer, but there are many others. I’m going to write more on interfacing these directly to Raspberry Pi, Arduino, and (if I can navigate the documentation) a CUPS driver.
Update, July 2015: Here’s a CUPS driver: klirichek/zj-58, and my writeup on installing it on a Raspberry Pi — Thermal Printer driver for CUPS, Linux, and Raspberry Pi: zj-58
For now, I’m just leaving you a list of things I’ve found helpful for the DP-EH600 and 701 printers. Note that the similar-looking BTHT-v6 printer uses a completely different command set.
Notes/Credits
Manuals/Docs
Posted more for historical reference:
I’ve heard people complain (still) that “… a good bike shouldn’t cost more than $100â€. When I heard the news that Dave Chant was closing up Beater Bikes and liquidating his remaining stock of bikes for $100 each, I thought I’d give it a try.
Through no fault of Dave’s, Beater Bikes never quite got the traction in Canada they should have done. I blame the outdated tariff on imported cheap bikes; Canada no longer has a domestic industry to protect (someone, please prove me wrong). We still have the tariff to shore up those long-gone jobs at CCM/Supercycle, though, so importing bikes into Canada was too expensive a proposition.
The bike still cost me a bike more than $100, though: $100, plus $120 shipping, plus $58 UPS brokerage ‘tax’ (grar), so a total of $278. Still cheaper than almost anything you can get from Canadian Tire, and as the original retail was around $450, still decent.
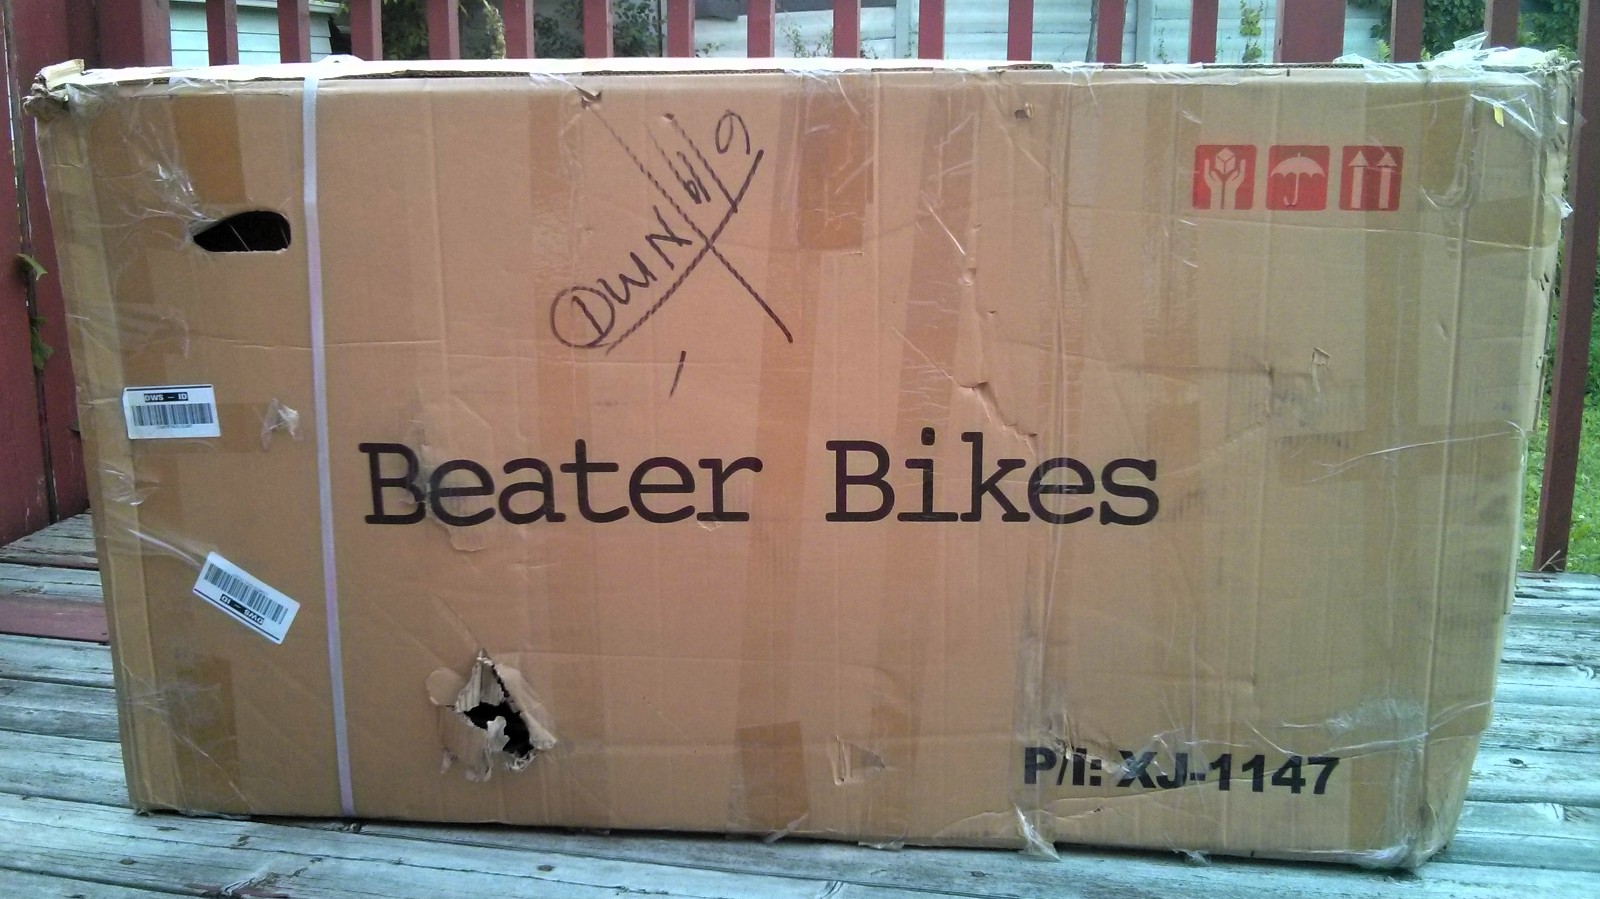 So here’s the box it came in; beaten up and retaped, sure, but with an appropriate logo. Inside, apart from a few loose parts, there was this:
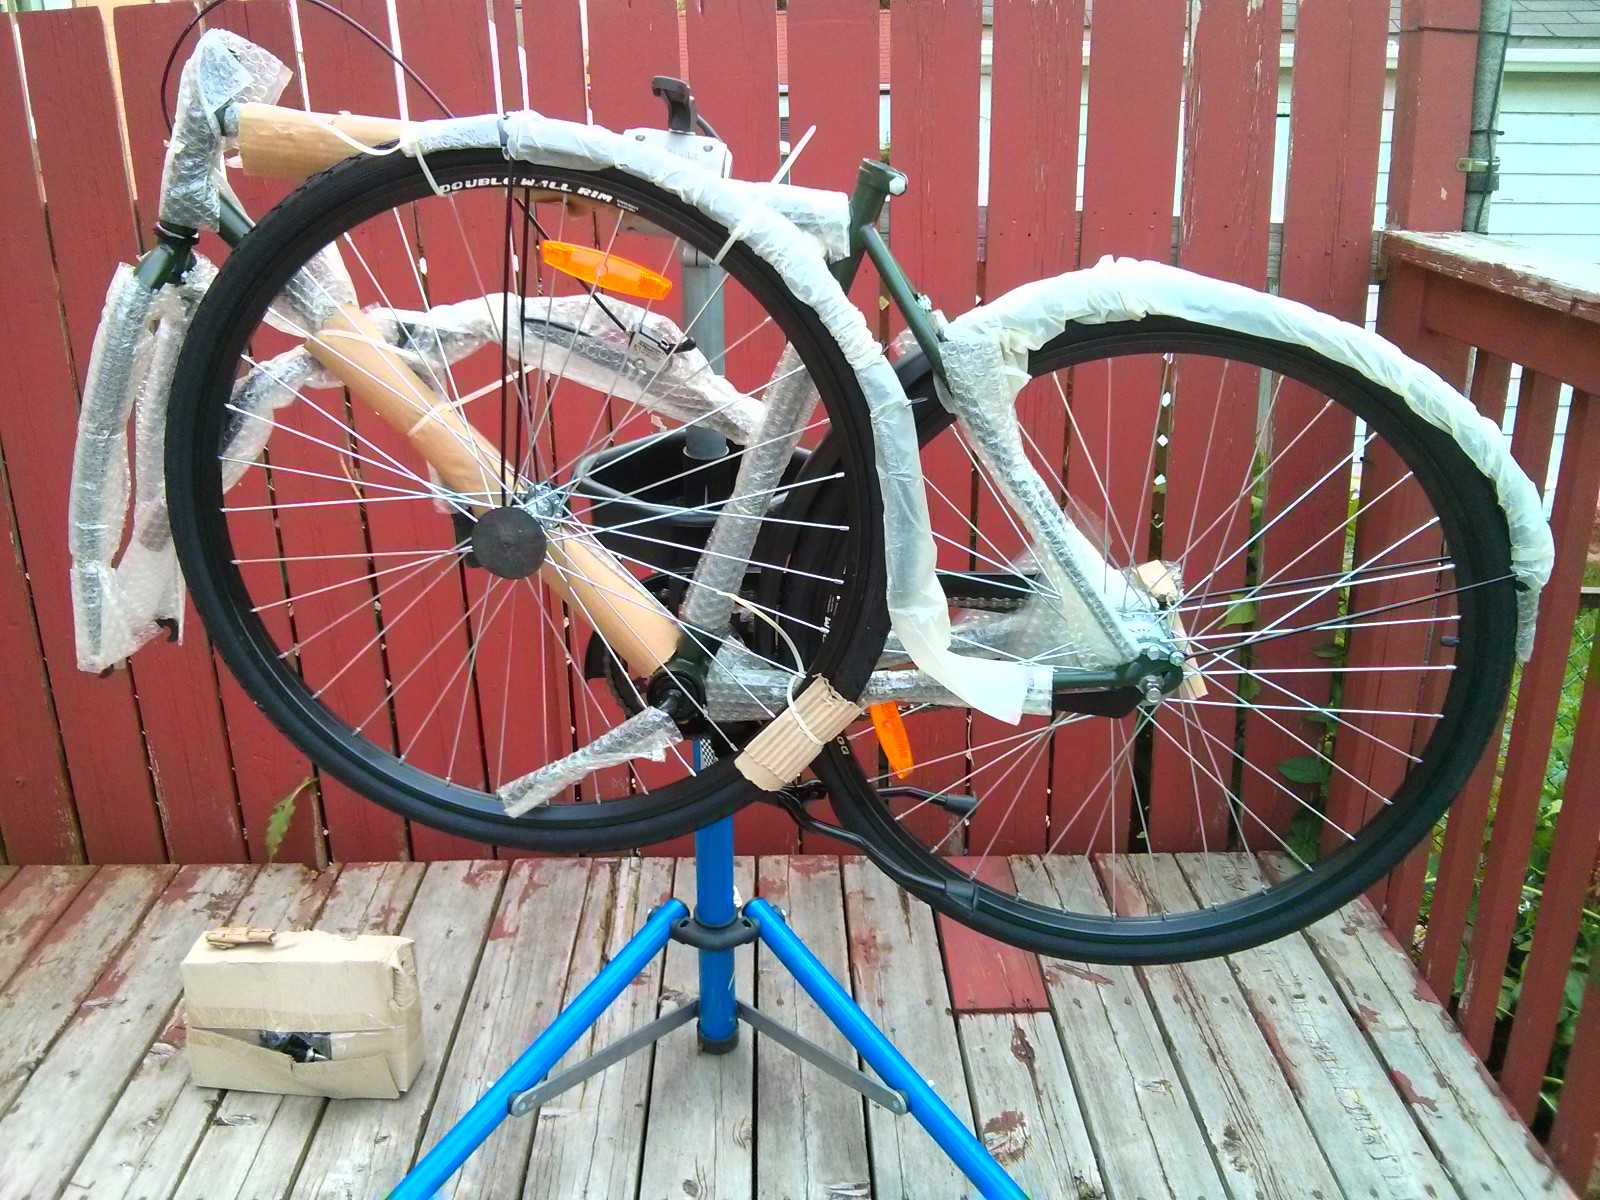 Although well wrapped, the bike had been dropped at one point, and there was a colossal ding on the back mudguard that stopped the wheel turning. I managed to flatten it out enough that the wheel ran free, but it’s still visible under the carrier.
After a couple of hours of fiddling and tightening, I ended up with this handsome steed:
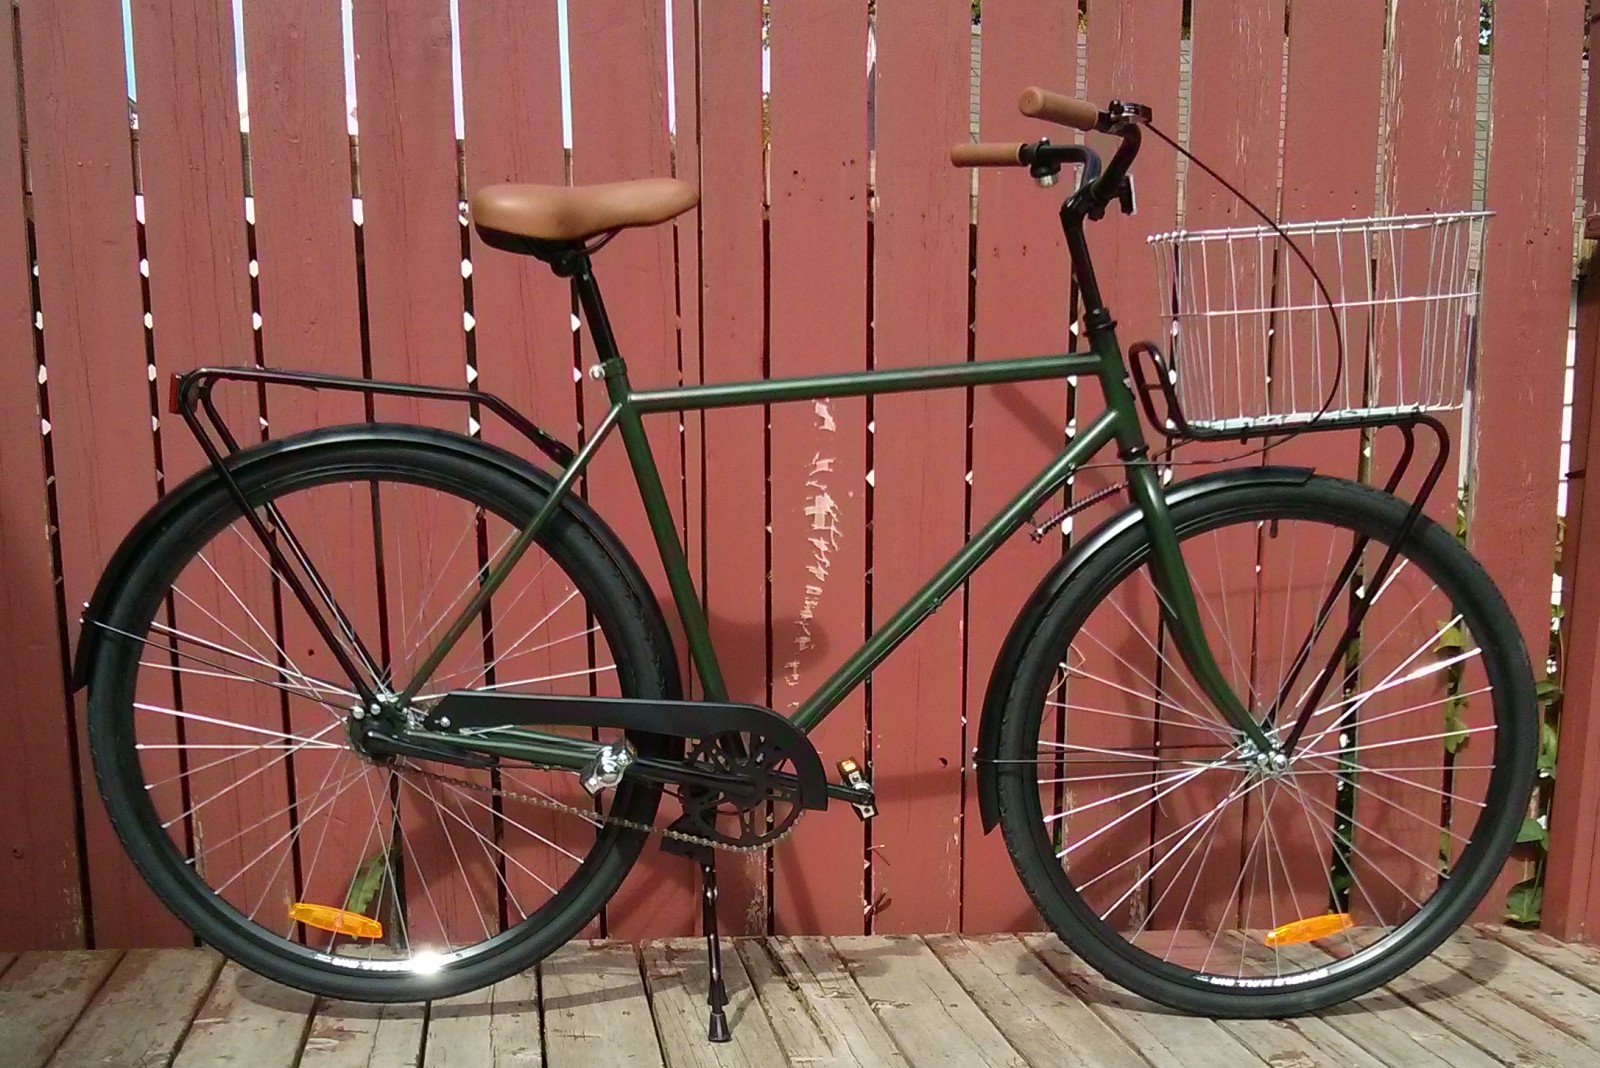 The basket is an old Wald I had lying around, attached with enough Ty-Raps to add a significant cost to the bike. The only bits missing were most of the screws to mount the rear reflector. One screw plus duct tape did the job.
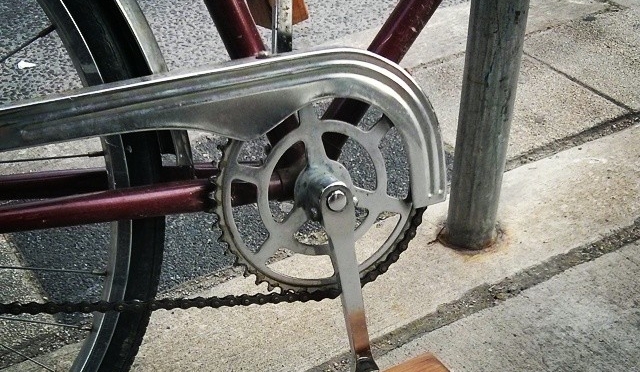
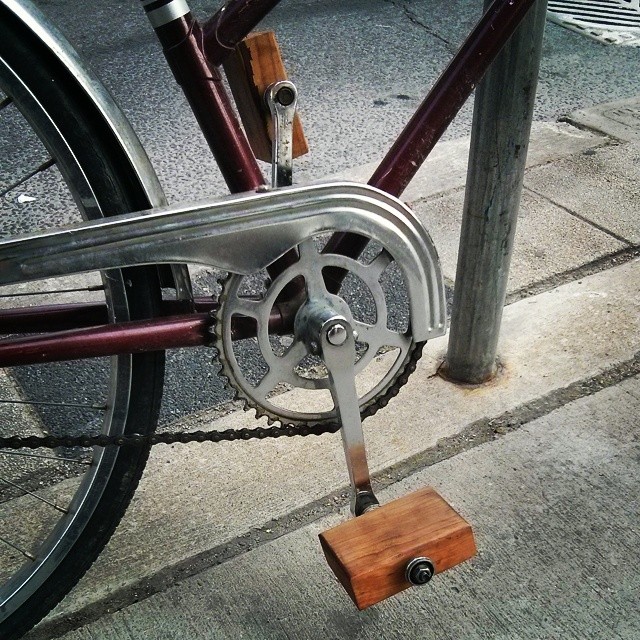
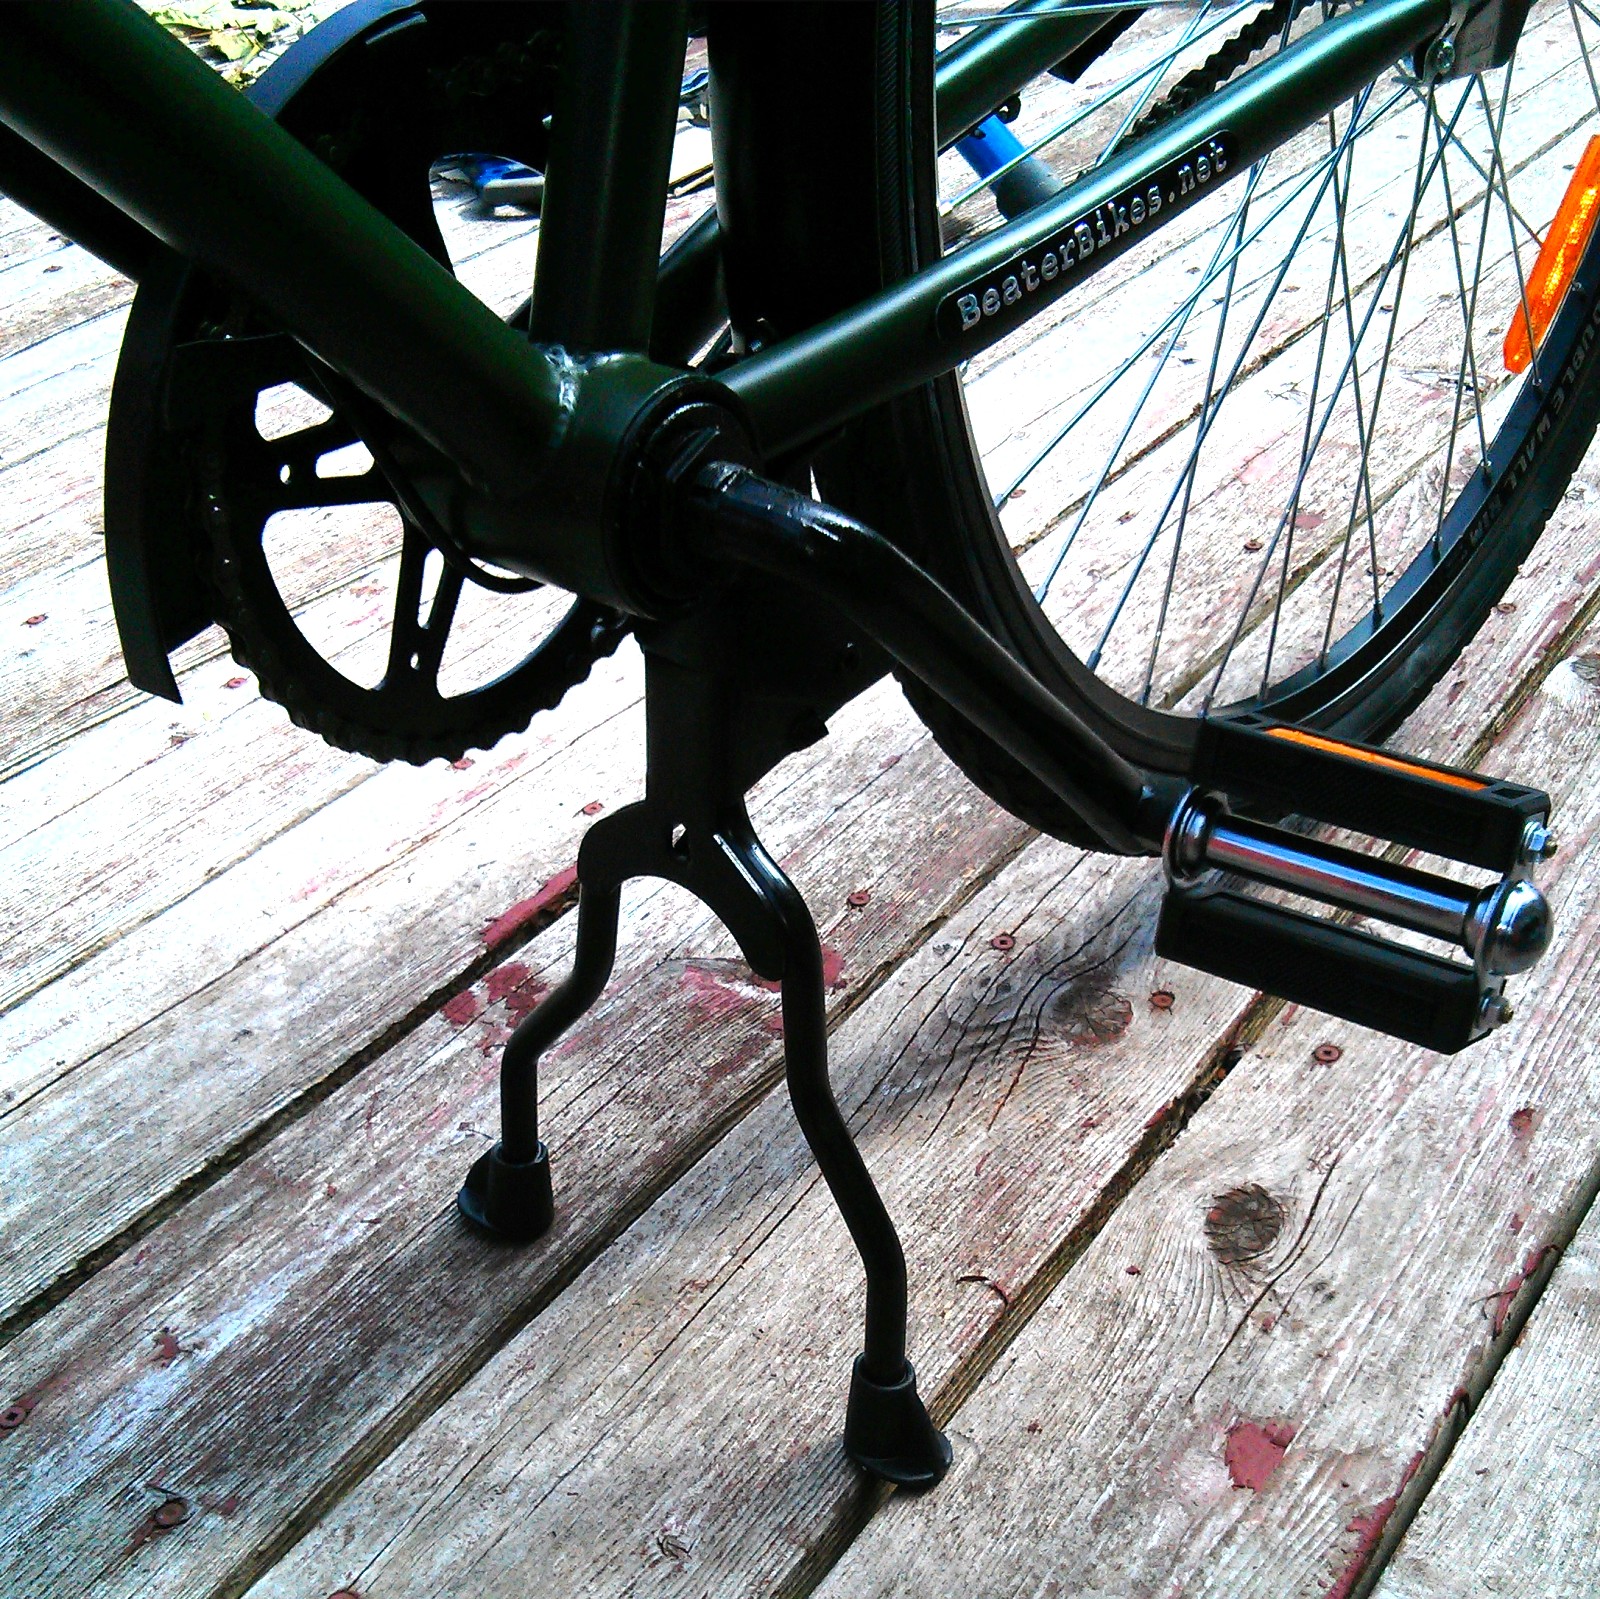 The bike has a particularly nice kickstand. Coupled with the steering stabilizer, it’s a bike that’ll lean against a wall without falling in a heap. It’s also my first bike with a one-piece/Ashtabula crank, which is more a matter of where I grew up — only BMXs had them in the UK.
It’s quite a handsome bike, despite the Beater concept of a bike that won’t get noticed or stolen. It’s very basic, but solid. I don’t know how long the chainstay-mounted Beater Bikes nameplate will last on mine (it came partially unglued on my first ride) so maybe the bike will be an anoymous beater sooner than expected.
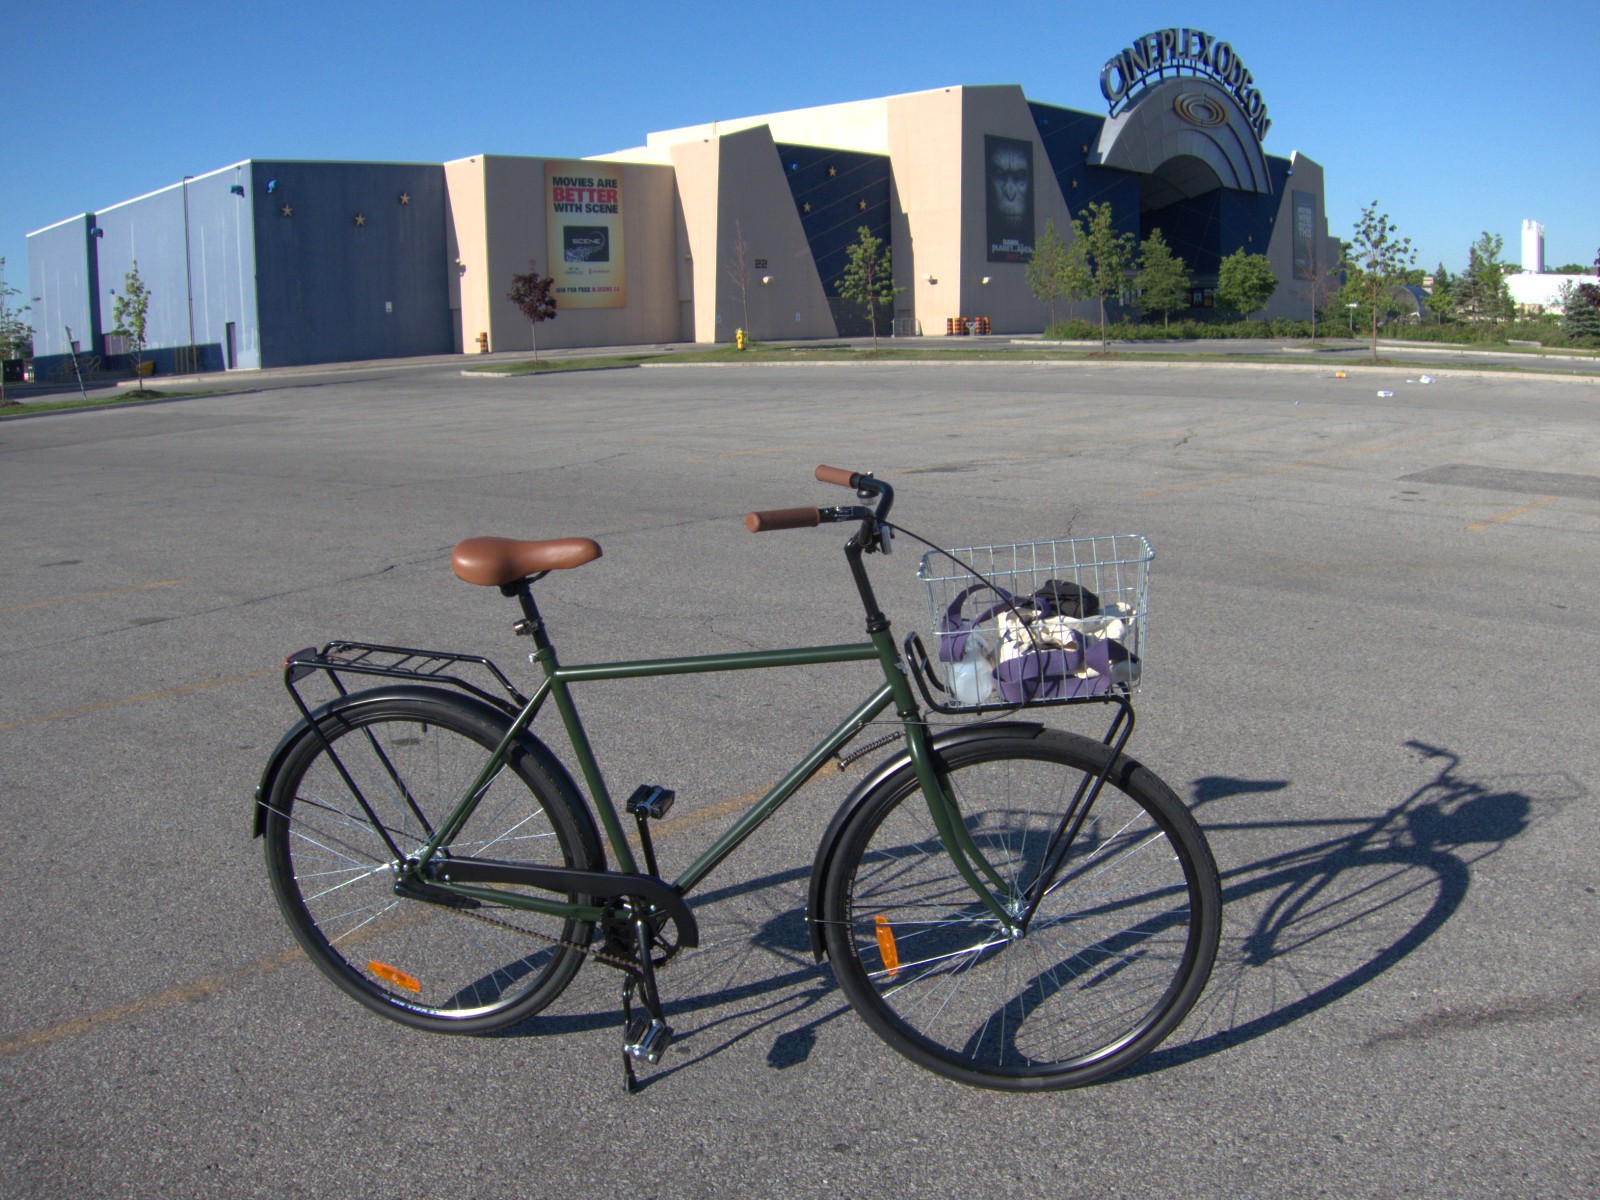 It rides well, though I have to say that riding a bike with only a coaster brake is a little off-putting. I haven’t mixed with real traffic on it, and our shed has developed a bruise from where I shot up the driveway, completely forgot how to stop, and collided with the shed. Only pride hurt.
Starting with a coaster brake is also weird, as you can’t haul the pedals back to a good starting place. I’m resolutely right-footed, and I’ve had several nopenopenope start offs from junctions. Until I heard about the rolling the bike backwards trick, I was pretty stuck.
 Compared to my cushy and sprung Batavus, the Beater has a harsher ride. Its low gear is higher than I’m used to, so I start off slowly. I’d definitely agree with Velouria‘s assessment that it needs a front brake. I’m much slower without one.
It is, however, a very decent bike for the money I paid. I hope that Dave got something positive from his foray into bike sales, as it’s a fine concept, and better executed than flops like the Kronan. The one thing it does do far better than any of my other bikes? The Sturmey-Archer rear hub still makes that lazy tic tic tac tac noise in top gear, which can only be the sound of summer freedom on the open road.