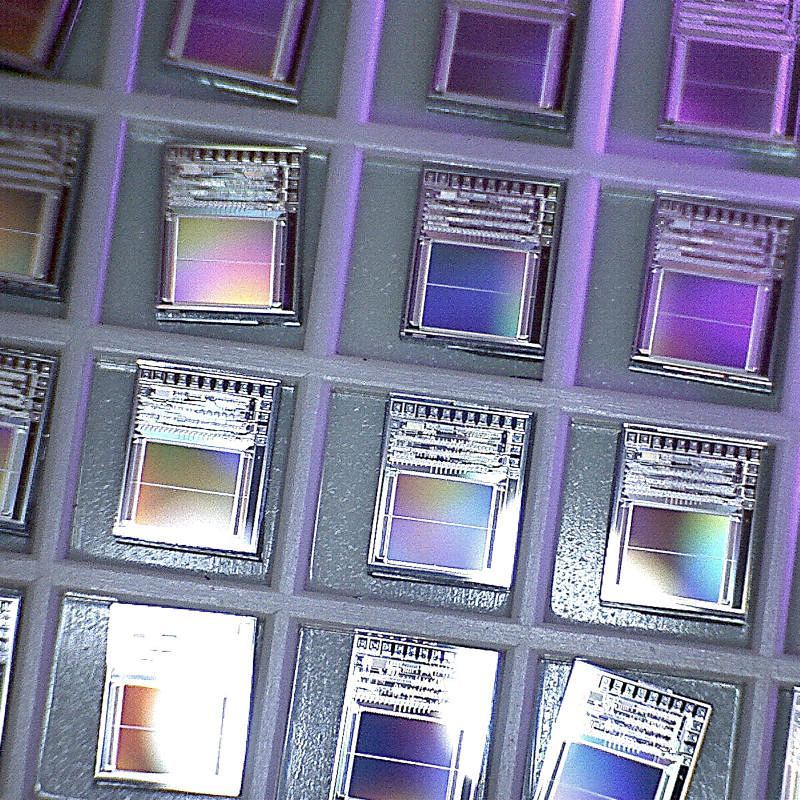
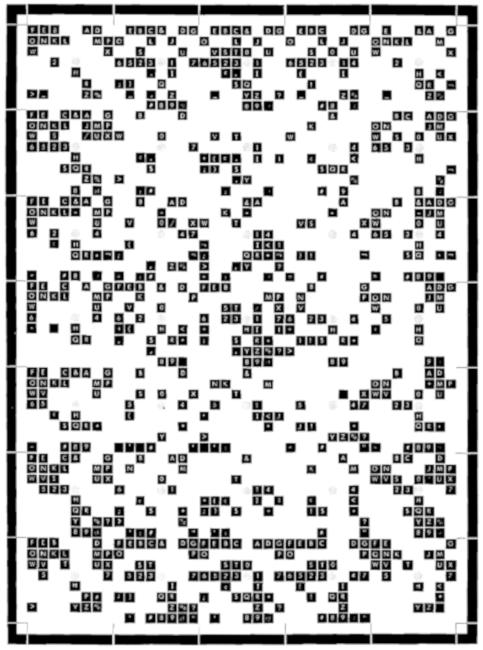
Picked up at Junk Independence Day, these are unencapsulated silicon chips. You can make out the solder pads around the top edges, and I think the two solid blocks are PROM storage. The chips are supposedly Mosel MSS1002-14T speech generator ROMs from 1991.
To give an idea of scale, the outside walls of each cell are 3.8 mm / 0.15ʺ.
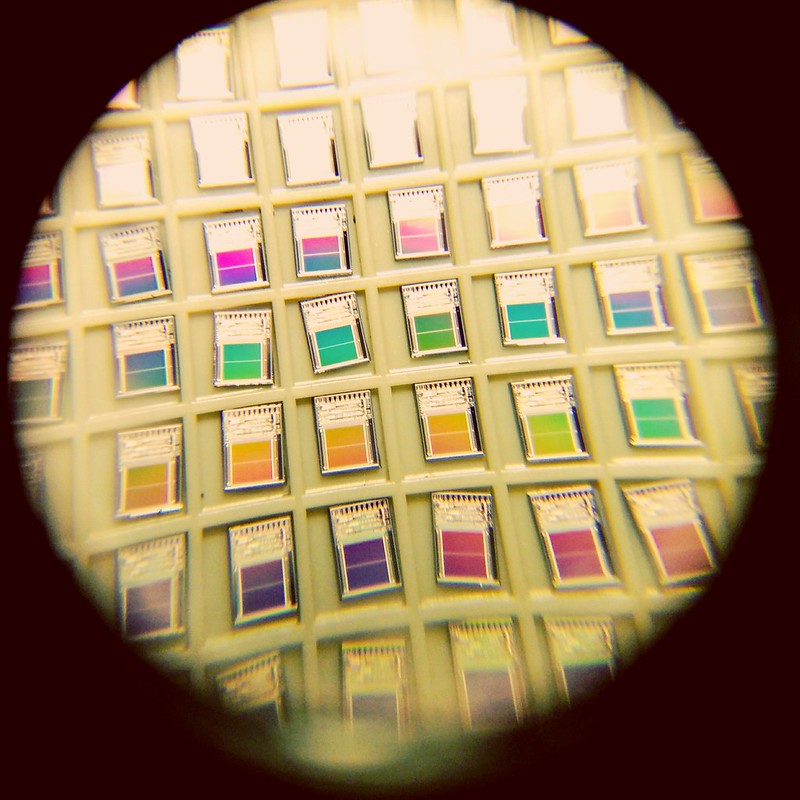
Here’s another photo, taken through a very cheap 8× loupe with a cellphone camera:
I don’t know how many times I’ve written bad Arduino code to call a function every few milliseconds. Sometimes this bad code works well enough for my sketch to actually work. Often, it either doesn’t work at all or does something I really didn’t expect.
So on Arduino Day 2017, I’m glad I found out about bhagman/MillisTimer: A Wiring and Arduino library for working with millis(). It couldn’t be simpler to use: include the library, write the function you want to call every N milliseconds, set up the timer to run every N millis, and put timer.run() in a loop that’s called frequently. The library handles the timing and resetting all by itself.
As an example, here’s the eternal “Hello, World!†of the embedded world, Blink, rewritten to use MillisTimer:
// MillisTimerBlink - blink LED every second
//  using Brett Hagman's MillisTimer library
//  https://github.com/bhagman/MillisTimer
//  (or use Sketch → Include Library → Manage Libraries … to install)
// scruss - 2017-04-01

#include <MillisTimer.h>
MillisTimer timer1;               // new empty timer object
const int led_pin = LED_BUILTIN;  // use the built-in LED

void flash() {                    // function called by timer
  static boolean output = HIGH;
  digitalWrite(led_pin, output);  // set LED on or off
  output = !output;               // toggle variable state High/Low
}

void setup() {
  pinMode(led_pin, OUTPUT);       // use built-in LED for output
  timer1.setInterval(1000);       // set timer to trigger every 1000 millis
  timer1.expiredHandler(flash);   // call flash() function when timer runs out
  timer1.setRepeats(0);           // repeat forever if set to 0
  timer1.start();                 // start the timer when the sketch starts
}

void loop() {
  timer1.run();                   // trigger the timer only if it has run out
  // note that run() has to be called more frequently than the timer interval
  //  or timings will not be accurate
}
Note that MillisTimer only triggers when timer.run() is called. Sticking a delay(2000) in the main loop will cause it to fire far less frequently than the interval you set. So it’s not technically a true periodic timer, but is good enough for most of my purposes. If you want a true interrupt-driven timer, use the MsTimer2 library. It relies on the timer interrupts built into the Arduino hardware, and isn’t quite as easy to use as MillisTimer.
The 029 (as it is sometimes known) generated a bitmap font from an engraved metal plate pressing on a matrix of pins. A picture of this plate from a field engineering manual was used to re-create the pin matrices, and thus an outline font.
029 Code Plate029 Code Key
Historical Accuracy
The 029 could have many different code plates, but the one used here contained the characters:
The character glyphs have been sized such that if printed at 12 points, the 029’s character pitch of 0.087″ is accurately reproduced. No attempt to research the pin matrix pitch or pin diameter has been made: the spacing was eyeballed from a couple of punched cards in my collection.
The earlier IBM Type 26 Card Punch (“026”) included a glyph for a square lozenge (Unicode U+2311, ⌑). The 029 code plate did not include this character, but I added it here for completeness.
The character set was extended to include:
all of ASCII, with lower case characters repeating the upper case glyphs;
sterling currency symbol; and
euro currency symbol.
While there may have been official IBM renditions of some of these additional glyphs (with the exception of euro) no attempt has been made to research the original shapes. This font set is intended to help with the visually accurate reproduction of 1960s-era punched cards, mostly coinciding with my interest in the FORTRAN programming language. No attempt has been made to use historical BCD/EBCDIC encodings in these fonts. We have Unicode now.
The 029 card punch could not produce any bold or italic font variants, but FontForge can, so I did.
Things I learned in making these fonts
The 029 card punch printer could be damaged if you tried to print binary cards, as there was no way to disengage the code plate from the punch mechanism.
FontForge really hates to have paths in a glyph just touching. Either keep them more than one unit apart, or overlap them and merge the overlapping paths.
EBCDIC is weird.
Sources
Norbert Landsteiner’s amazing Punched Card Typography Explained page describes how the code plate system worked, and has JavaScript animations showing how characters were decoded (entirely mechanically) from the plate.