I’m talking about RetroPie at TPUG tonight!
NB: this version doesn’t actually do the rebooting or shutting down: it’s a demo. This one does, though …
Here’s how you might have just one button being a reset button (hold down for two seconds) or a shutdown button (hold down for five):
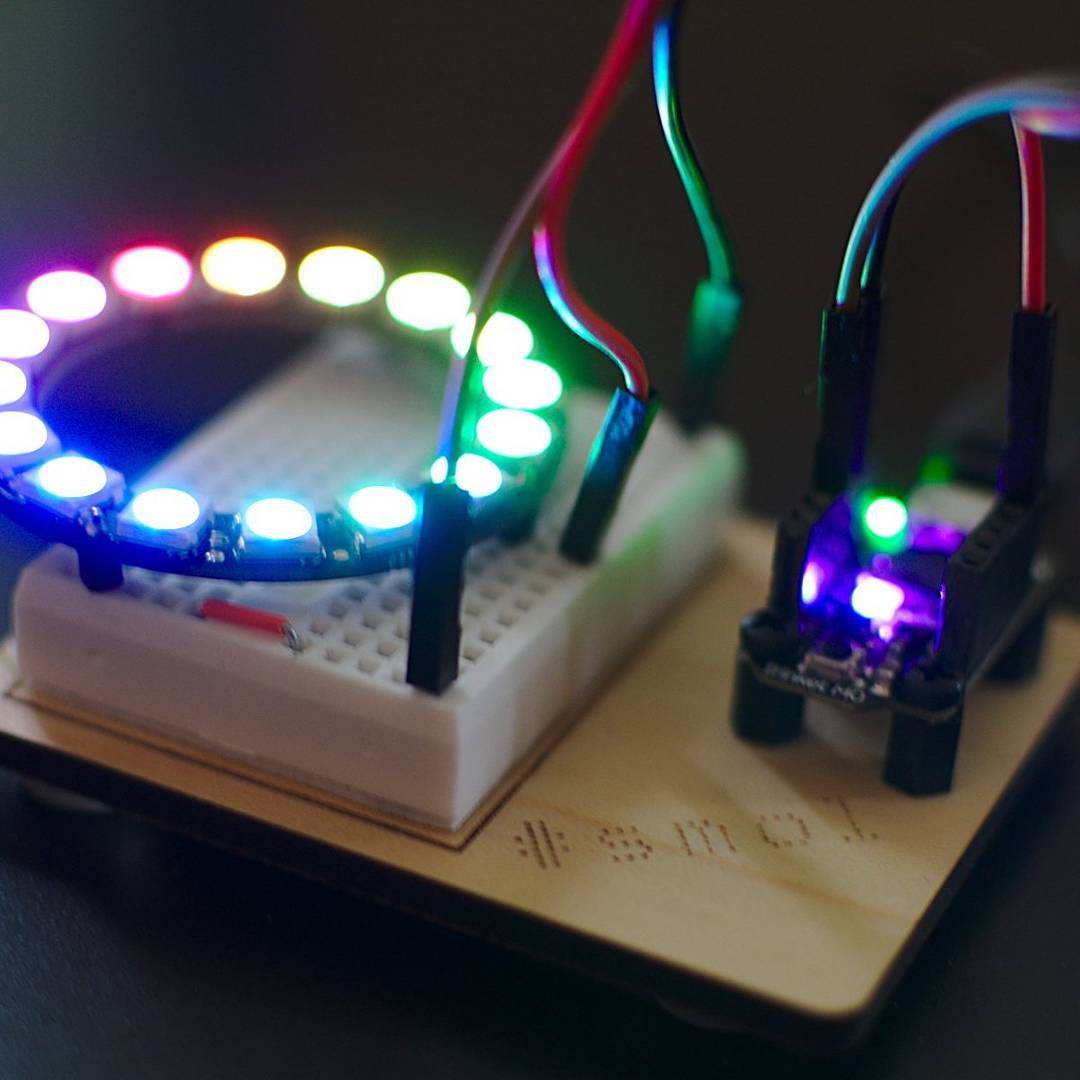
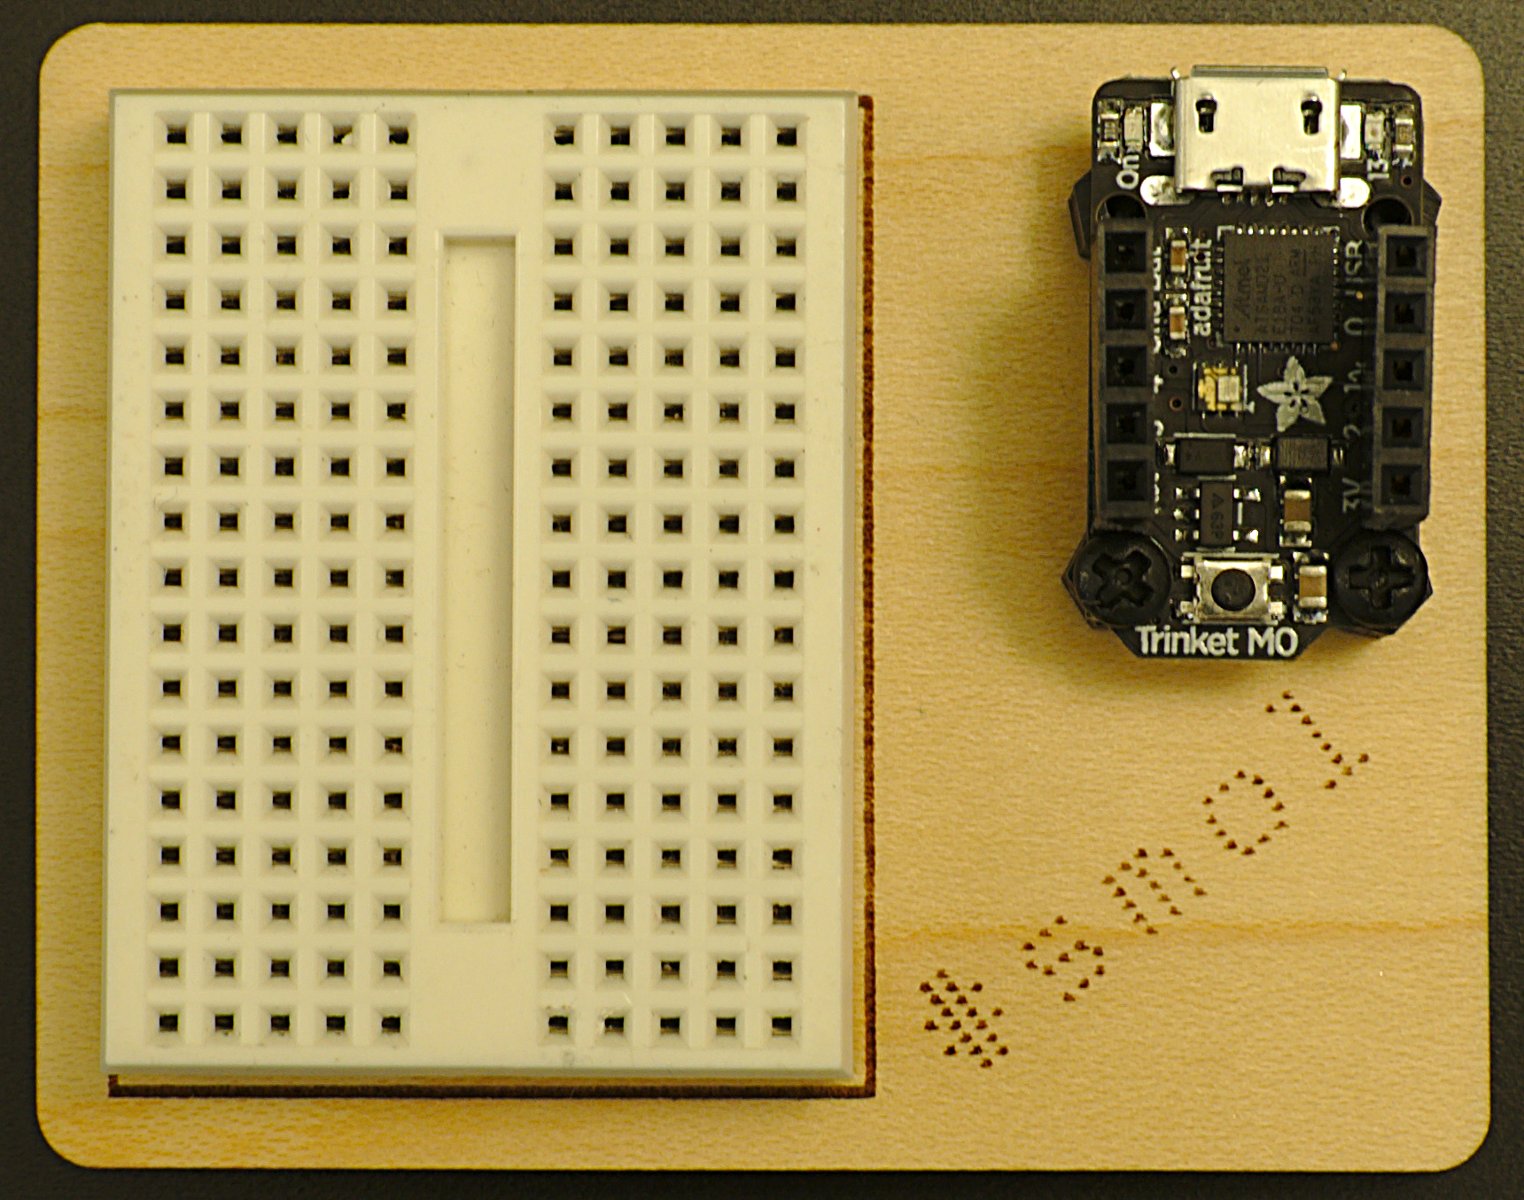
 Yes, it’s a very tiny microcontroller board and breadboard doohickey. The board’s a Trinket M0 running CircuitPython 2.0. The base is laser-cut birch ply. Definitely #smol at less than 75 × 55 mm …
 Here’s the SVG for laser cutting:
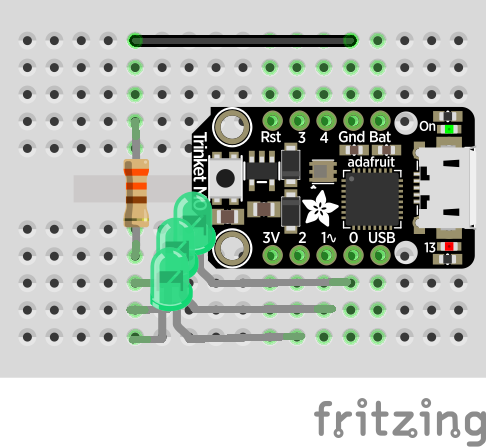
 To build it, you’ll need:
If I were to redesign this, I’d:
Obligatory blinky code for running a 16 LED NeoPixel Ring and the LED in the middle of the Trinket:

More than four times the size of the first version, yet half the file size.
And a mini version:

I’ve got a whole bunch of bytes free now I’ve upgraded my 6502 40th Anniversary Computer Badge to 32KB of RAM! I suspect I’ll end up as I usually do, Corvax-style …

Inspired (obliquely) by this Metafilter post, I set out to answer a burning question.
This occurs from second 36 to second 38 of this (archived) video: Log Commercial – Ren & Stimpy.
The chime when extracted without further processing, sounds like this:
(direct link: Original-Log-Commercial_The-Ren-and-Stimpy-Show.wav)
I found a copy of Eudora Mail 1.44 for Windows (bundled up in an archive quaintly called internet.zip) here. The EUDOR144.EXE file is itself a Zip archive, and contains several files. The important one is WEUDORA.EXE (722,944 bytes; SHA256 checksum a35f2ef1e95242228381d9340fff0995f4935223f88a38b9200717107252dfb9).
This is a Windows 16 New Executable (NE) file, and I used panzi/mediaextract to scan and extract the RIFF/WAV data:
(direct link: WEUDORA.EXE_000a8200.wav)
They sure sound similar. But are they …the same?
I made sure that both samples were set to the same rate, and I applied simple amplification in Audacity so that they both had a peak volume of -3 dB. Aligning the tracks as best I could, I got this:

The Eudora sample is very slightly slower than the Log one. It might have been that the Eudora authors sampled the chimes from an analogue video tape. The match is remarkable, however, as they play together with only very slight phasing effects:
(direct link: Log_vs_Eudora-log_left-Eudora_right.wav)
Yes, the Eudora Mail “New Mail” chime did come from Ren & Stimpy after all.
I was pleased to see that my nerrrdy Bourgoin mini-zine got cited in an art workbook for schools: Islamic mosaics activity (Patterning) from MathWeave. Yay!
But the link in the workbook doesn’t work! I mean, it looks right:
![]() While the real link is:
While the real link is:
![]() Only when you copy the bad URL do you see the problem:
Only when you copy the bad URL do you see the problem:
http://scruss.com/blog/2016/07/21/nerrrdy%E2%80%90bourgoin%E2%80%90mini%E2%80%90zine/
Word has changed the pasted ‘-’s to ‘â€â€™s: that’s from U+002D HYPHEN-MINUS to U+2010 HYPHEN. You’d have thought that software that was smart enough to recognize an URL would also be smart enough not to do any messing with the characters in it …

Well, that’s all the disks I can find easily up on archive.org. There are some Apple IIgs disks still to do, and there might be some random disks lurking in another box, but that’s more than 485 disk images uploaded.
You can find them by going to Internet Archive Search: creator:”LOGIC (“Loyal Ontario Group Interested In Computersâ€)”.
Hey! This process permanently modifies your Raspberry Pi and may prevent it from working with many HATs and add-ons … It also has some really fiddly soldering. If in doubt, don’t.
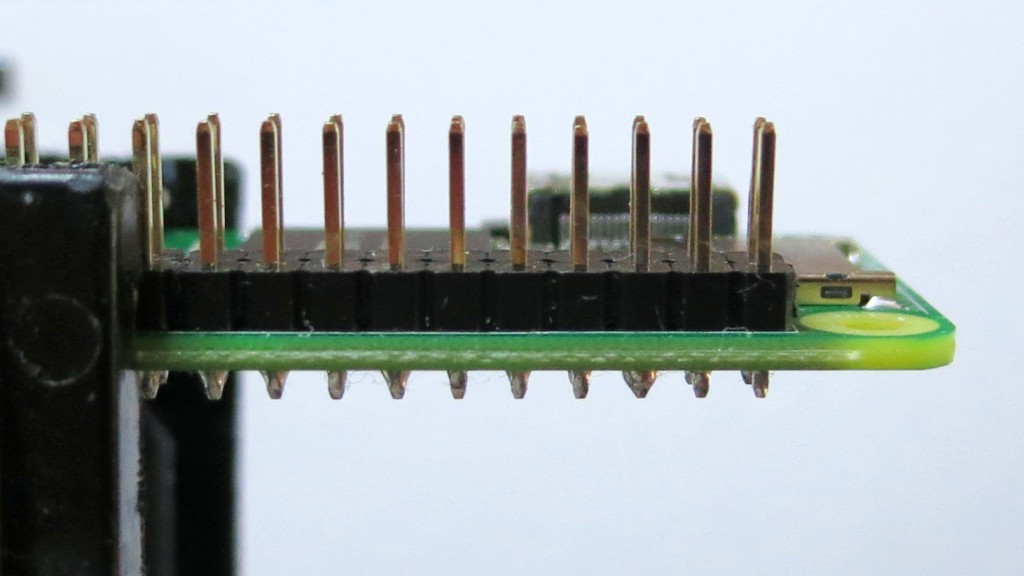
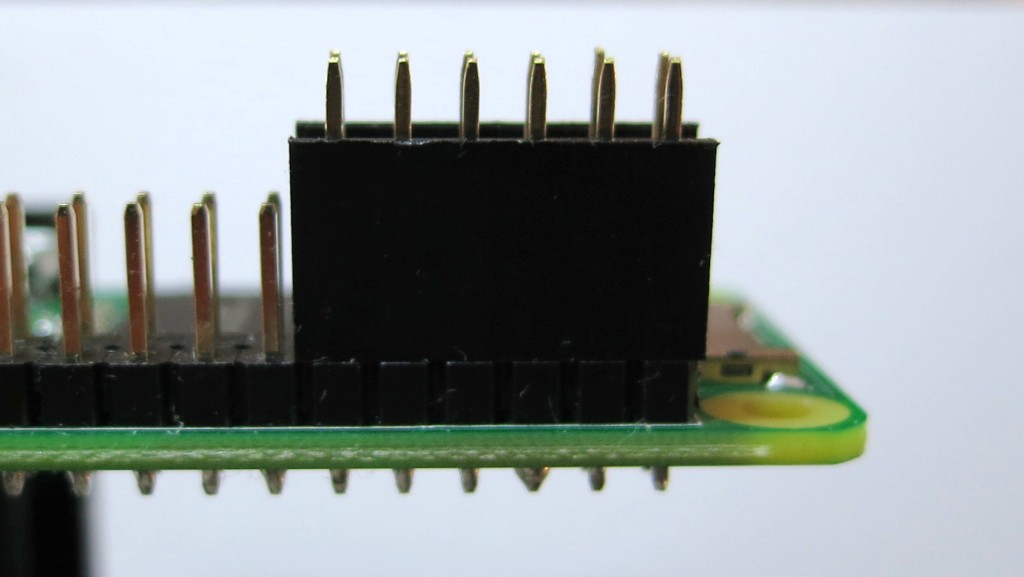
Pimoroni’s OnOff SHIM adds what the Raspberry Pi should have had all along: a power button. While there are lots of soft power switches out there, the OnOff Shim adds circuitry to cut power to the Raspberry Pi after shutdown.
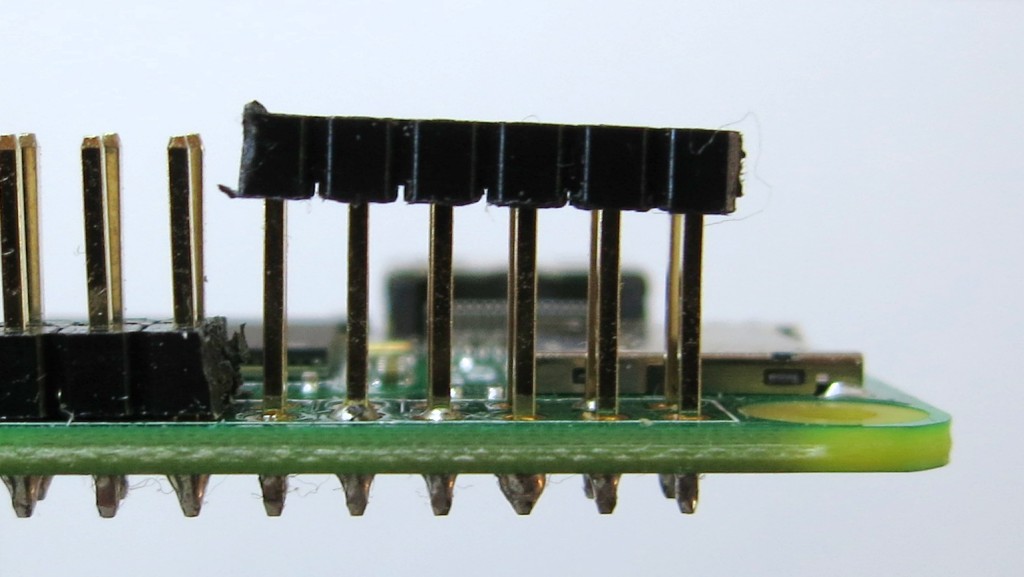
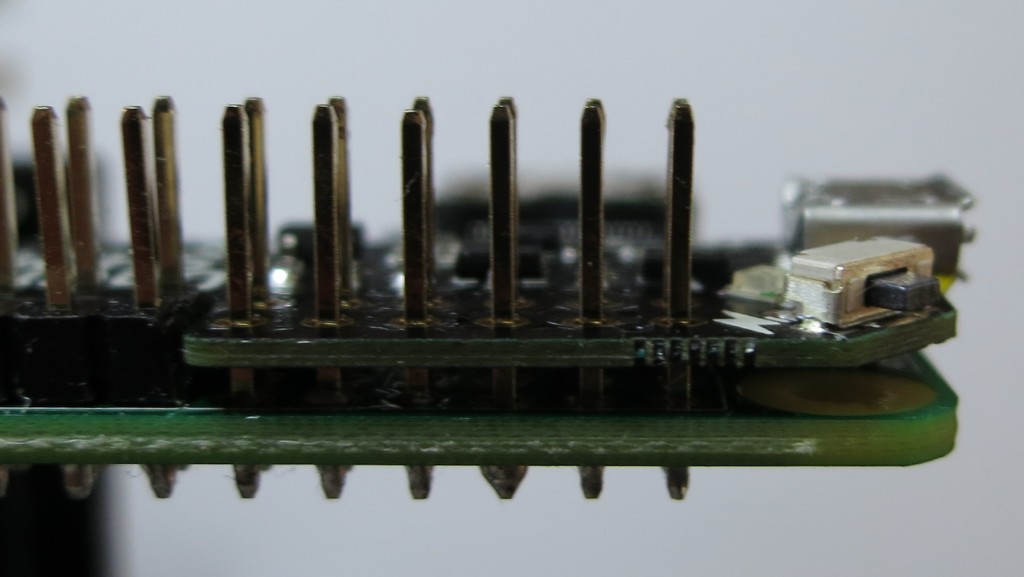
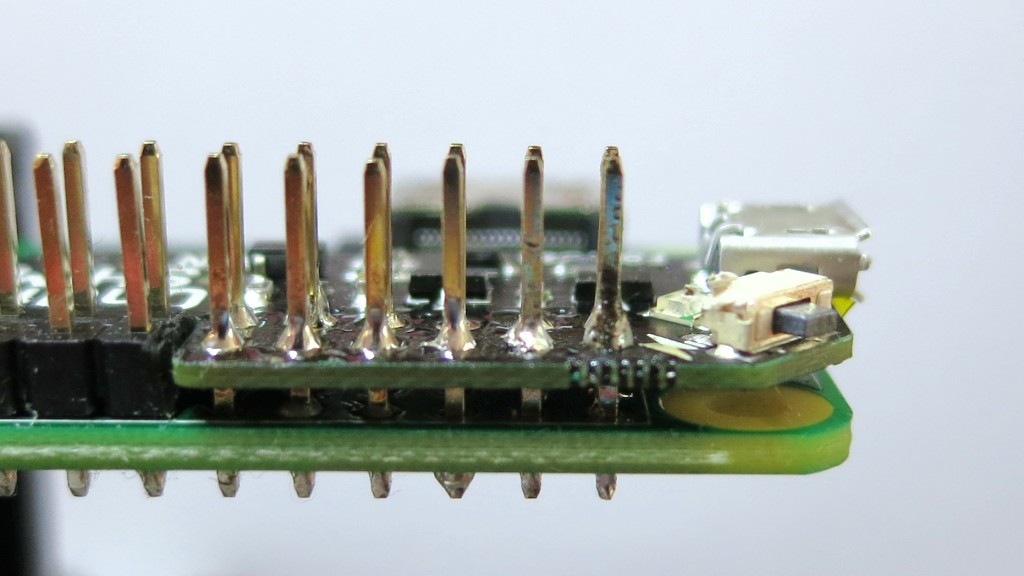
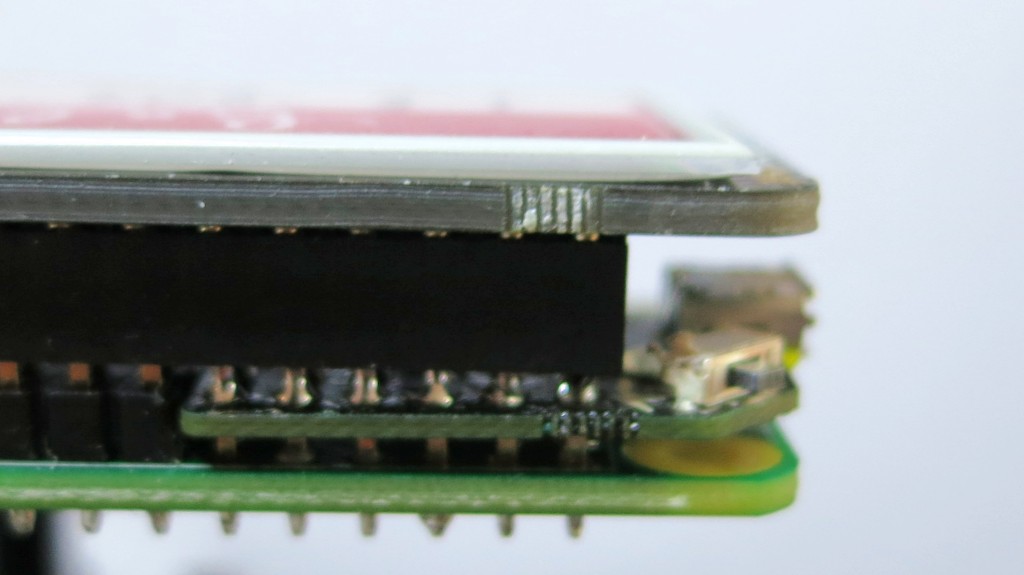
While the shim comes with a 12-socket header, that prevents you from using any other device that uses the leftmost GPIO pins. I wanted access to all the pins, and not have the shim create an unsightly bump on the pins. So this is what I did …
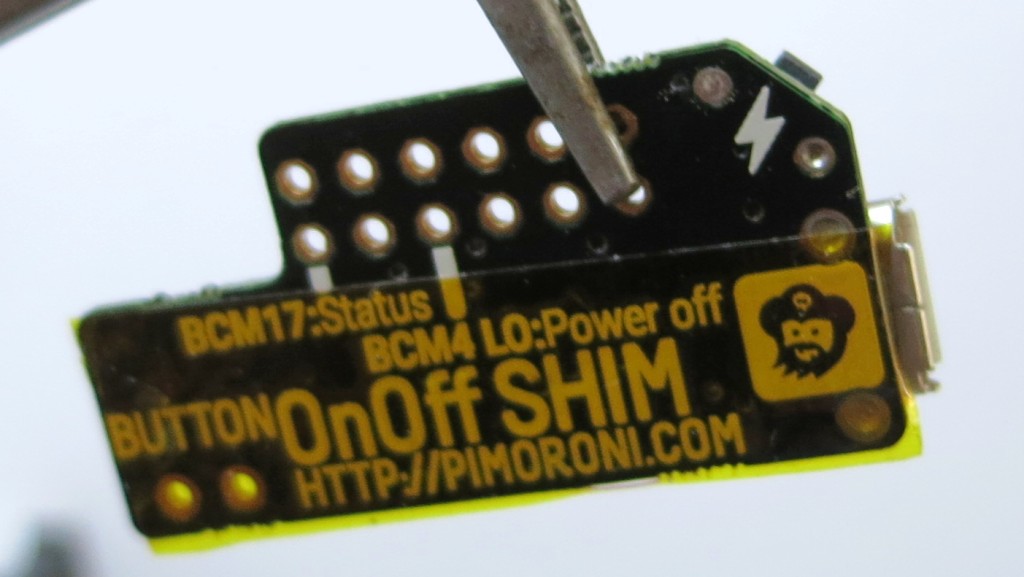
The OnOff SHIM uses GPIO pin BCM 17 (physical pin 11) as the power button sensor and BCM 4 as the power off signal. Any device that also uses BCM 17 (and possibly BCM 4) will likely cause the reset process to be triggered. This means that I can’t use the shim with my Inky pHAT EPD. You would have thought that Pimoroni might’ve considered that, since they made both. Consulting pinout.xyz suggests that 41 boards that likely may not work with the OnOff shim: Cirrus Logic Audio Card, Display-o-Tron 3000, DOTs, Enviro pHAT, ESP IoT pHAT, Explorer HAT, Explorer HAT Pro, Flex, GertVGA 666, High-Precision AD/DA Board, Hyperpixel, Inky pHAT, IoT pHAT, LEDBorg, MotoZero, Navio2 Autopilot, PaPiRus HAT, PaPiRus Zero, Piano HAT, Pibrella, Picade HAT, Pi Cap, PiGRRL Gamepad, Pi-LITE-r, Pi-mote, Pi PoE Switch HAT, PiStep2 Dual, PiStep2 Quad, Pi Stop, Propeller HAT, RoboHat, RTK Motor Controller, Servo PWM Pi Zero, Skywriter HAT, Ultimate GPS HAT, Voice HAT, Witty Pi, Witty Pi 2, Zero2Go, Zero LiPo and ZeroSeg.
While I like the OnOff SHIM, check carefully that it will work with your application.