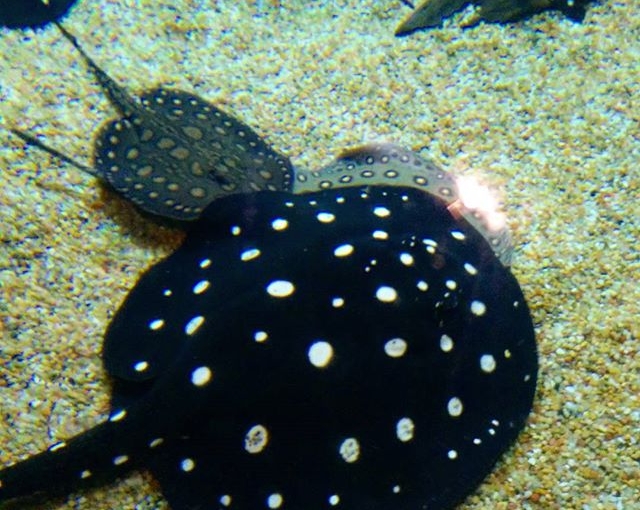
Instagram filter used: Normal
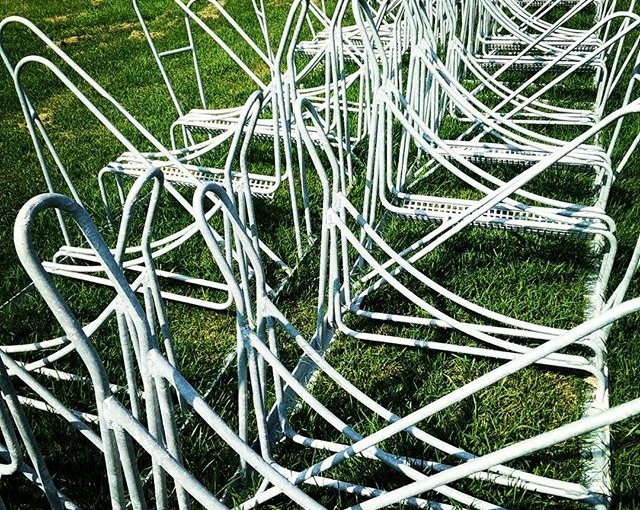
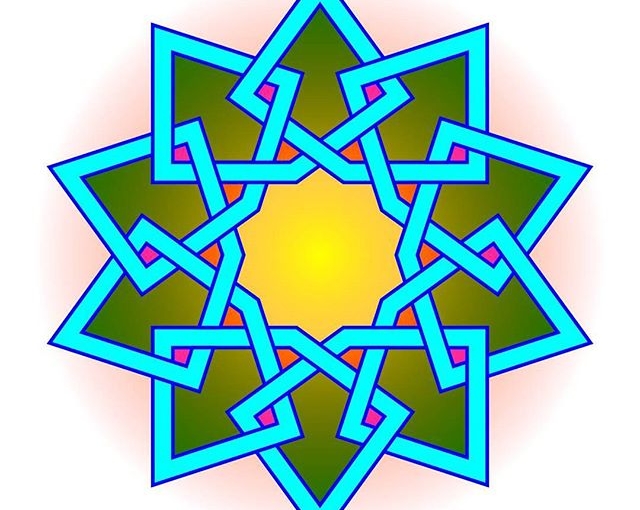
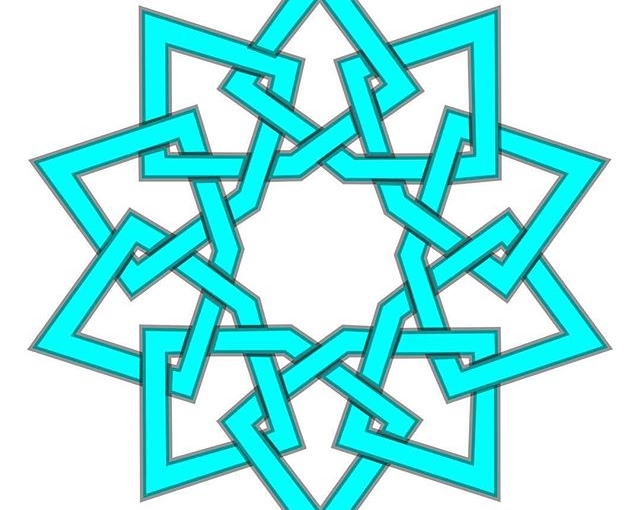
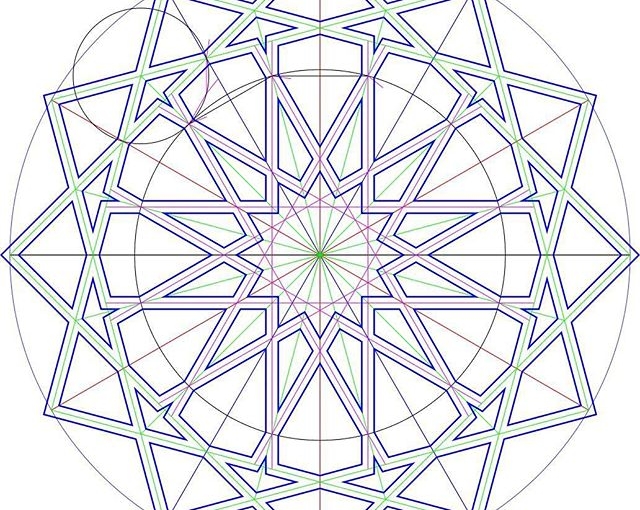
Basic 10-point star, nothing fancy:

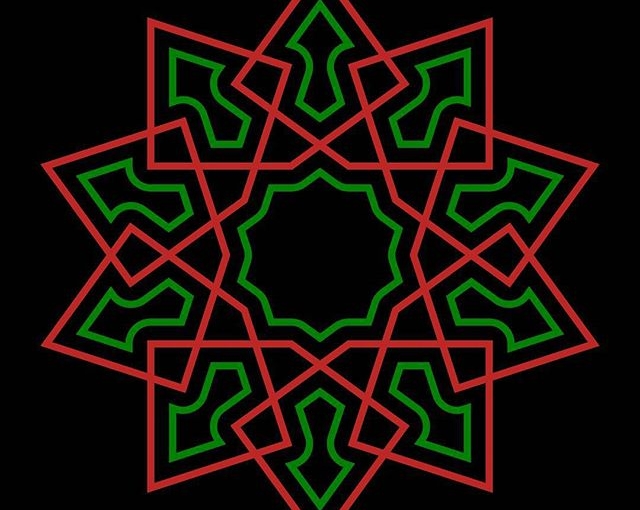
Interleaved pentagons:


(this post keeps turning up if I delete it, so let’s leave it here for now)
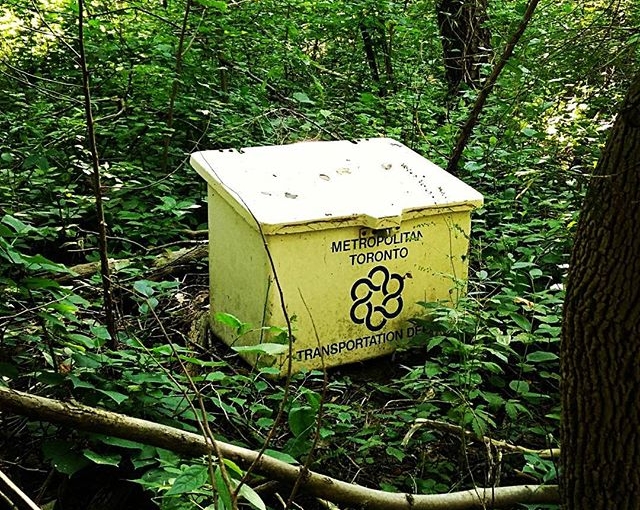
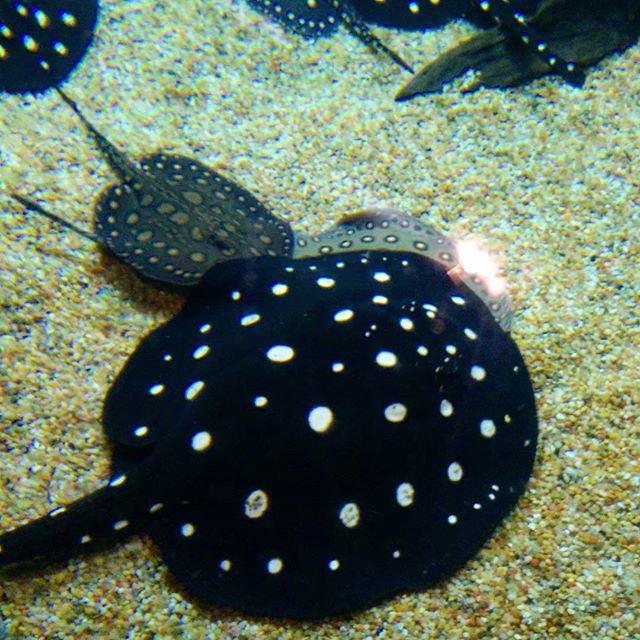
Instagram filter used: Lo-fi
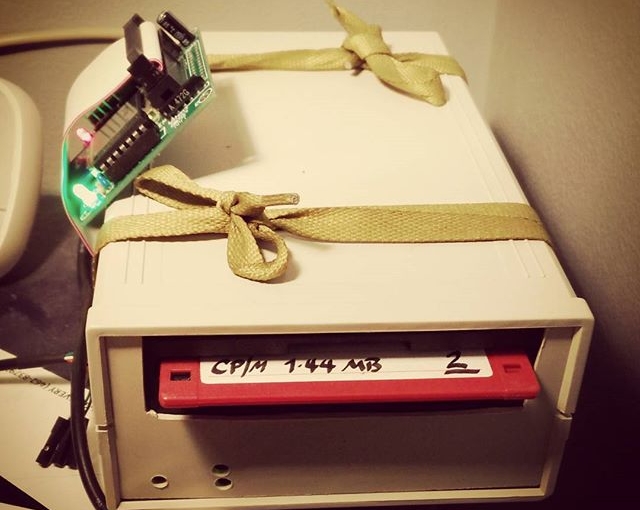
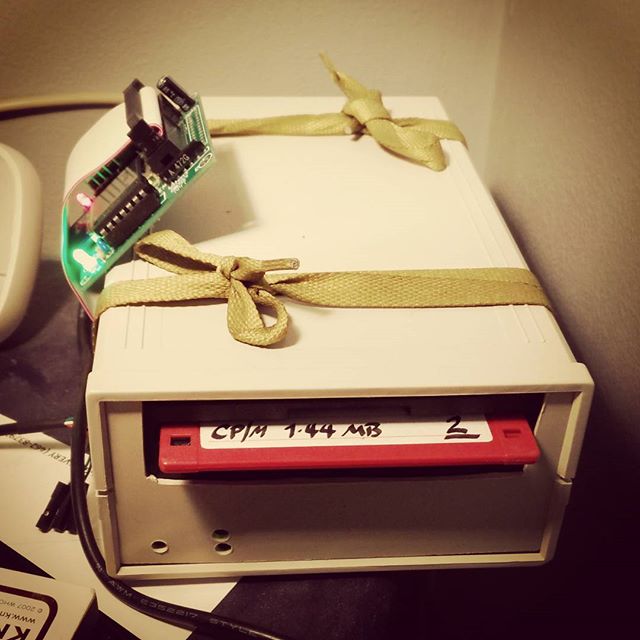
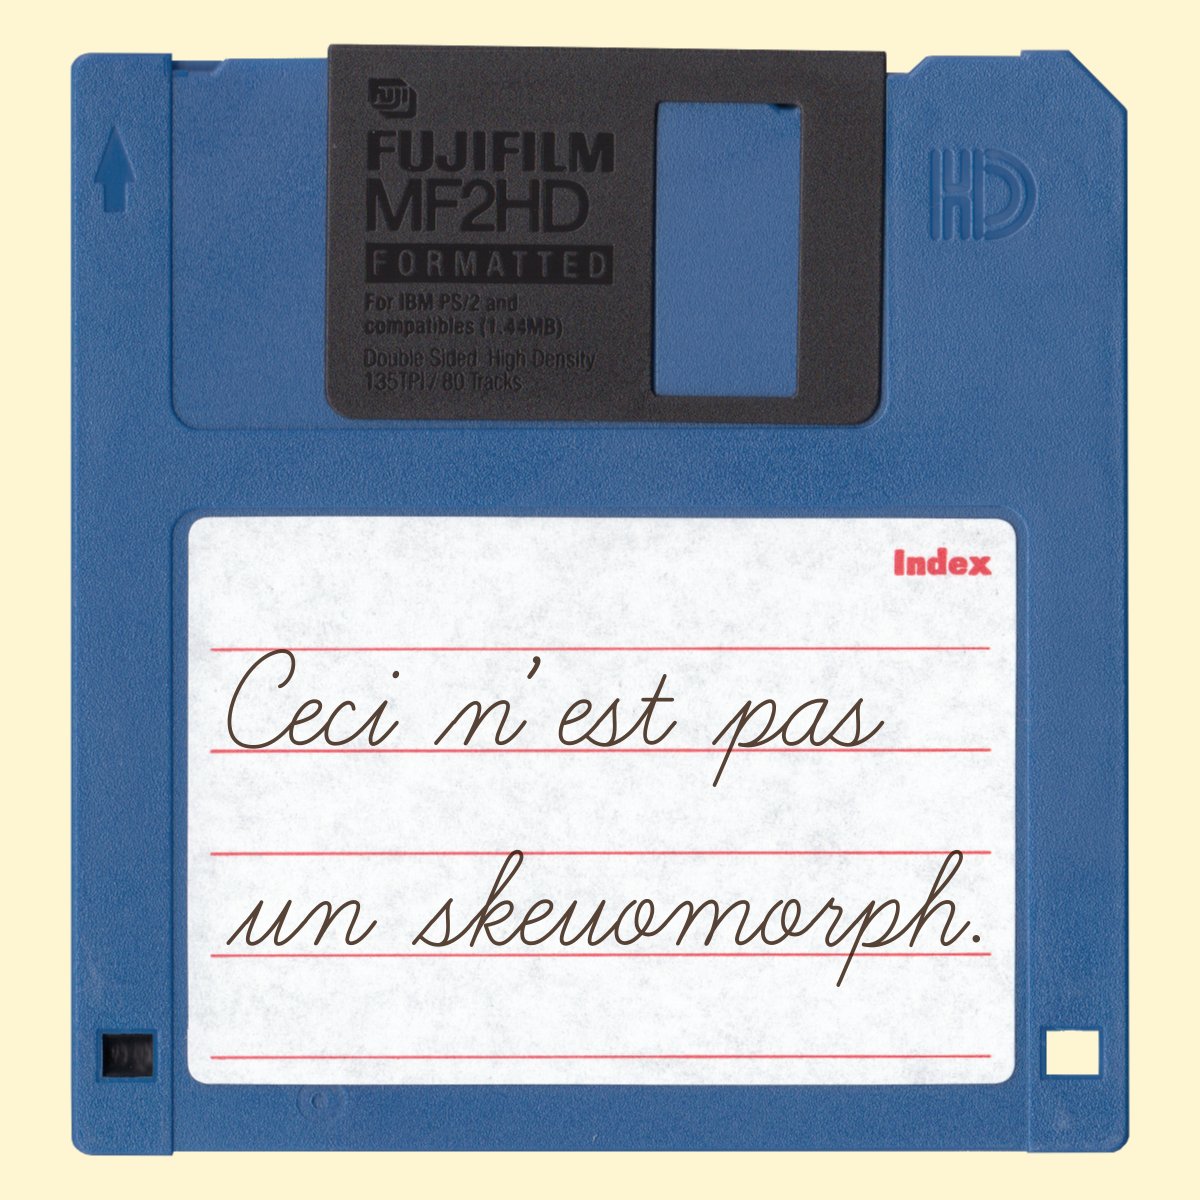
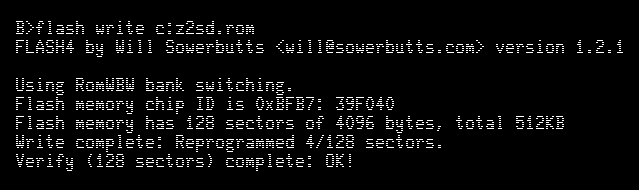 I’d been having no luck getting the SD card working on my Zeta. I got help on the mailing list, and uploaded a new 512KB Flash ROM image (via XMODEM and floppy; teh slow!). So now I have two multi-megabyte drives on my CP/M computer — whee!
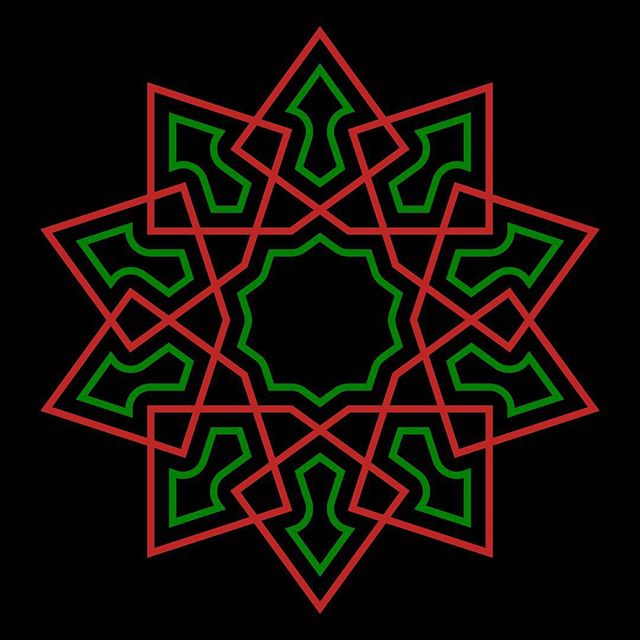
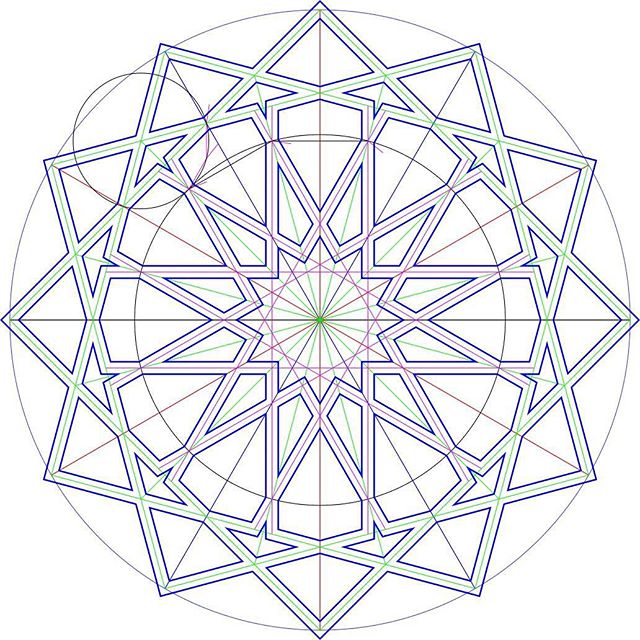
try #2 at calligraphic tessellation. Not sure about the colours, frankly.
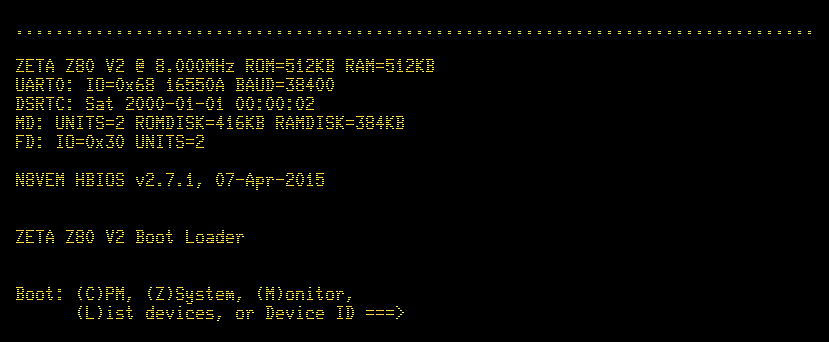 You have no idea how good it was to see that message come through over the serial link. The Zeta worked first time!
Here’s the board, fully populated:
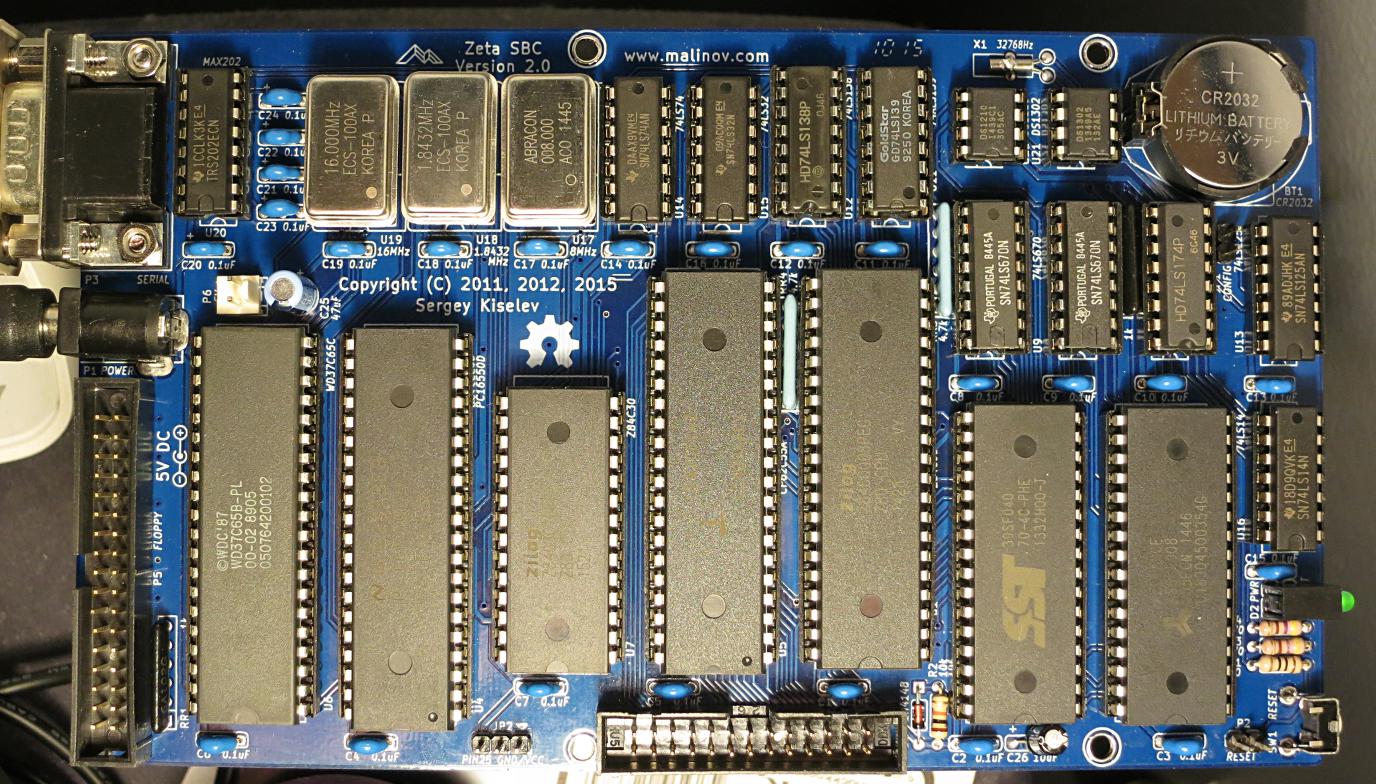 I still have to put it in a proper case. A visit to Above All Electronics did result in getting a floppy drive (and most importantly, 3½” 1.44 MB floppies …) and all the cables, so I’ll add that later. But for now, I’ll try to remember how CP/M works …