Author: scruss
-
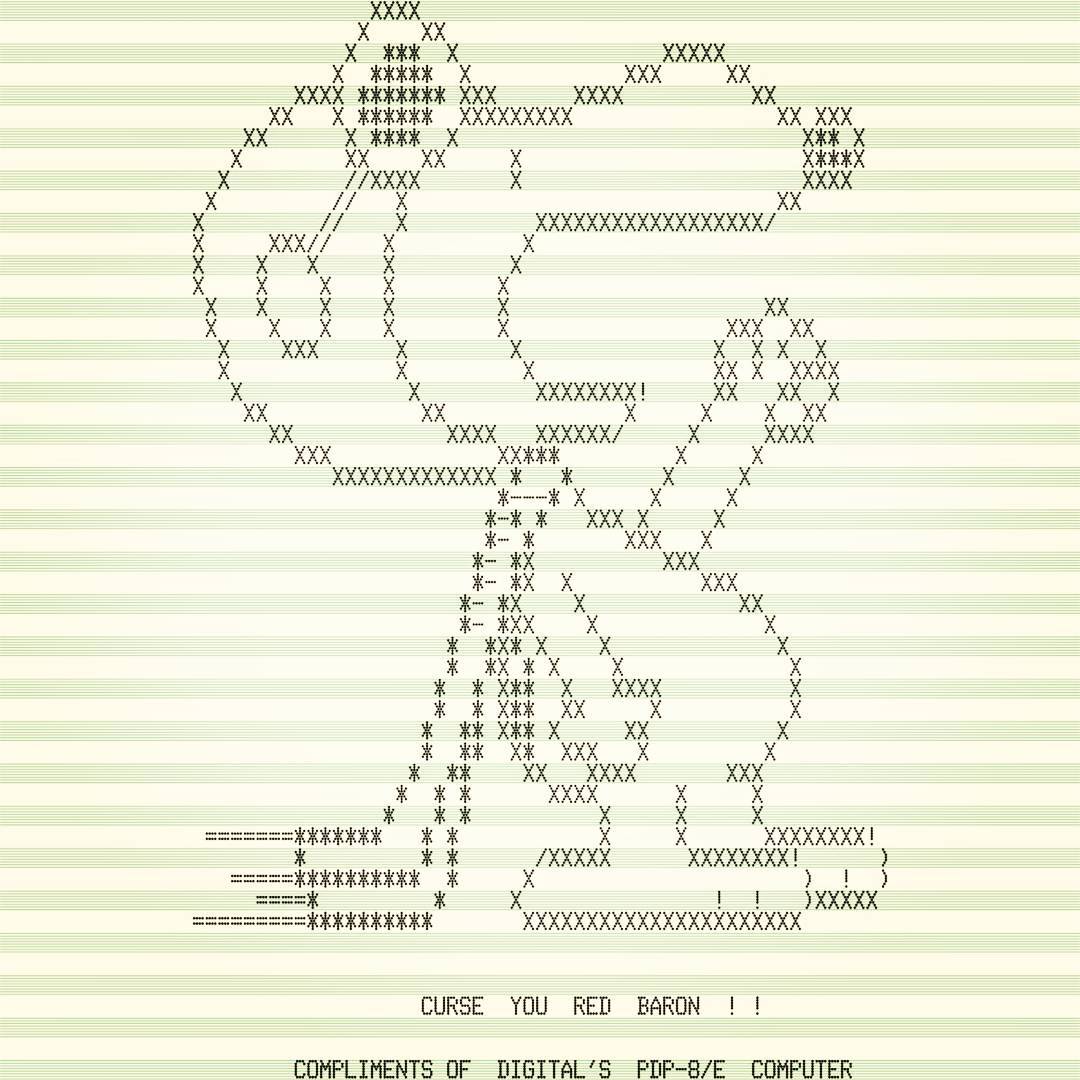
TYPE BANG: First Person Shooter, 1975 style
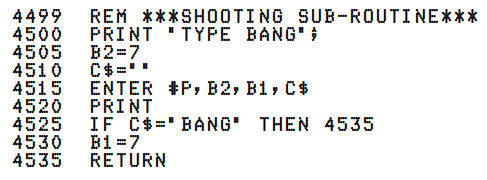 — from the source code of an early (1975) time-shared system version of The Oregon Trail, as documented in On the Trail of the Oregon Trail.
 -
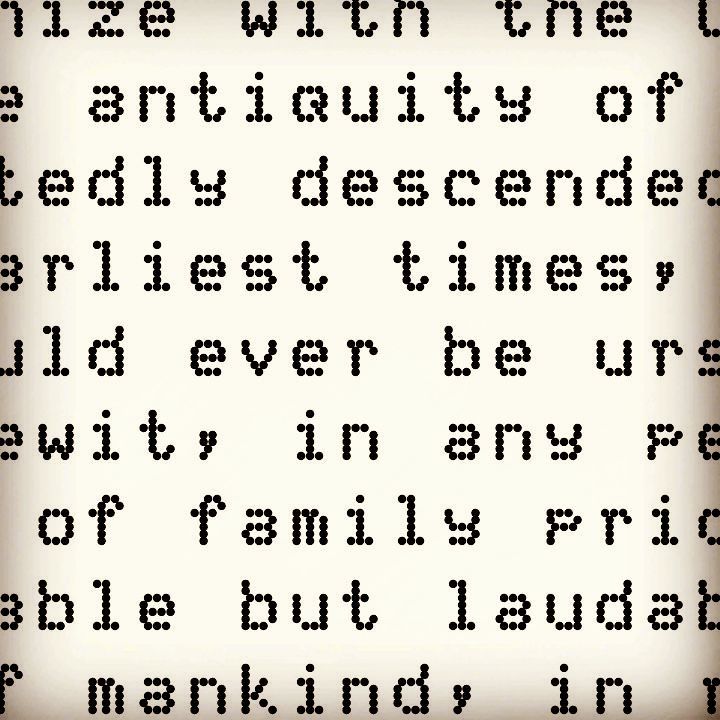
Library Hand – Disjoint
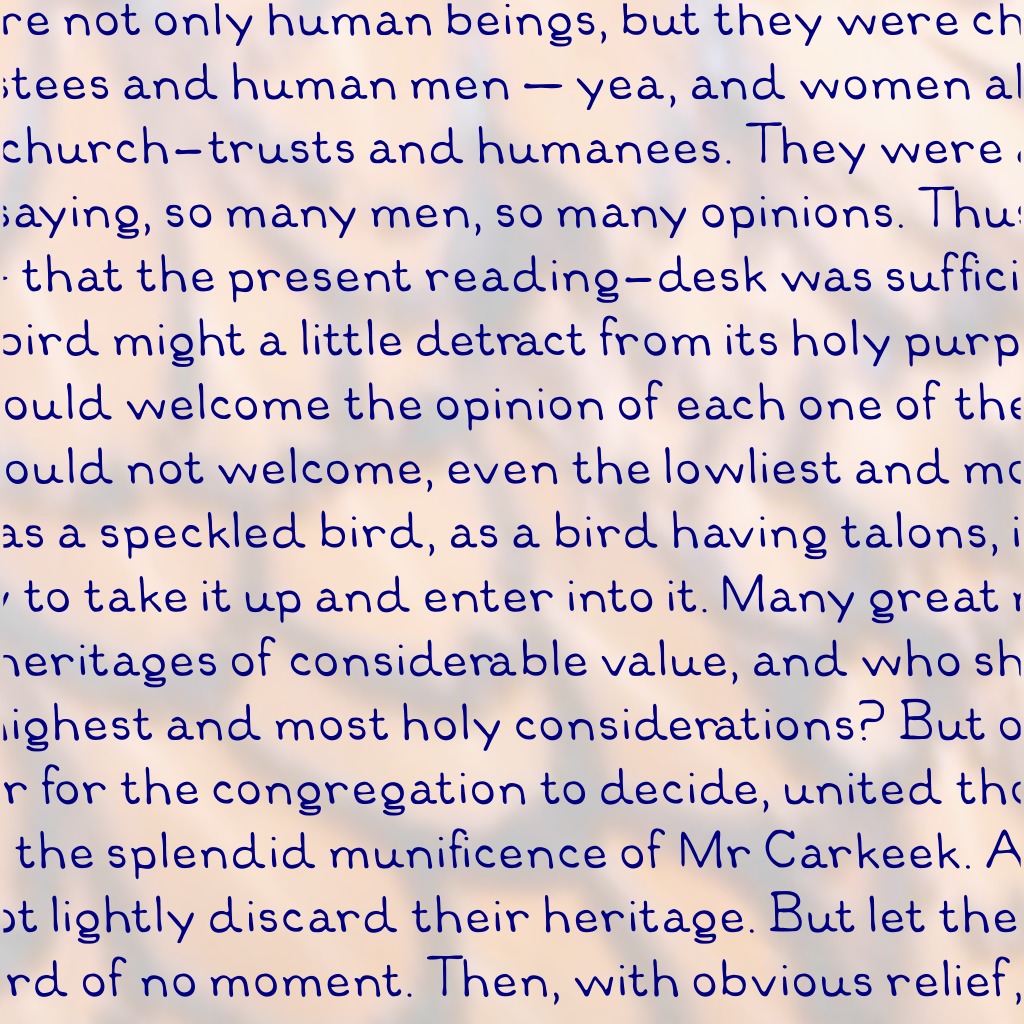
LibHandDis — Based on scans of “Library Hand – Disjointâ€, described in Dana’s A Library Primer, with some modifications.Major changes from scan:
- As the scan only covered A-Z, a-z, 0-9 and ‘&’, I had to make the rest up.
- Many of the descenders had to be shortened to fit with modern typography conventions.
- Kerning is much tighter than Dana’s guidelines suggest.
(idea for this came via MetaFilter, This question of library handwriting is an exceedingly practical one)
Local copy: LibHandDis.zip.
-
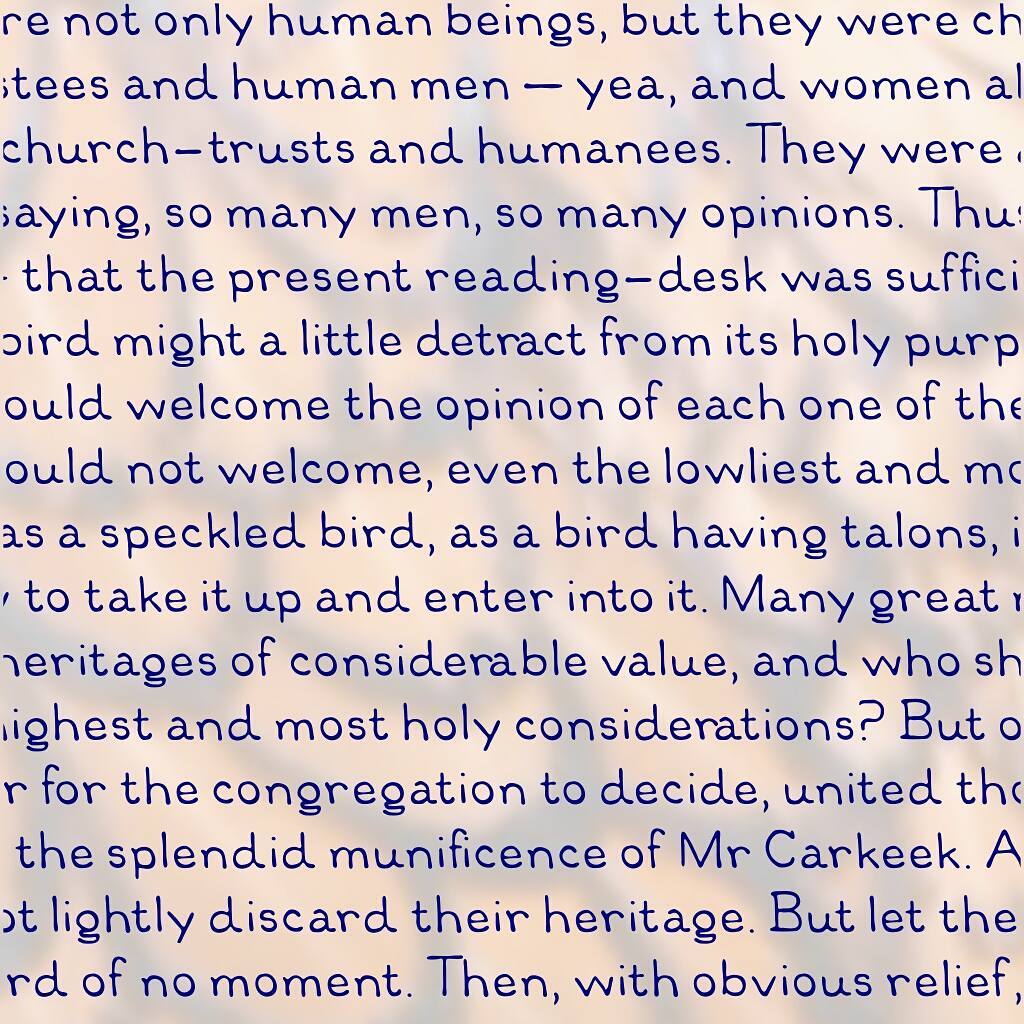
The punctuation is a farce, the kerning is ropey – but here’s my attempt at Dana’s Library Hand
Update: don’t use this terrible thing. Margo Burns has made an amazing version: Dana Library Hand.
Instagram filter used: Normal
-
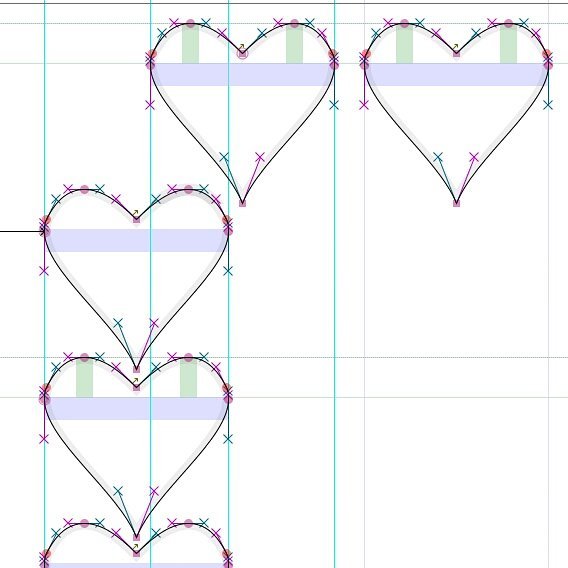
a font for the person you’re just dotty about
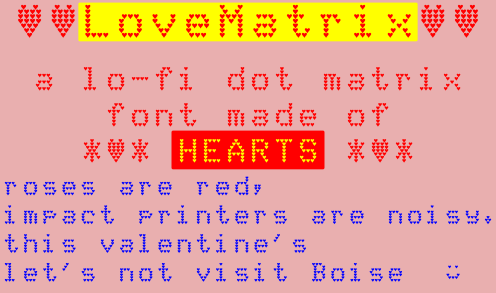
LoveMatrix is a lo-fi dot matrix font made of ♥♥♥s. It’s a seasonally-adjusted version of my mnicmp font.
Local copy: LoveMatrix.zip
-
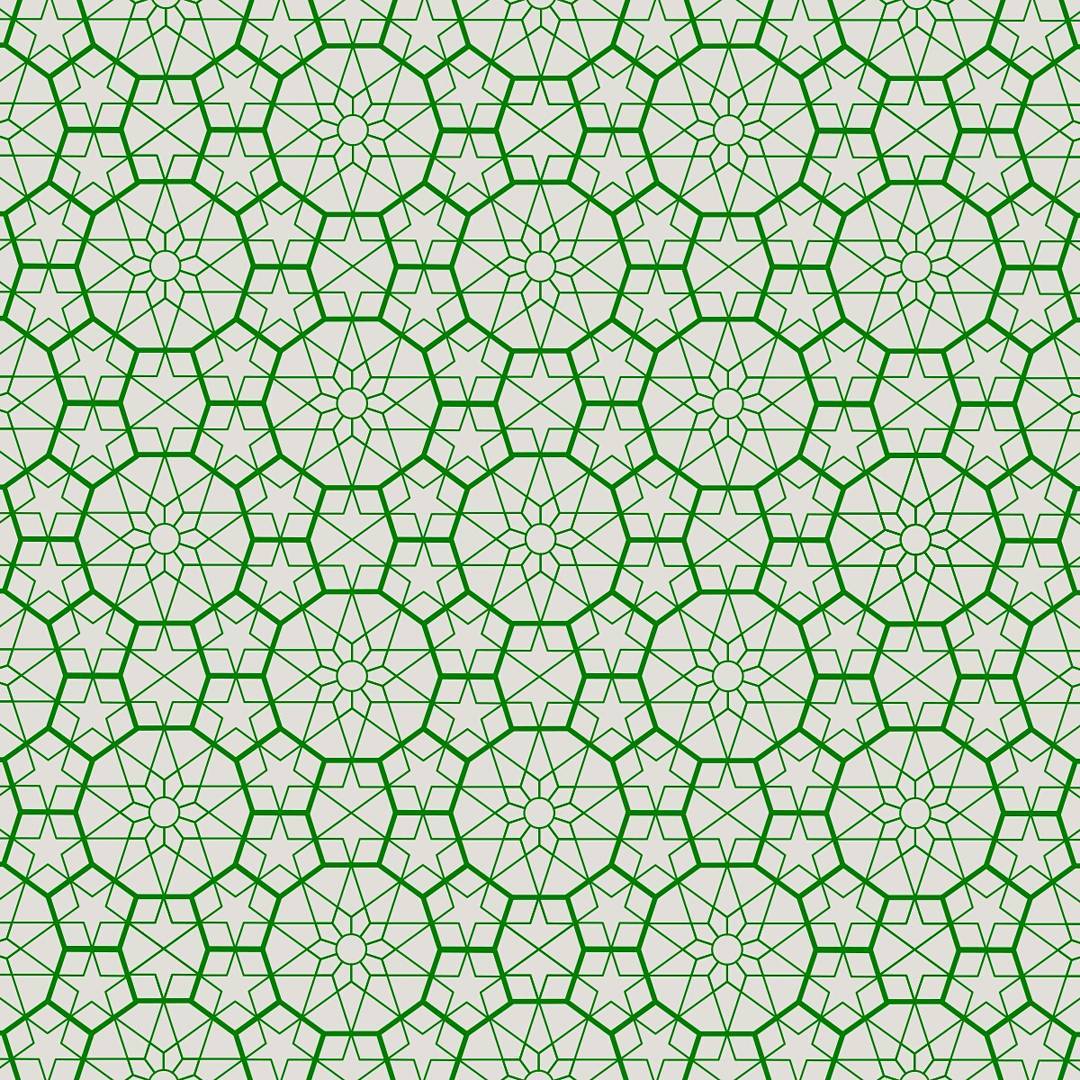
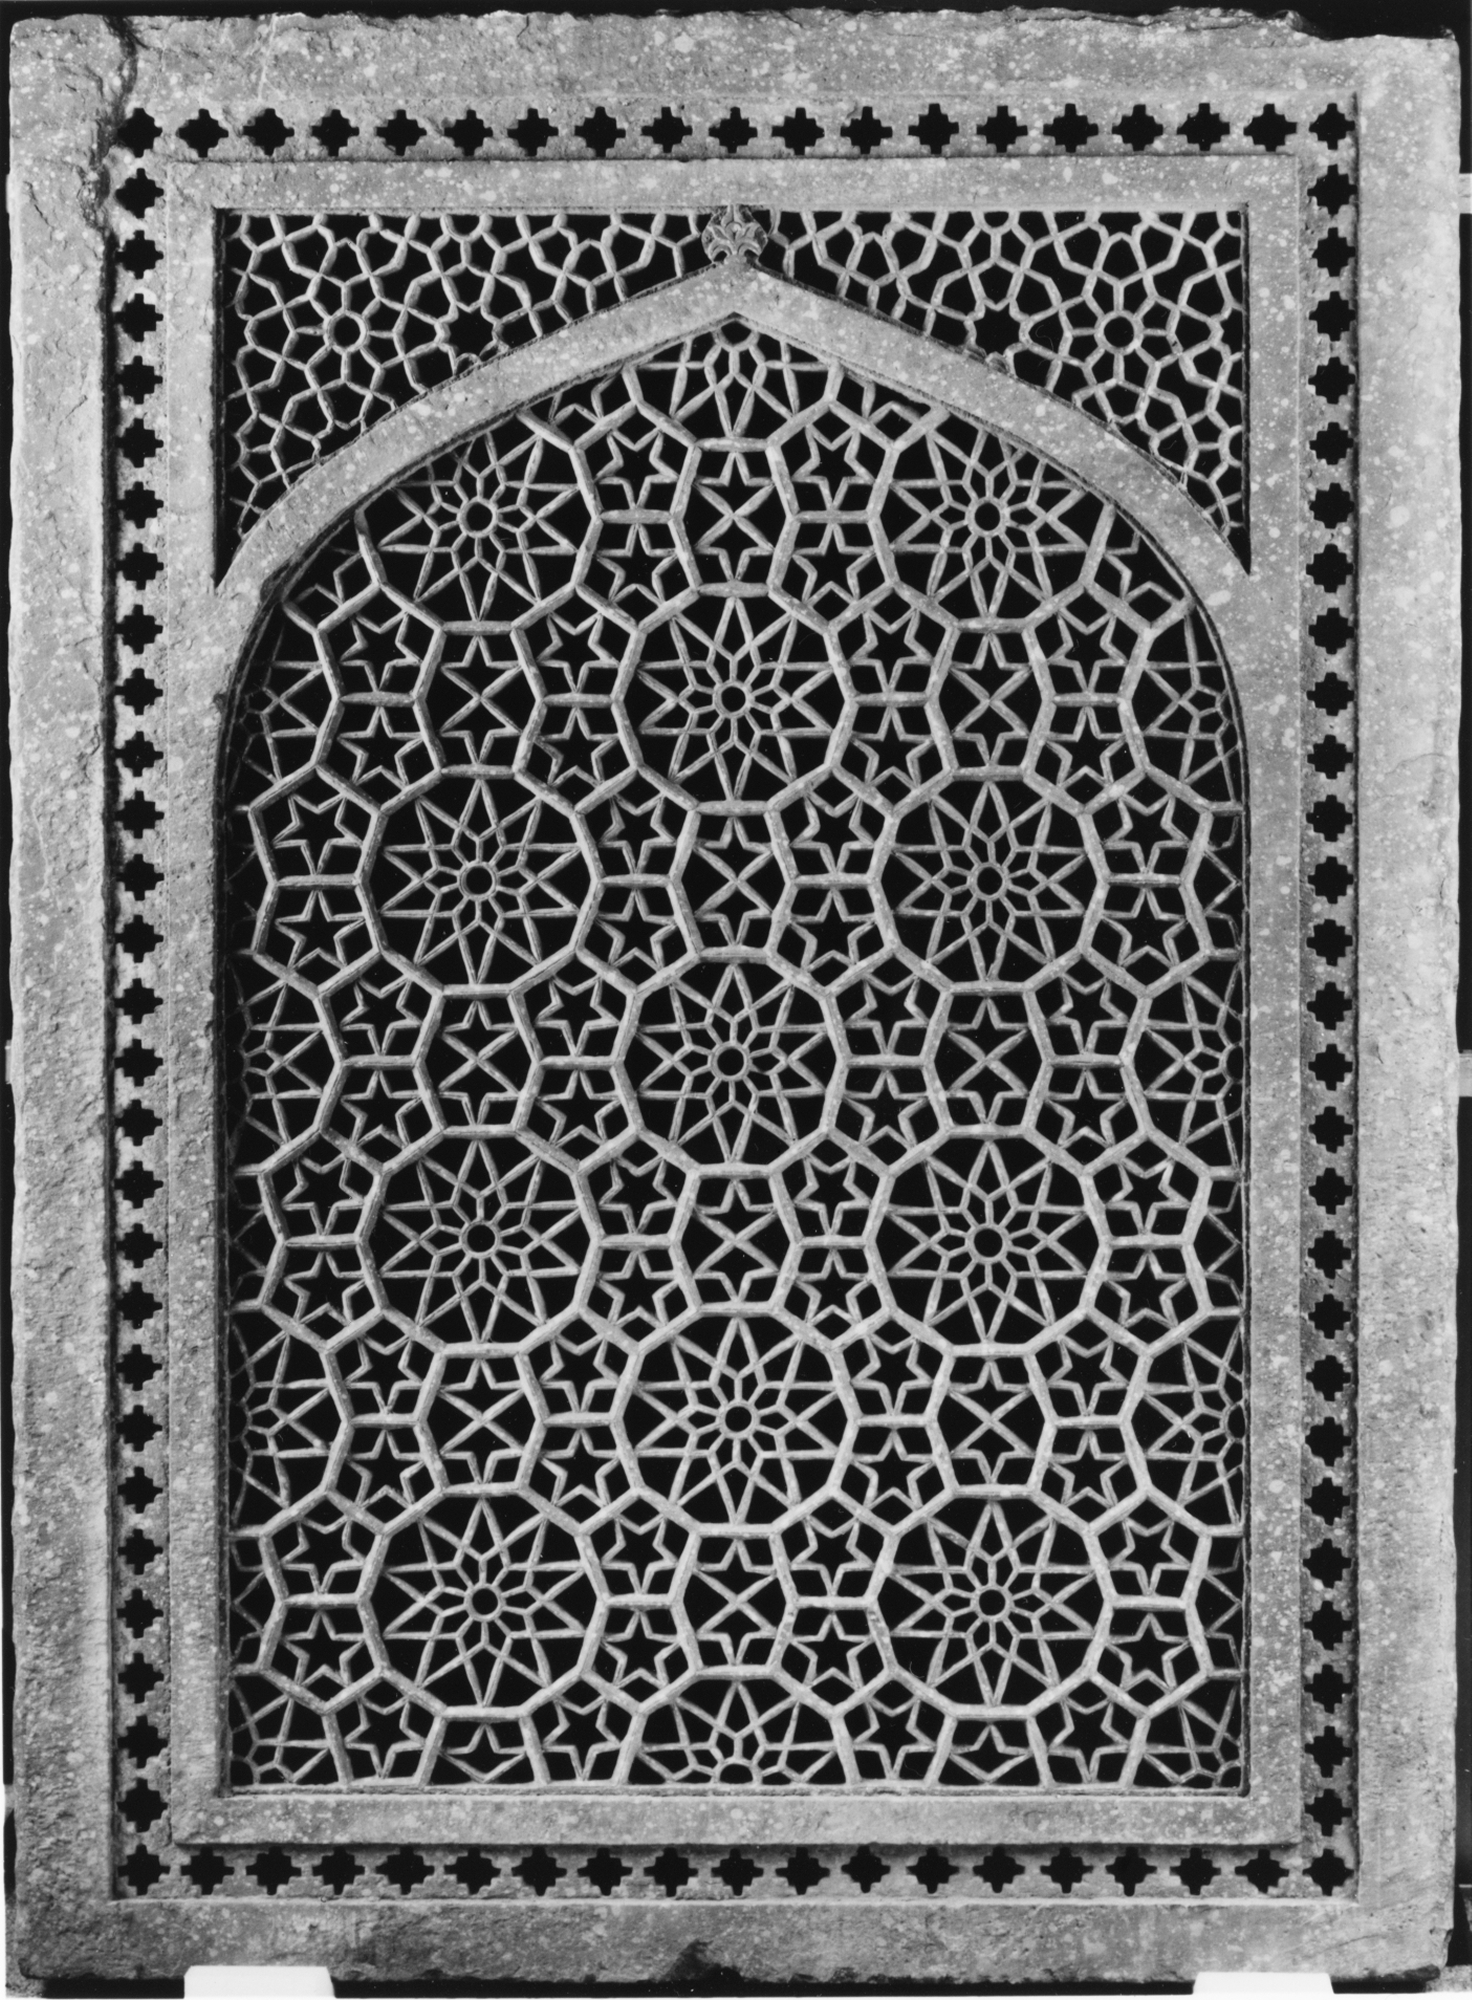
more geometry to colour in
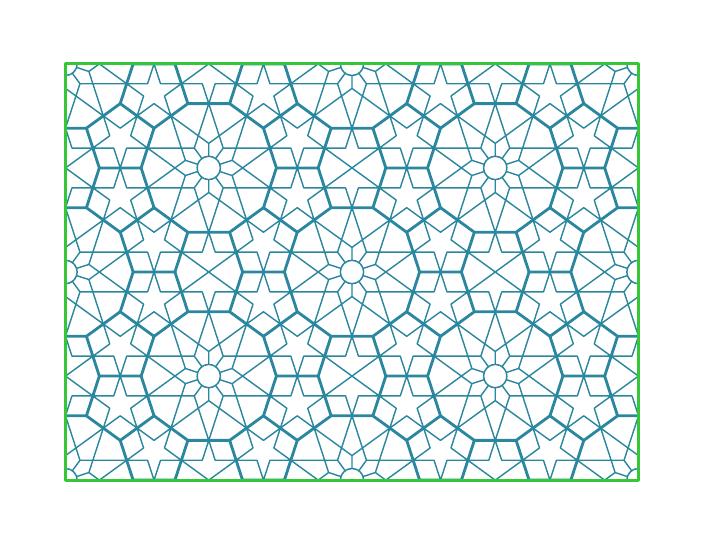
Click on image to download as PDF based on the main repeating pattern from a Pierced Window Screen at The Metropolitan Museum of Art — particularly this image.
-
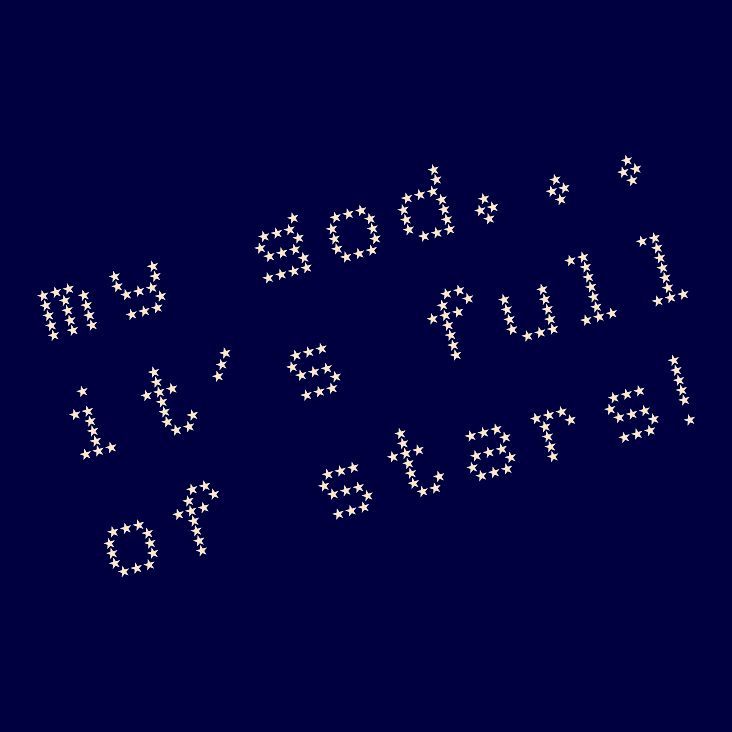
mnicmp: the DECwriter lives again!
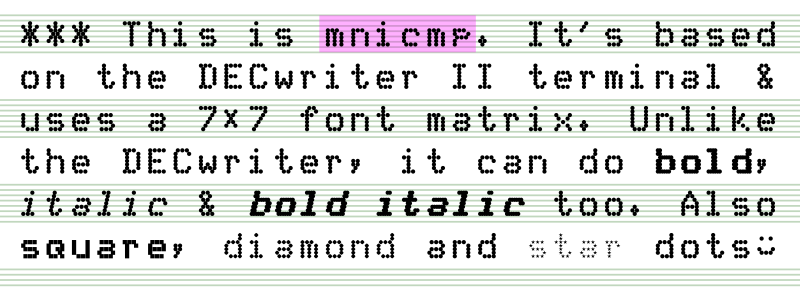 I just made and uploaded this to FontLibrary: mnicmp.
This is meant more as an exercise in learning FontForge‘s programming back-end, and definitely showed me that FontForge is incredibly powerful. After the learning comes silliness, so I ended up turning the dots into something like:
 I learned you really have to consider a dot-matrix font to be an array of points rather than a glyph, because otherwise you get the dots coming out the wrong sort of oval:
Blue font has been italicized as a whole, while the black dots were done properly You don’t want to know what it did to the stars …
Local archive: mnicmp.zip
-
awaiting surgery
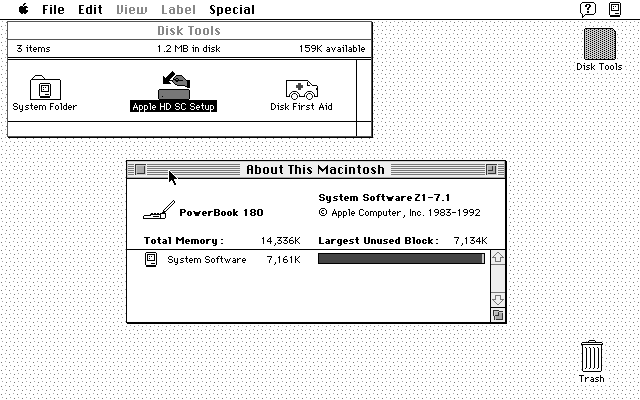 Seems I have two Macintosh PowerBook 180s: one has a dead colour screen but seems to boot fine, and the other (the one screenshotted above; yay ⌘+Shift+3 and enough room on the boot floppy …) has a lovely greyscale screen but a dead hard drive. I suspect we’re going to have to do a head transplant.
And no, I’m not having ¼-century 68030+68882 wish fulfillment one bit …


