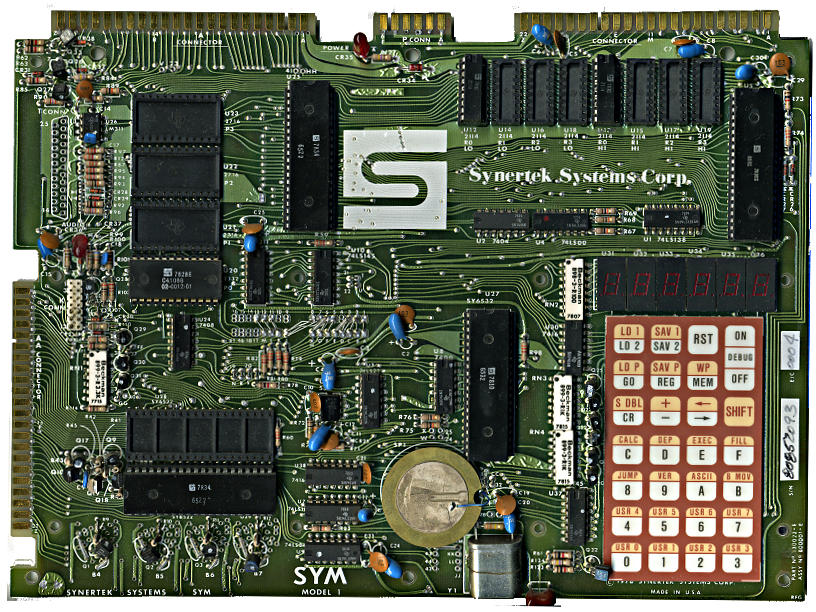
It is good that there are so many scanned manuals for old computer systems out there. Every old system did things its very own special way, and life’s too short to guess. I mean, there’s not much out there on the SYM-1 I’m trying to get working again:
Some manuals, though, while lovingly scanned, are just too large to download, browse or file. Take, for instance, AppleIIScans’ Apple II BASIC Programming With ProDOS. It’s a very faithful colour scan, but at 170 MB for 280 pages, it’s a bit unwieldy. I suspect it’s Adobe Acrobat Paper Capture’s fault: while it makes turning scans into readable files really easy, it doesn’t warn against using 600 dpi full colour for a book with only decorative use of colour.
I gave a talk about retro-gaming on the Raspberry Pi yesterday. I was describing RetroPie, and I really needed lots of screenshots to illustrate games. I’m used to grabbing screens under X, but RetroPie runs without it, so all my usual tools were of no use.
I’d just found out about raspi2png, and it works really well! Usage is simple: just call it like
raspi2png -p outfile.png
and it’ll save whatever’s on the screen. It doesn’t play well with X, but there are already tools to take screenshots with that. As I was playing games, I didn’t want to have to pause the computer to take a shot, so I ran the command every five seconds for 30*5 seconds like this:
for f in {1..30}; do raspi2png -p retro_$(date -Iseconds).png; sleep 5; done
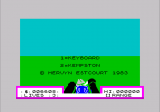
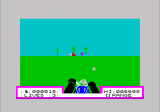
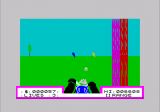
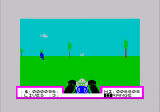
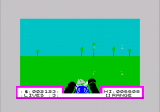
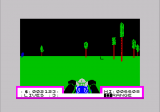
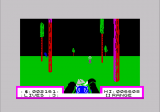
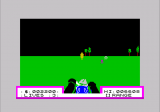
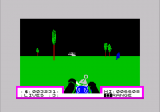
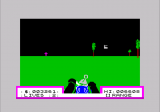
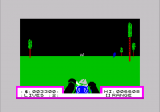
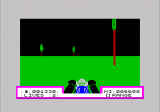
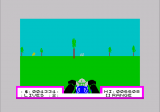
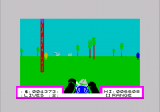
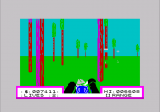
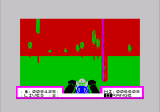
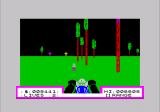
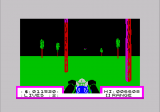
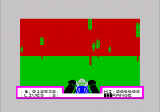
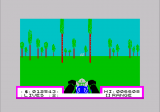
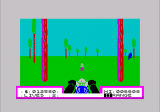
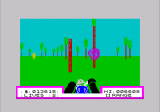
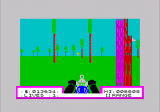
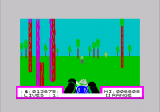
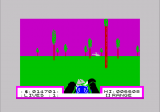
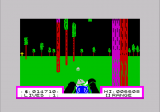
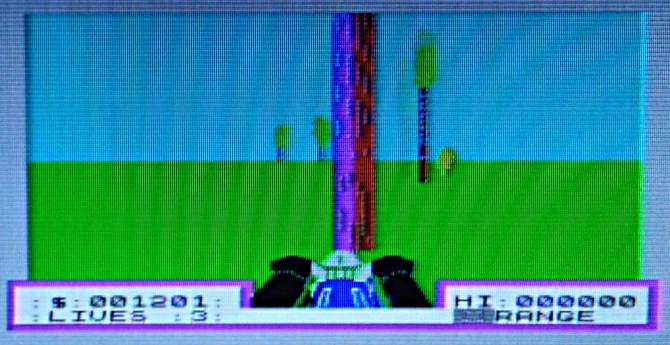
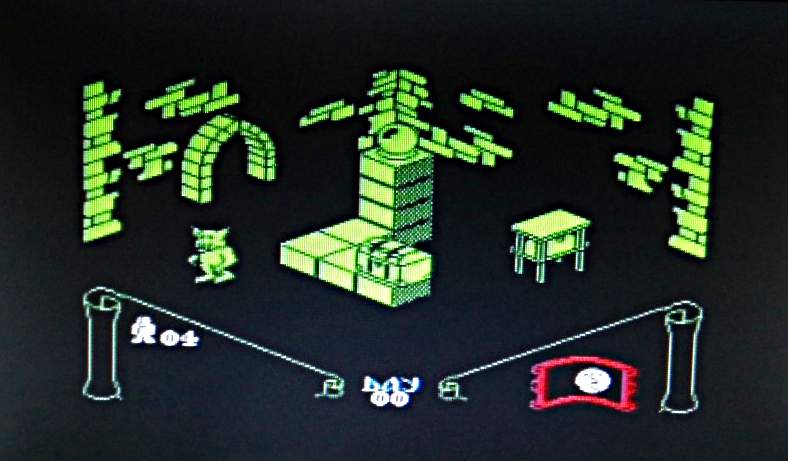
Here are some quality shots via raspi2png from Deathchase, officially the best ZX Spectrum game ever:
The best words ever to appear on a computer screen
Baddies off in the distance
I appear to be shooting small jellyfish, or lumps of ice cream
 DI 30
 XC 45
 XC 205
…
 IF 700
 NM 730
… (many, many more lines …)
I thought at first it was a stack trace, but nope — it’s error messages! You need to dig through your trusty language manual, and on page 132 it has a table to explain:
DI ERROR IN DIM STATEMENT
IF ERROR IN IF STATEMENT
NM MISSING LINE NUMBER
XC CHARS AFTER END OF LINE
(and yes, they’re in all-caps. Mixed case? Mixed feelings!)
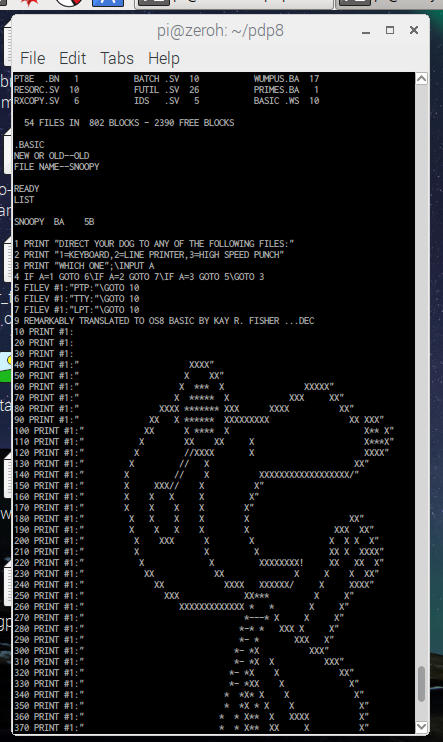
So whenever Python throws a tantrum (or as it calls it, an exception) and wails at length about its problems, remember PDP-8 BASIC: Two letters + a line number. That’s all.
PDP (Pocket DEC Pretender) Zero: lettering came out a bit more, um, artisanal than I’d hoped …
Digital (aka DEC) used to make some very solid minicomputers back when a minicomputer was fridge-sized and people were still building nuclear power stations to be controlled by them. The Raspberry Pi Zero is a very mini computer indeed, and in USB gadget mode running SimH it makes a nice little emulation platform.
DEC minis were famous for their arrays of blinkenlights. The Pocket DEC Pretender, not so much: it has one tiny green light that flickers a bit now and again:
PDP (Pocket DEC Pretender) Zero: case open, very few blinkenlights
But it’s a genuinely useful (for my values of useful) emulation platform. Here it is pretending to be a PDP-8, running BASIC under OS-8:
PDP (Pocket DEC Pretender) Zero: PDP-8 BASIC!
(background in case pictures woven in Toronto by Deftly Weft)
Building and installing the linapple-pie Apple IIe emulator is relatively easy on the Raspberry Pi:
sudo apt install libcurl4-openssl-dev libzip-dev zlib1g-dev libsdl1.2-dev libsdl-gfx1.2-dev libsdl-image1.2-dev libsdl-sound1.2-dev build-essential git
git clone https://github.com/dabonetn/linapple-pie.git
cd linapple-pie/src
make
sudo make install
This also works on an x86_64 Ubuntu machine. It does also install on a PocketCHIP (even if it takes a really long time) but I can’t get the display resolution to fit correctly.
The program on the left is running on the decimal interpreter, the one on the right the regular one
Microsoft used to supply two versions of its BASIC for Macintosh. One used decimal mathematics for precise tallying of small amounts. The other used the more familiar floating point mathematics, rounding errors and all. I don’t know what floating point library Microsoft used for sure — perhaps Motorola’s 32-bit Fast Floating Point system — but it introduces rounding errors pretty quickly. Modern routines don’t start displaying oddly until after 15 decimal places.
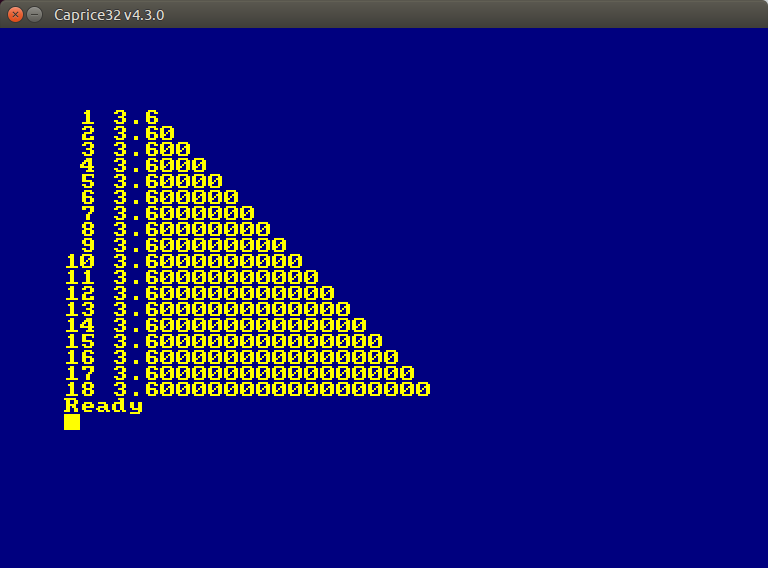
Consider this simple program:
10 LET x=36/10
20 LET a$="## #.#"
30 FOR n%=1 TO 18
40 PRINT USING a$; n%; x
50 LET a$=a$+"#"
60 NEXT n%
70 END
Along with the number of decimal places, it should print 3.6, 3.60, 3.600, 3.6000, … with an increasing line of zeroes after the 3.6. Bas makes a valiant but typical attempt:
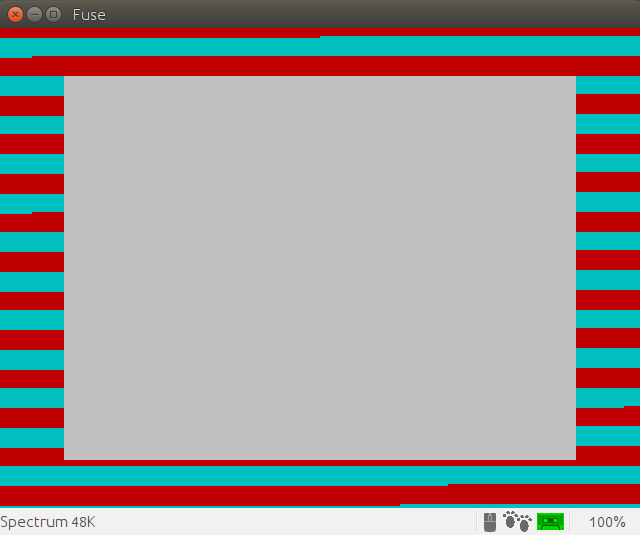
My previous adventures with my Sinclair ZX Spectrum 48K in Canada were not resounding successes. I couldn’t get the display to work, and tapes wouldn’t load well, so I’d been using Fuse while the hardware sulked in a cupboard.
I’d previously got a proper power supply (9 V DC, ≥ 1.4 A, centre negative) and bypassed the PAL UHF modulator to give composite video. No television, monitor or converter box that I had tried seemed to give a useful display.
Back in May, Walter Miraglia brought a tiny 7″ composite colour monitor to TPUG‘s Retrocomputing Night. He let me try it with the Spectrum, and it worked very well. Walter said it was an extension monitor for a car DVD player.
I dug around, and found that local surplus clearout store Tech Source Canada had the Philips 7″ portable DVD Player PD7016/37 for $60. This gives you two identical DVD players with composite input. I think my other one will be destined for a Raspberry Pi project somewhere.
To get these monitors running, you’ll need:
a 9–12 V DC power supply able to give ≥ 1 A. I use a regulated supply that gives 9.1 V open circuit and is rated at 2 A. Note that the power connector is slightly smaller than the common 2.1 mm barrel, so you may have to order this one, unless you can solder something up.
A cable like this 3.5mm Stereo to Composite Video + Audio Cable (3 RCA). These are sometimes just called camcorder cables. They use a 3½ mm TRRS jack, and can also — if you don’t mind not quite having the connectors in the right order — work with the composite/audio output of more recent Raspberry Pis. Tech Source had these for under $5.
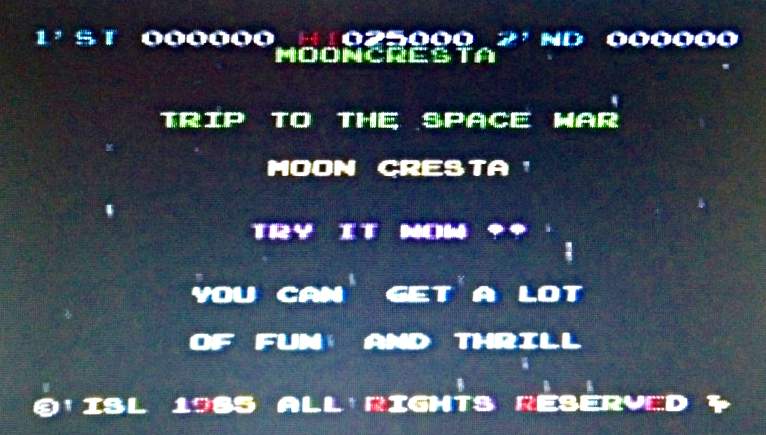
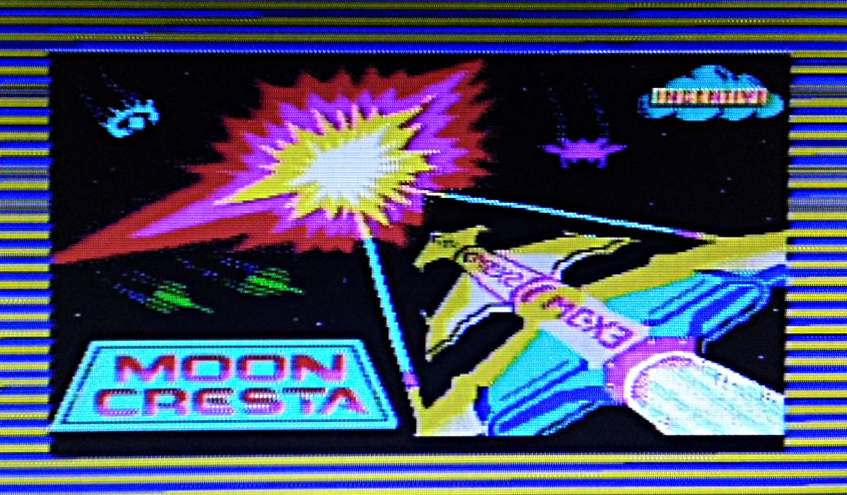
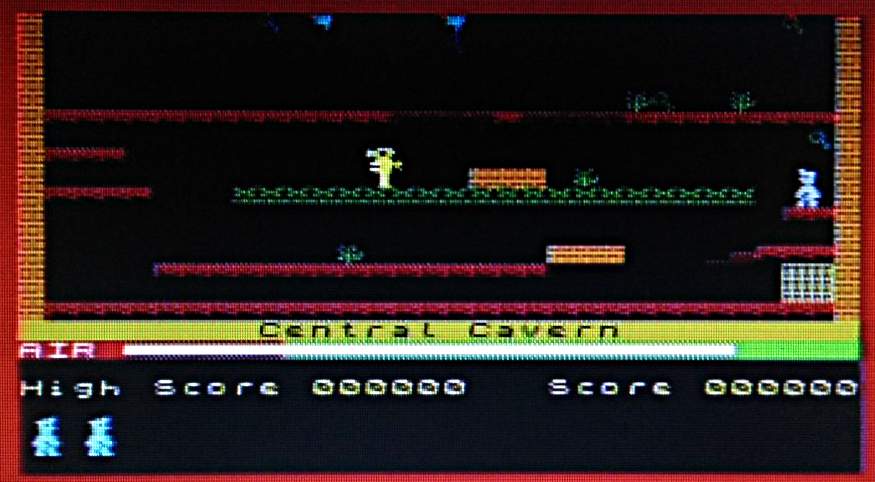
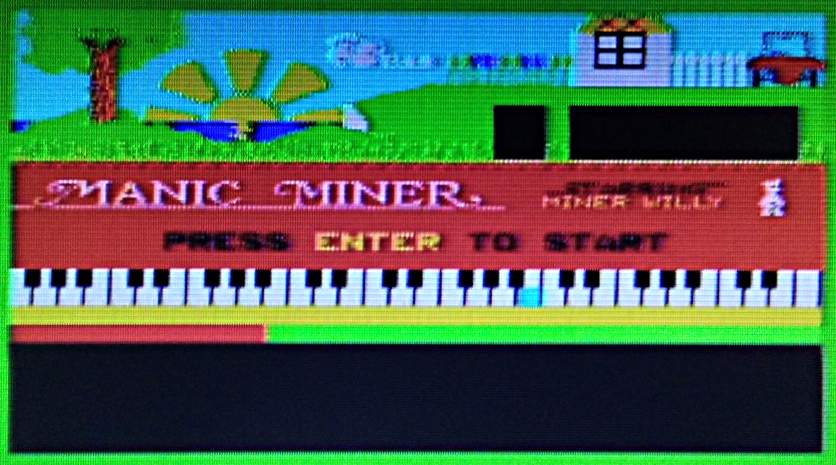
Connect it up , and — success! Well, slightly qualified success. The screens do not have the greatest resolution, so pixels are slightly smeared together. The screens do have a decently fast refresh, and the whole look is just right. With its colour clash and dot crawl, nobody ever expected great video from the Speccy anyway.
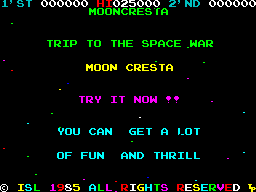
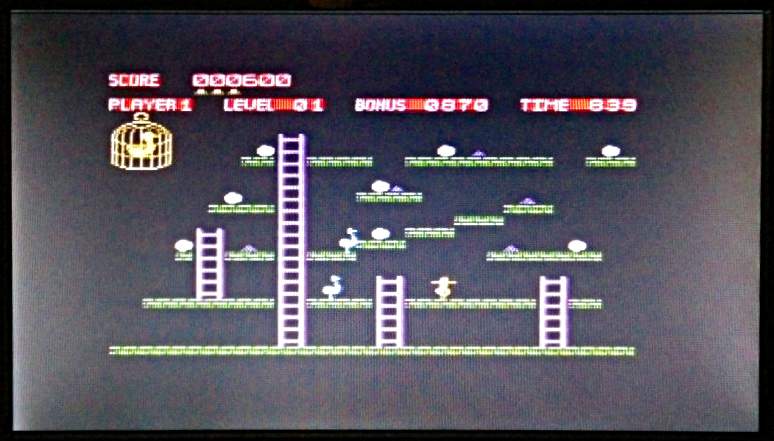
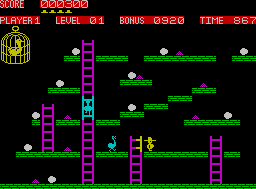
Here are some screen shots taken with my phone, and a couple of pixel-sharp screenshots from Fuse to compare:
Moon Cresta – complete with authentic weird languageMoon Cresta — the same screen from FuseMoon Cresta – nice loading screenManic Miner — a game I am not good atManic Miner – perhaps the (deliberately?) worst game music everDeathchase — OH NOES A TREE!!!!1!! Looks like the Riders of the Big Bikes just lost another memberKnight LoreChuckie EggChuckie Egg from Fuse. We can’t do anything about the attribute clash
So I can now definitely view the screens. Huge thanks to Walter for tipping me off to these DVD players.
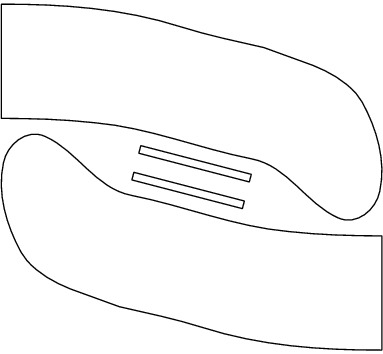
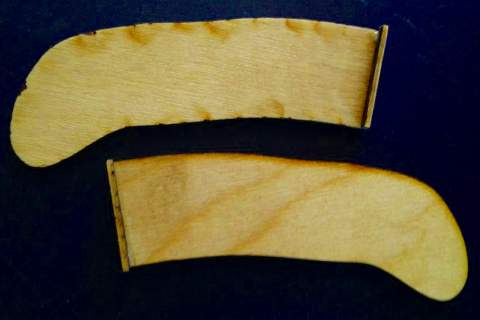
[Incidentally, the screens are designed for car use, so don’t stand up properly unless you get creative with some supports. I laser-cut these out of 3 mm plywood:
mini screen feet for 3 mm ply. Cutting template PDF is linked underneath this image
Glue the little sticks on to the flat ends, and they’ll fit into the slots in the back of the monitor. Here are the feet with the sticks fitted:
screen feet with sticks glued in place
There are better-designed feet than these, but they work, mostly.]
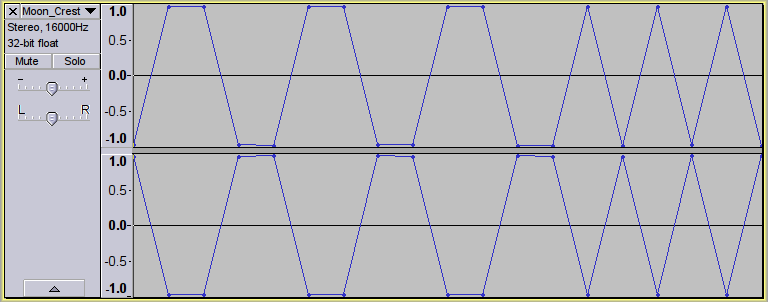
I was still having game loading problems. Try as I might, I couldn’t get anything to load reliably. Retrocomputing Stack Exchange came to the rescue, in the shape of mcleod_ideafix’s very helpful answer. If your audio player is running from batteries and you can use a stereo cable, you can convert the normal mono loading audio into stereo with one channel inverted. This gives you effectively double the volume, and works quite well with my audio player, an old Edirol R-1*.
If you want to check your audio levels, sox can also create the 800 Hz header tone used by the Spectrum. Run the output of the command below through the script above, load it onto your audio player and fiddle with the volume until the border flickers steadily:
I was also looking for the games to load fairly quickly. Tapes used to take over three minutes to load, and while retrogaming all is about the experience, I haven’t got time for that. Fuse has some utility programs which will convert a .Z80 game snapshot into an audio file that loads in about 1¼ minutes.
To convert the snapshot to a speed-load TZX tape image:
snap2tzx -o game.tzx -s 3 game.z80
To convert that virtual tape image into audio:
tape2wav -r 16000 game.tzx game.wav
You can then run that WAV file through the stereo/differential script I listed above. Have fun!
Update, 2017-06: I’ve updated the plans so you shouldn’t need to spend time sanding things to fit.
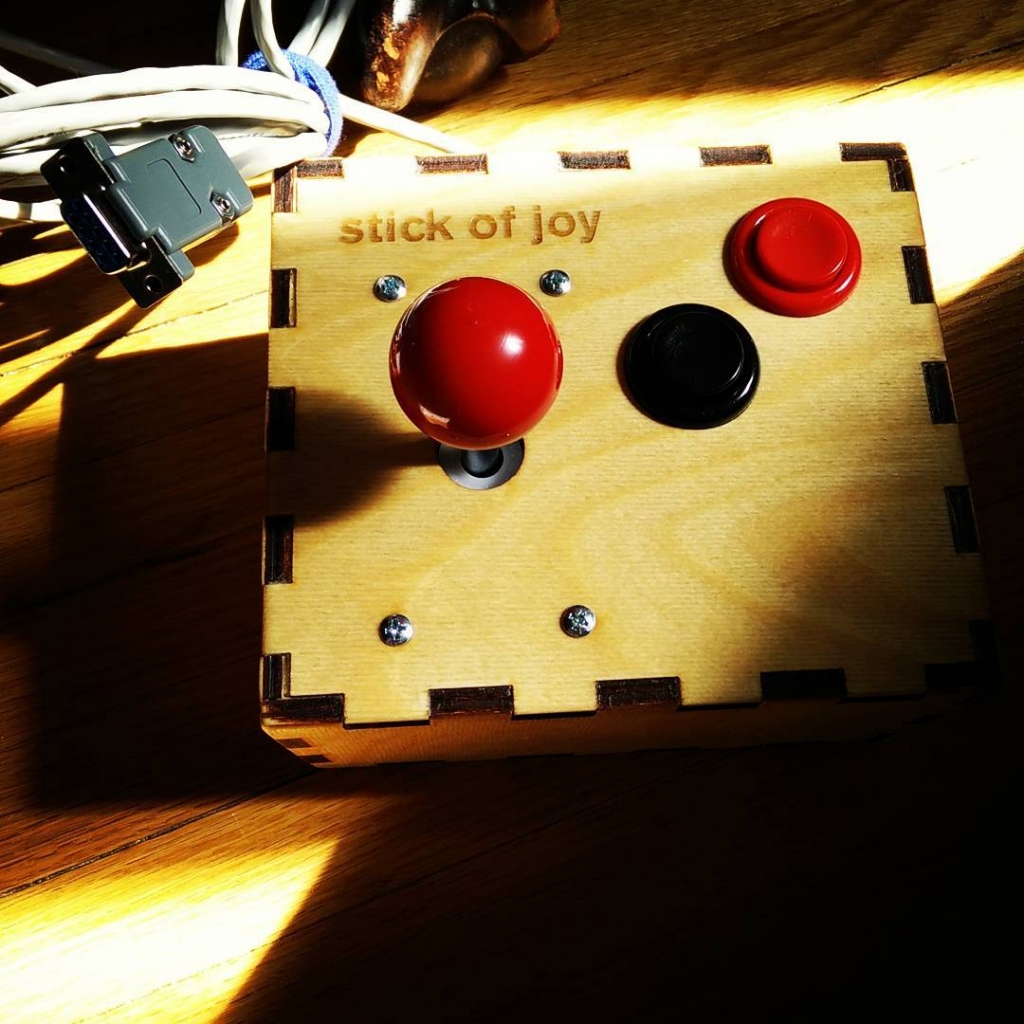
Tracking down old Atari-style joysticks for retrogaming can expensive, and it’s hard to tell if you’ll get something reliable. So I made one for less than the cost of a used stick on eBay.
To build this, you will need:
8-way joystick , or any stick compatible with the industry standard Sanwa JLF-P1 mounting plate. This has M4 holes at 84 × 40 mm.
Two concave momentary arcade push buttons. In my built, I used an older design that’s much taller. You could make the joystick box shorter if you used these snap-in buttons.
4× M4 countersunk (oval head) machine screws with nuts and lots of washers. You’ll need washers to act as spacers between the box and the joystick mounting plate. This allows the joystick’s dust washer to move freely.
a couple of metres of 8-core stranded signal cable
hookup wire and spade connectors for building the button harness.
The case is made from 6.4 mm high quality plywood, using a template generated by BoxMaker. The external dimensions of the box are 163 mm x 143 mm x 83 mm. I haven’t included any kerf width in the design, so the edges should fit together easily for gluing.
The basic DE-9 pin wiring for Atari-style joysticks goes like this:
1 — Up
2 — Down
3 — Left
4 — Right
6 — Button
8 — Ground
There are many variants that add features to this scheme, however. If you’re building for a specific computer, Tomi Engdahl’s Joystick information page has the details.
Many thanks to Andrew Horsburgh for the use of Protolab‘s laser cutter.
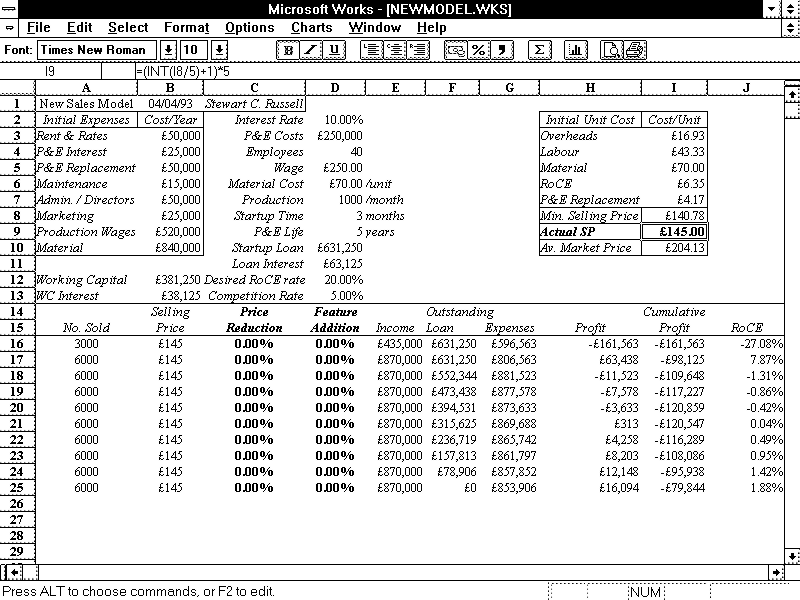
Twenty-two years ago, I wrote a thesis. It wasn’t a very good thesis, but it did what it needed to do. For years, its model files have been unreadable, because the spreadsheets were written in a ~1992 version of Microsoft Works. These are old files:
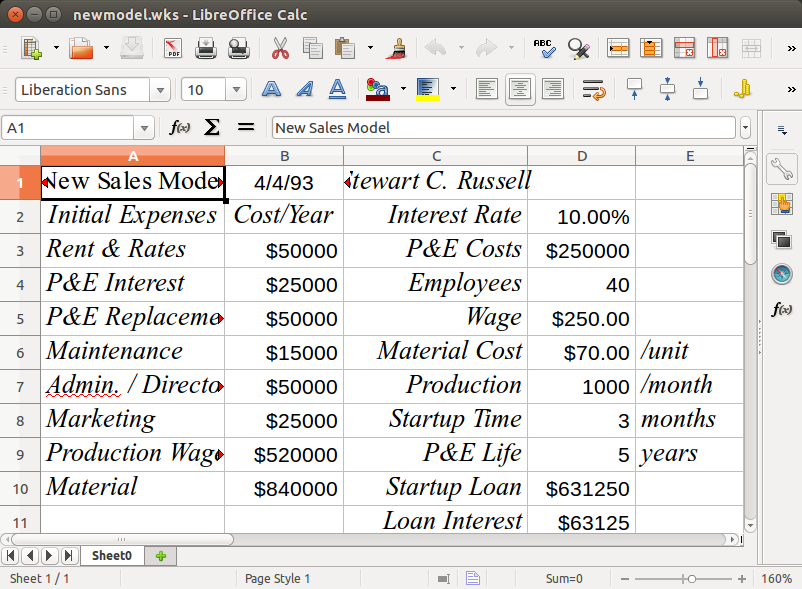
Quite recently, LibreOffice realized that there are old files out there that (unlike my thesis models) could still be useful. As they have no commercial requirement to only support the latest and greatest, LibreOffice added the ability to read these ancient works. So my old stuff lives again:
I found a screen dump that I used back in ’93 to illustrate the layout. The display was colour, but here it is brought back to life with a little bit of antialiasing:
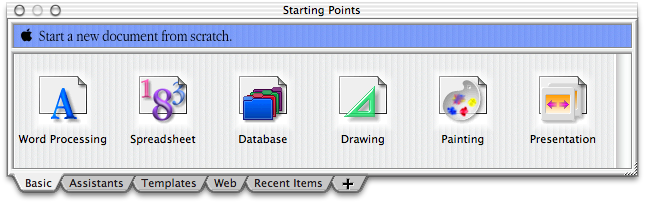
LibreOffice can also read old AppleWorks files. Although Works 6 still runs on Catherine‘s Mac, it looks a bit … dated:
Thanks, LibreOffice! It’s sometimes easy to forget (like right after updated to Ubuntu 15.04, which decided that BlueTooth support was kindaoptional unless you jumped through hoops …) that people do write software just to be more useful.
You have to be of a certain age to recognize this:
… not just as an artist’s travel palette, but as a repurposed case for a 9-track tape spool. While tape drives were iconic for mainframe computers (so much so, there’s a Unicode glyph for them: ✇), the last drives and tapes came off the line a decade ago. They’re not truly dead until everybody forgets what these cases were originally for.
Note that non-printing keys (like SHIFT) are really hard to emulate on modern machines. The CPC scanned them as if they were any printing key, but modern machines handle them like key modifiers.


