Instagram filter used: Lo-fi

(All explained somewhat better here: Maker Festival Projects: Flying Toaster LED Panel – Elmwood Electronics)
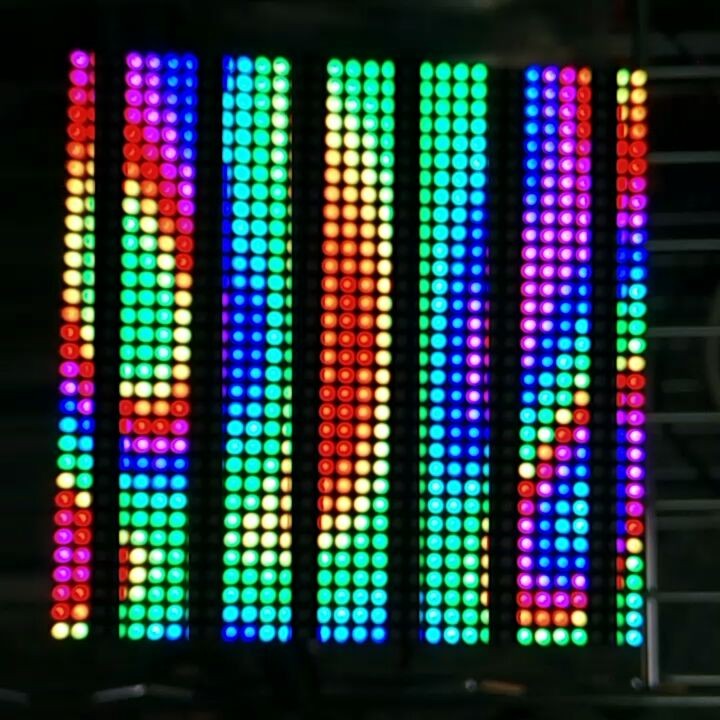
You may just see this running at Elmwood Electronics‘ stand at the Maker Extravaganza this weekend. Built from:
Code: Toaster32x32-170705a.zip

Instagram filter used: Lo-fi
I just picked up a micro:bit, the little educational microprocessor board originally from the BBC. It’s a nice little unit, though like all educational resources, it’s sometimes hard to access resources as a non-edu type.
I landed upon MicroPython, a Python language subset that runs directly on the micro:bit’s ARM chip. I rather like the Mu editor:
 To give the old microcontroller grumps something real to complain about, MicroPython includes a bunch of very high-level functions, such as a powerful music and sound module. Getting the sound out is easy: just croc-clip a speaker onto the output pads:
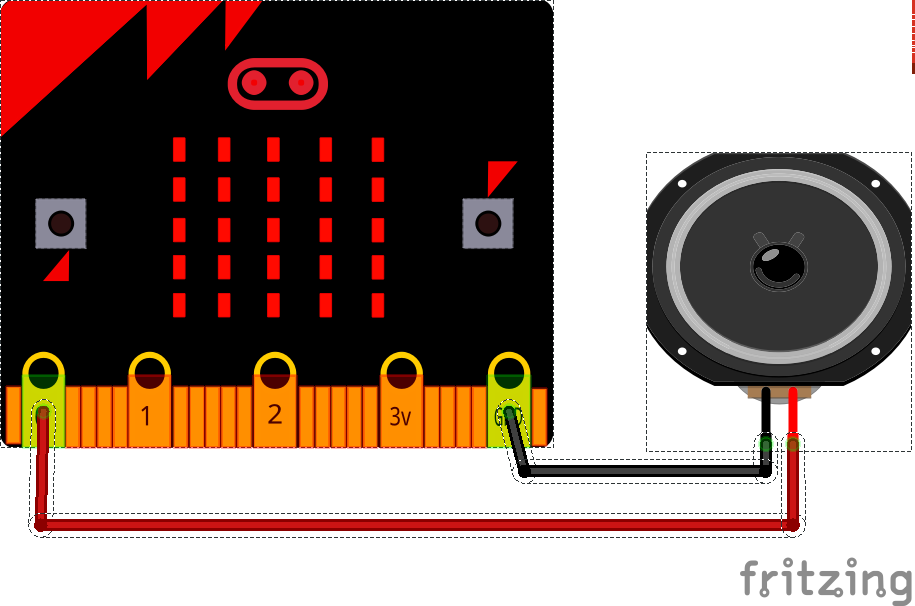 (MicroPython warns against using a piezo buzzer as a speaker, but mine worked fine — loudly and supremely annoyingly — with a large piezo element. Some piezos have a fixed-frequency oscillator attached, but this simple one was great.)
This trivial example plays the Nyan Cat theme forever, but every time it loops it gets faster. The beats variable starts at the default 120 bpm, but is increased by one every time:
# nyan but it gets faster
import music
beats = 120
while True:
    music.set_tempo(bpm=beats)
    music.play(music.NYAN)
    beats = beats + 1
This starts out as merely irritating, but quite quickly becomes deeply annoying, and in mere hours become vastly vexing. I’m sure you’d only use this power for good …
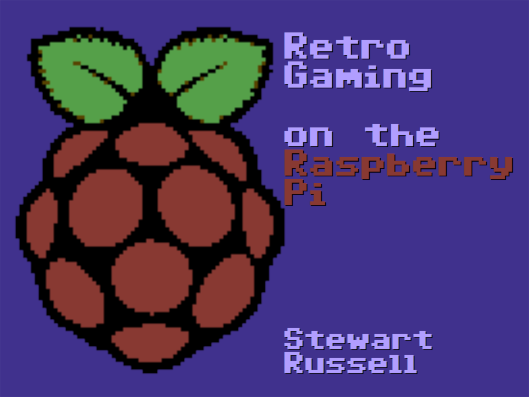
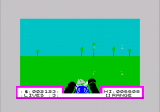
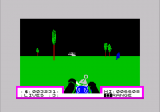
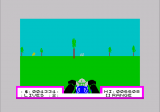
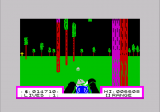
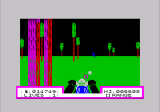
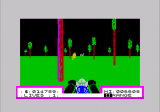
I gave a talk about retro-gaming on the Raspberry Pi yesterday. I was describing RetroPie, and I really needed lots of screenshots to illustrate games. I’m used to grabbing screens under X, but RetroPie runs without it, so all my usual tools were of no use.
 I’d just found out about raspi2png, and it works really well! Usage is simple: just call it like
raspi2png -p outfile.png
and it’ll save whatever’s on the screen. It doesn’t play well with X, but there are already tools to take screenshots with that. As I was playing games, I didn’t want to have to pause the computer to take a shot, so I ran the command every five seconds for 30*5 seconds like this:
for f in {1..30}; do raspi2png -p retro_$(date -Iseconds).png; sleep 5; done
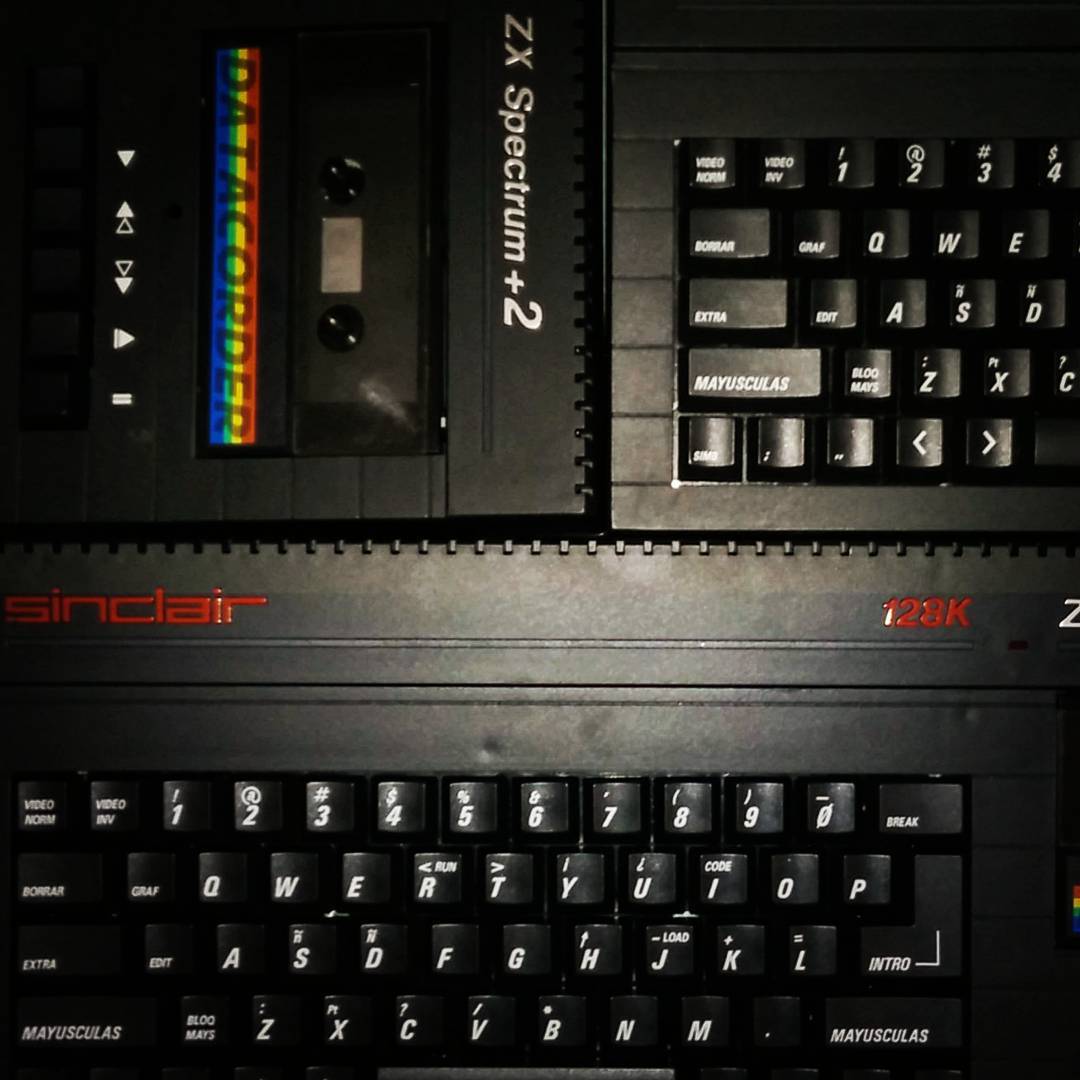
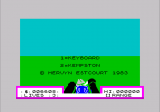
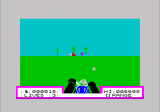
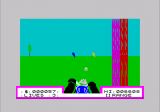
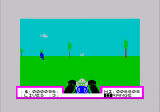
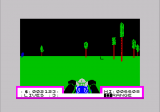
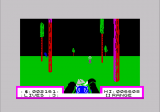
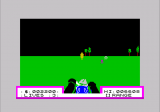
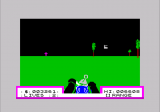
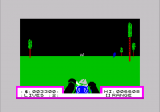
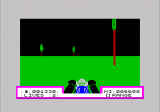
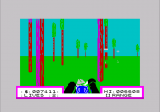
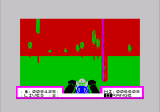
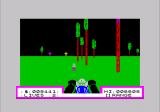
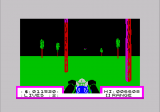
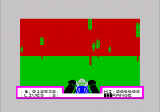
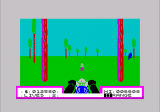
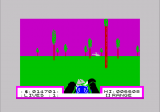
Here are some quality shots via raspi2png from Deathchase, officially the best ZX Spectrum game ever:


Well, that was easy!
Since the Verbal Machines VM-CLAP1 sensor is an open collector type — that is, it sinks current when triggered — it behaves like a simple button to gpiozero, the Raspberry Pi Python GPIO library. If you attach a callback function to the sensor’s when_pressed event, your Python script will call that function every time it registers a clap.
The wiring is as simple as it could be:
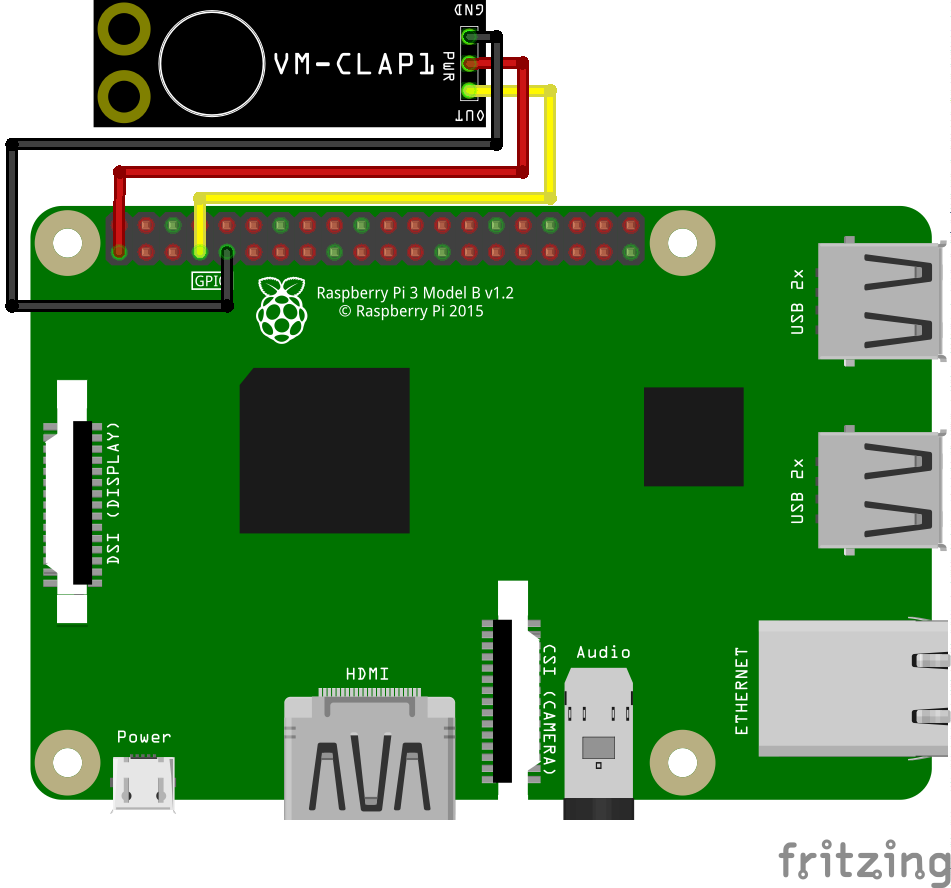
 VM-CLAP1: Raspberry Pi:
 ========= =============
      GND → GND
      PWR → 3V3
      OUT → GPIO 4
This example code just prints clap! when the board picks up a ðŸ‘:
#!/usr/bin/env python3
# -*- coding: utf-8 -*-

# Raspberry Pi gpiozero test for
# Verbal Machines VM-CLAP1 clap sensor
#   scruss - 2017-06
#
# Wiring:
#
#  VM-CLAP1:    Raspberry Pi:
#  =========    =============
#    GND     →   GND
#    PWR     →   3V3
#    OUT     →   GPIO 4

from gpiozero import Button
from signal import pause

def clapping():
        print("clap!")

clap = Button(4)
clap.when_pressed = clapping
pause()
This is a trivial example, but at least it shows that anything you can do with a button, you can also do with this hand-clap sensor.
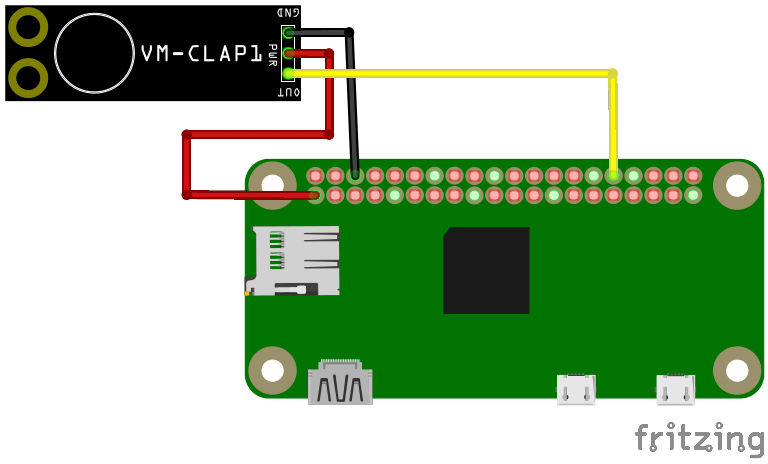
For work, I blogged about Verbal Machines‘ Hand Clap Sensor VM-CLAP1 (“Clap on ðŸ‘ðŸ‘, Clap off ðŸ‘👠– Elmwood Electronicsâ€). I’ve made a preliminary part for Fritzing for the board: VM-CLAP1 Clap Sensor for Fritzing.zip
It should work in Breadboard and Schematic mode, but absolutely doesn’t work in PCB mode. This shouldn’t be a problem, as it’s only available as a standalone board. Fritzing doesn’t have any way to create new parts from scratch any more, so I had to base it on a somewhat similar-looking board, the SparkFun Electret Microphone Breakout.
I’m looking forward to see what I can do with gpiozero and the clap sensor.