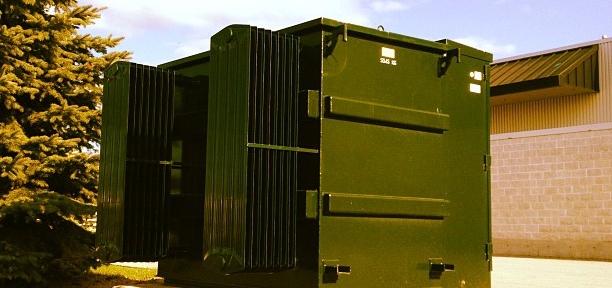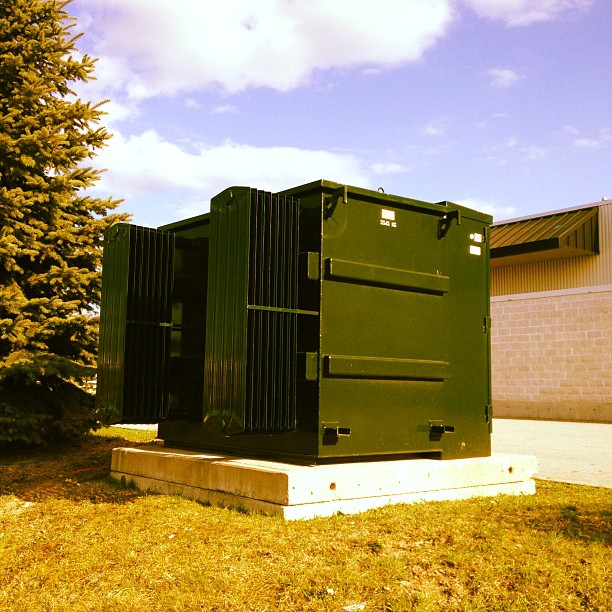
Instagram filter used: X-Pro II
 I bought an Eye-Fi memory card after hearing about ladyada’s Internet of Things Camera. Neat idea; SD card which transmits across wi-fi to your computer. It would be nice if it didn’t go via Eye-fi’s servers, but it’s a start.
What is annoying is the huge packaging which contains a fake cardboard SD card just to take up space. The fake card even has a little plastic cover. Dear me.
CHDK allows your Canon P&S to do nifty things. One of them is to rig up a USB Remote Cable. Someone on Metafilter asked how to set this up, so here’s what worked with me and my PowerShot SD790is (Ixus 90).
!!! Warning: this requires you to apply unauthorized voltages to your camera. If in doubt, don’t. Check the CHDK camera-specific page for notes on voltages. Don’t hold me responsible if you let the magic smoke out of your camera !!!
You’ll need to install CHDK first. What you download and how you install it depends on your camera model and the memory card your using. This might help.
The good news is that CHDK comes with the remote script built in, so you don’t need to download anything else. You will need a suitable remote trigger, or a cannibalized USB Mini-B cable.
First, call up the CHDK menu. On my camera, that’s the Direct Print button (looks like this: ![]() ), which puts CHDK in Alt mode. Hit Menu in Alt mode, and you should see this menu:
), which puts CHDK in Alt mode. Hit Menu in Alt mode, and you should see this menu:

Scroll down to Miscellaneous Stuff and select it:


Scroll all the way down to Remote Parameters (or, more quickly, scroll up, and the menu wraps round):

Now Enable Remote:

Go back to the main menu, and scroll down to Scripting Parameters:

Select Load Script from File …:

Enter the EXAM folder:

Select REMOTE.BAS:

Now you’ll be taken back to the Script menu, and the bottom of the menu shows that you’ve enabled the Remote button script:

Exit the menu, and hit the shutter button to extend the lens. You’ll get a normal display, a bit like this:

To allow the remote script to run, hit Direct Print/Alt, and the bottom of the display will show that the remote script is running:

Now you’ll need to rig up a trigger. I cannibalized an old USB Mini-B cable, and connected the black wire to ground, and the red wire – momentarily – to +5V. You will likely come up with something much more elegant.

And here’s me triggering a shot (you can see the amber focus/flash LED lit) by touching the red wire to +5V:

That’s all there is to very basic remote work in CHDK. Note that USB Remote V2 is in development, which allows finer control and many more options.