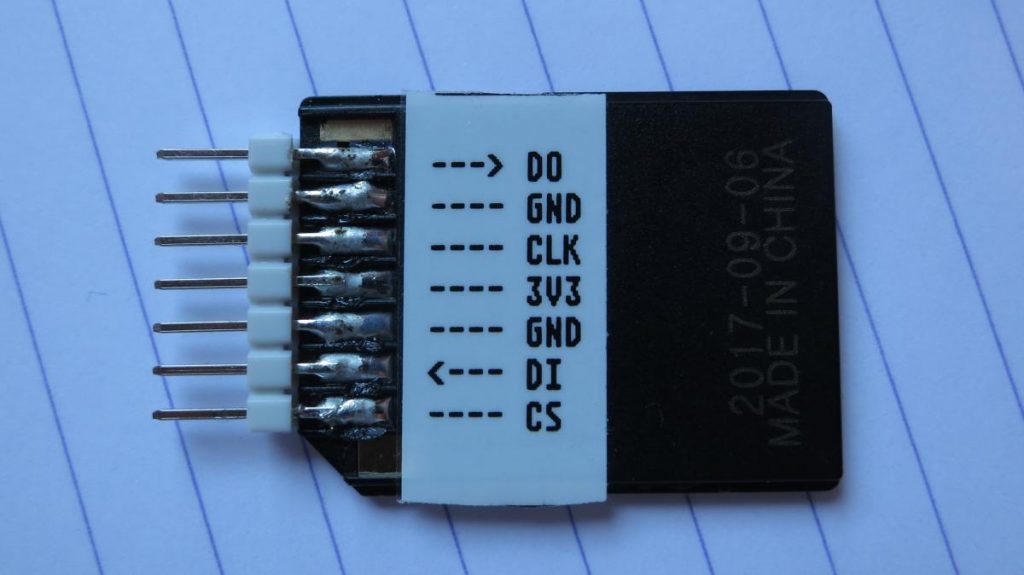
micro-SD adapter + pins + solder = working SD interface
It’s only a serial SPI interface, but you can’t beat the price. It should only be used with 3.3 V micro-controllers like the Raspberry Pi Pico, since micro-SD cards don’t like 5 V directly atall.
You might want to pre-tin the pins and apply some extra flux on both surfaces, because these pads are thin and you don’t want to melt them. I used my standard SnAgCu lead-free solder without trouble, though.
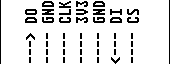
got a label maker? This label’s the same length as an SD card is wide, as shown above. Made entirely with netpbm
You only need to use one of the Ground connections for the card to work.
Update, 2021: well, who knew that software that purportedly hasn’t changed since 2001 (netpbm on Debian) would change? This script broke between 2016–2021, and I had to remove the ppmtopgm line that was after the ppmdither call to make it work again.
Hey, this post is super old!
That means that installation and run instructions may not work as well, or even at all. Most of the *Ports Apple software repositories have given way to Homebrew: you may have some success on Mac (untested by me) if you brew install netpbm fontforge potrace. There’s also some font cleanup I’d recommend, like resolving overlaps, adding extrema, and rounding points to integer. One day I may update this post, but for now, I’m leaving it as is.
This looks more than a bit like my handwriting
because it is my handwriting! Sure, the spacing of the punctuation needs major work, and I could have fiddled with the baseline alignment, but it’s legible, which is more than can usually be said of my own chicken-scratch.
This process is a little fiddly, but all the parts are free, and it uses free software. This all runs from the command line. I wrote and tested this on a Mac (with some packages installed from DarwinPorts), but it should run on Linux. It might need Cygwin under Windows; I don’t know.
FontForge, the amazing free font editor. (Yes, I said amazing. I didn’t say easy to use …)
autotrace or potrace so that FontForge can convert the scanned bitmaps to vectors
some kind of bitmap editor.
You will need to download
fonttrace.pl – splits up a (very particular) bitmap grid into character cells
chargrid.pdf – the font grid template for printing
Procedure:
Print at least the first page of chargrid.pdf. The second page is guidelines that you can place under the page. This doesn’t work very well if you use thick paper.
Draw your characters in the boxes. Keep well within the lines; there’s nothing clever about how fonttrace.pl splits the page up.
Scan the page, making sure the page is as straight as possible and the scanner glass is spotless. You want to scan in greyscale or black and white.
Crop/rotate/skew the page so the very corners of the character grid table are at the edges of the image, like this: I find it helpful at this stage to clean off any specks/macules. I also scale and threshold the image so I get a very dark image at 300-600dpi.
Save the image as a Portable Bitmap (PBM). It has to be 1-bit black and white. You might want to put a new font in a new folder, as the next stage creates lots of files, and might overwrite your old work.
Run fonttrace.pl like this: fonttrace.pl infile.pbm | sh
If you miss out the call to the shell, it will just print out the commands it would have run to create the character tiles.
This should result in a bunch of files called uniNNNN.png in the current folder, like these:
uni0057.png
uni0069.png
uni0073.png
uni0070.png
uni0079.png
Fire up FontForge. You’ll want to create a New font. Now File→Import…, and use Image Template as the format. Point it at the first of the image tiles (uni0020.png), and Import.
Select Edit→Select→All, then Element→Autotrace. You’ll see your characters appear in the main window.
And that’s – almost – it. You’ll need to fiddle with (auto)spacing, set up some kerning tables, set the font name (in Element→Font Info … – and you’ll probably want to set the em scale to 1024, as TrueType fonts like powers of two), then File→Generate Fonts. Fontforge will throw you a bunch of warnings and suggestions, and I’d recommend reading the help to find out what they mean.
There are a couple of limitations to the process:
Most of the above process could be written into a FontForge script to make things easier
Only ASCII characters are supported, to keep the number of scanned pages simple. Sorry. I’d really like to support more. You’re free to build on this.
Lastly, a couple of extra files:
CrapHand2.pbm – a sample array drawn by me, gzipped for your inconvenience (and no, I don’t know why WordPress is changing the file extension to ‘pbm_’ either).
chargrid.ods – the OpenOffice spreadsheet used to make chargrid.pdf
Update: If you have a recent NetPBM, this is fixed.
I’d previously alluded that netpbm’s pgmnoise wasn’t as random as it could be if you called it several times in quick succession. Nerdy discussion after the break, but here’s a (perhaps slightly linux-centric) alternative:
#!/bin/sh
# pgmrnoise - a more random pgmnoise; limited to 8-bit images
# created by scruss on Sun Oct 12 19:36:37 EDT 2008

echo P5
echo $1 $2
echo 255
dd if=/dev/urandom bs=$1 count=$2 2> /dev/null
I just pasted the shell text in there; you’ll need to save it as a file. It works the same way as pgmnoise:
pgmrnoise width height > noise.pgm
It is limited as written to 8 bit-per-pixel output, but is a fairly trivial edit to make it 16 or more bits.
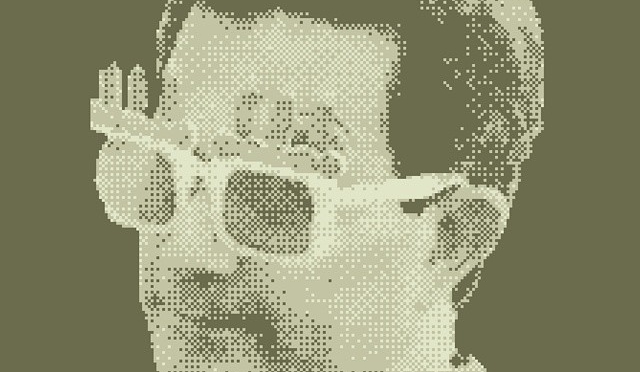
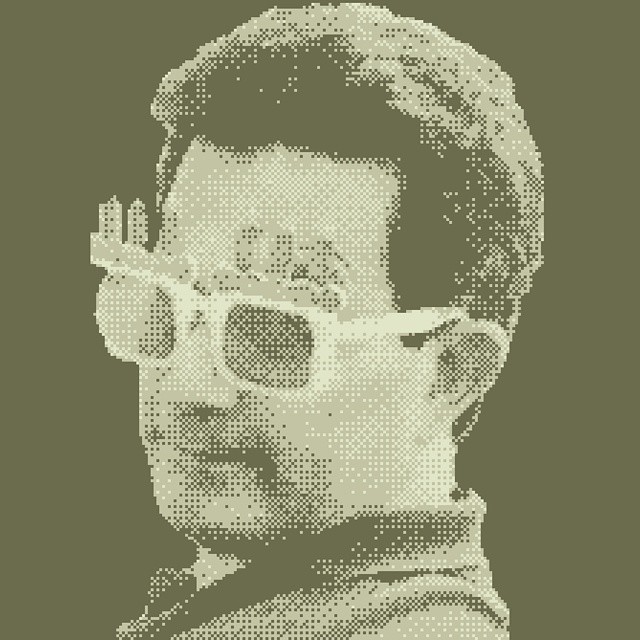
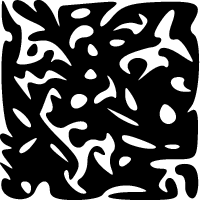
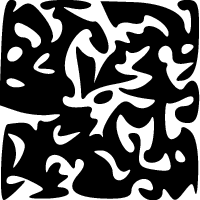
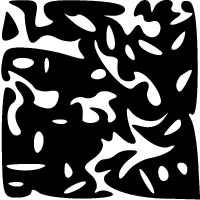
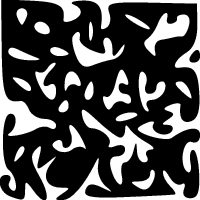
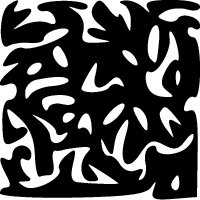
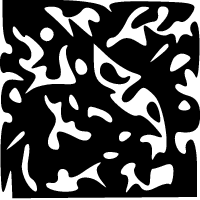
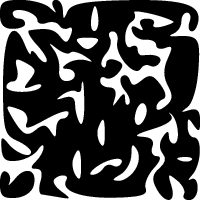
I’d totally put these up on my walls, but I may end up climbing them:
I made them by taking 32×32 pixel tiles of random grey noise, Atkinson dithering them (using pamditherbw) then vectorizing them using potrace. If you click on the tiles, you can download/view the PDF source of each.
(pgmnoise, the source of the grey noise, relies heavily on the system time as its seed. Before I introduced a delay between image generation, several images appeared almost identical.)
I got a bit carried away with doing this. Instead of just smacking together all the 360 dpi TIFFs I scanned seven years ago, I had to scan a new set at a higher resolution, then crop them, then fix the page numbers, add chapter marks, and make the table of contents a set of live links.
I’ve got out of the way of thinking in PostScript, so I spent some time looking for tools that would do things graphically. Bah! These things’d cost a fortune, so armed only with netpbm, libtiff, ghostscript, the pdfmark reference, Aquamacs, awk to add content based on the DSC, and gimp to work out the link zones on the contents page, I made it all go. Even I’m impressed.
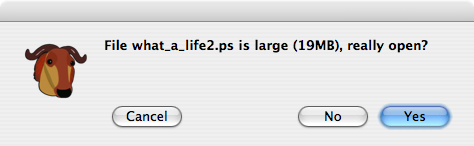
One thing that didn’t impress me, though:
I used to edit multi-gigabyte files with emacs on Suns. They never used to complain like this. They just loaded (admittedly fairly slowly) and let me do my thing. Real emacs don’t give warning messages.
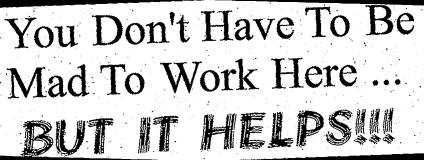
Remember when office walls were festooned with grubby, wonkily photocopied slogans, bad attempts at Snoopy cartoons, and all manner of xerox-worn paperwork? Something like this:
With everything being digital, and e-mailed the world over without degradation, I became nostalgic for the old analogue days. So I decided to emulate the squint, black-edged, mottled, heavily-thresholded imagery with the NetPBM toolkit and a shell script. You can download it here: pnmcopier – emulate a badly-photocopied document to stdout. It should work on most Unix machines. It does require that your shells sets $RANDOM, which might make it a bit bash-specific.
It works best with a fairly high resolution image. Be advised it’s a processor hog; it has to rotate, smooth and merge very large images. To compound the effect, pipe the output into pnmcopier, perhaps several times. I don’t quite have the parameters right, but it gives the desired level of grubbiness. Sorry I couldn’t reproduce coffee stains, staple marks, old tape ghosts or random doodles.


 I find it helpful at this stage to clean off any specks/macules. I also scale and threshold the image so I get a very dark image at 300-600dpi.


