After a tonne of faffing about, I finally got something out of my plotter using Drawing Bot. I’d heard about it during the Bold Machines’ Intro to Pen Plotters course I’m taking, and the results that other people were getting looked encouraging. But for me, they weren’t great.
Maybe I was choosing too large images, but my main problem was ending up with plots with far too many lines: these would take days to plot. The controls on Drawing Bot also seemed limited: density and resolution seemed to be the only controls that do much. Drawing Bot itself wasn’t very reliable: it would sometimes go into “use all the cores!” mode when it was supposed to be idling. It would also sometimes zoom in on part of the image and fail to unzoom without quitting. Is a 32 GB i7 8-core (oldish, but still game) too little for this software? Forget any of the Voronoi plots if you want to see results today.
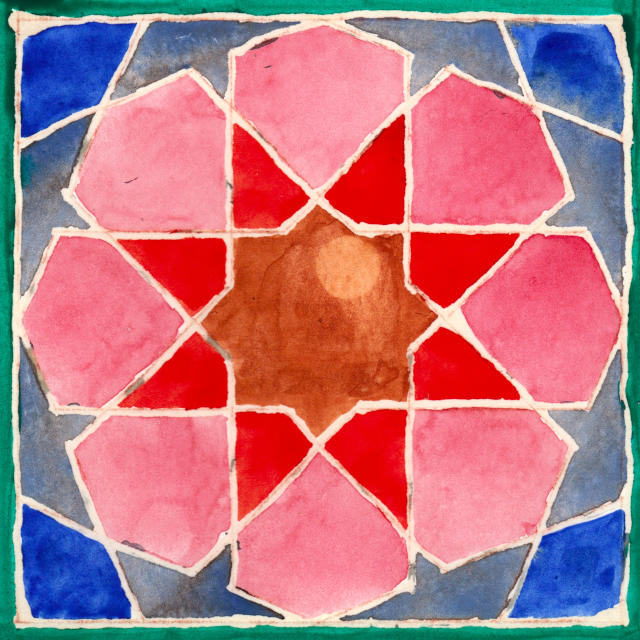
The source image was a geometric tile that I’d frisketed out years ago, forgotten about, and then found when I unstuck it from under a stack of papers. It’s somewhat artisanally coloured by me in watercolour, and the mistakes and huge water drop are all part of its charm:
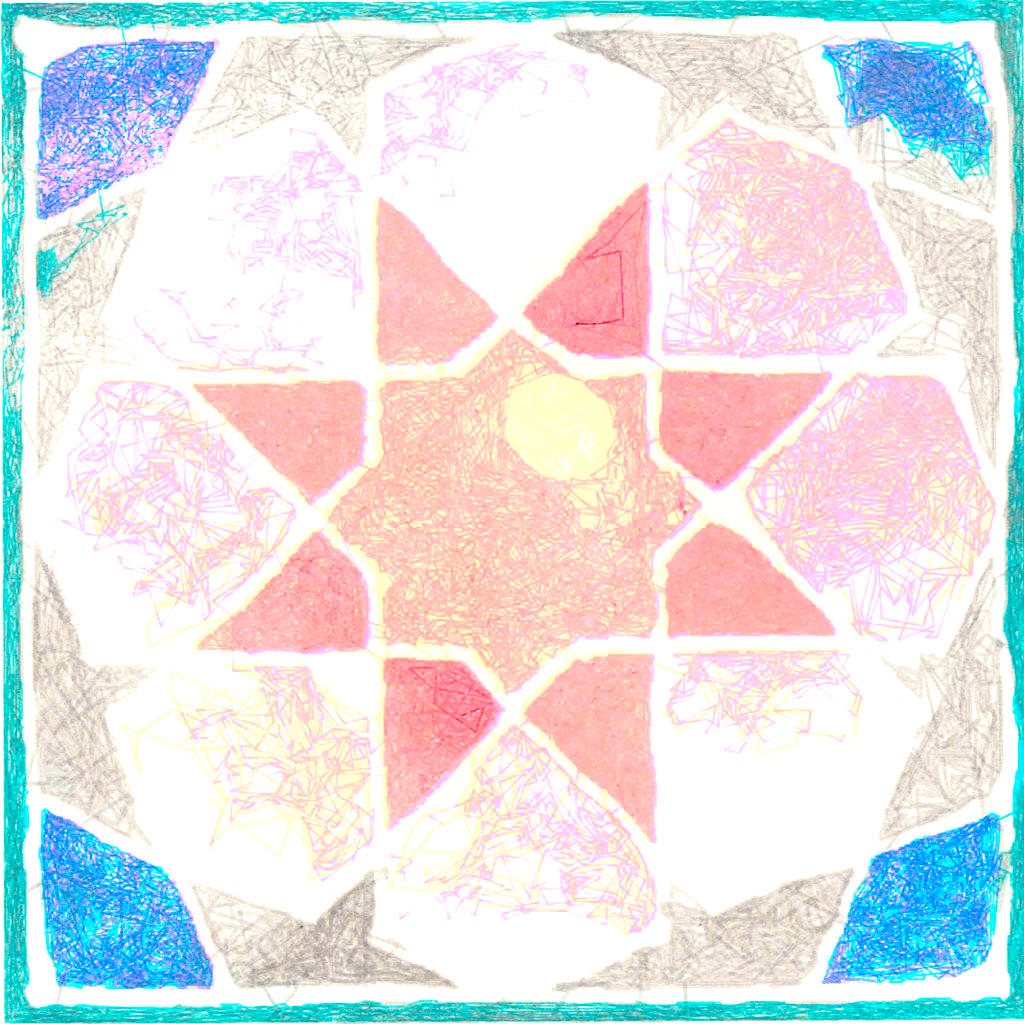
If WordPress will allow an SVG, here’s what Drawing Bot made of it:

I do like the way that Drawing Bot seems to have ignored some colours, like the rose pink around the outside. The green border really is mostly cyan with a touch of black.
I haven’t magically found perfect CMYK pens in HP/Roland pen format. I couldn’t even find the Schwan-Stabilo Point 88 pens that Lauren Gardner at Bold Machines recommends. But the local DeSerres did deliver a selection of their own-brand 1.0mm Mateo Markers that are physically close to the Point 88s in size, but use a wider 1 mm fibre tip. They are also cheap; did I mention that?
The colours I chose were:
- for cyan: Mint Green; RGB colour: #52C3A5; SKU: DFM-53
- for magenta: Neon Pink; RGB colour: #FF26AB; SKU: DFM-F23
- for yellow: Neon Yellow; RGB colour: #F3DE00; SKU: DFM-F01
- for black: Green Grey 5; RGB colour: #849294; SKU: DFM-80
The RGB colours are from DeSerres’ website, and show that I’m not wildly off. Target process colours are the top row versus nominal pen colours on the bottom:

I knew to avoid pure black, as it would overpower everything in the plot.
To make the pens work with the DXY-1300, I modified juliendorra/3D-printable-plotter-adapters-for-pens-and-refills: Use your favorite pens with vintage HP plotters: parametric code to create custom adapters to work the the DeSerres pens. Here are my changed files, just in case my PR isn’t accepted:
Overall, it plotted quite well. I plotted directly from Inkscape, one layer/pen at a time, from light (yellow) to dark (grey). Using the pen 1 slot had its disadvantages: the DXY has little pen boots to stop the pens drying, but these unfortunately get filled with old ink. The scribbly dark markings in the NNE and SSW orange kites in the plot are from the yellow pen picking up old black ink from the pen boot. Next time I’ll clean the plotter better.